Positive Pressure Suit
This is a short how-to guide on creating a positive pressure PPE suit, as imagined by Matteo Borri.Positive pressure suits are very handy for isolating yourself from toxins, biohazards and the like. If anyone would like to help make 3D printed hose adapters, or a computer fan air blower for this project, please get in touch!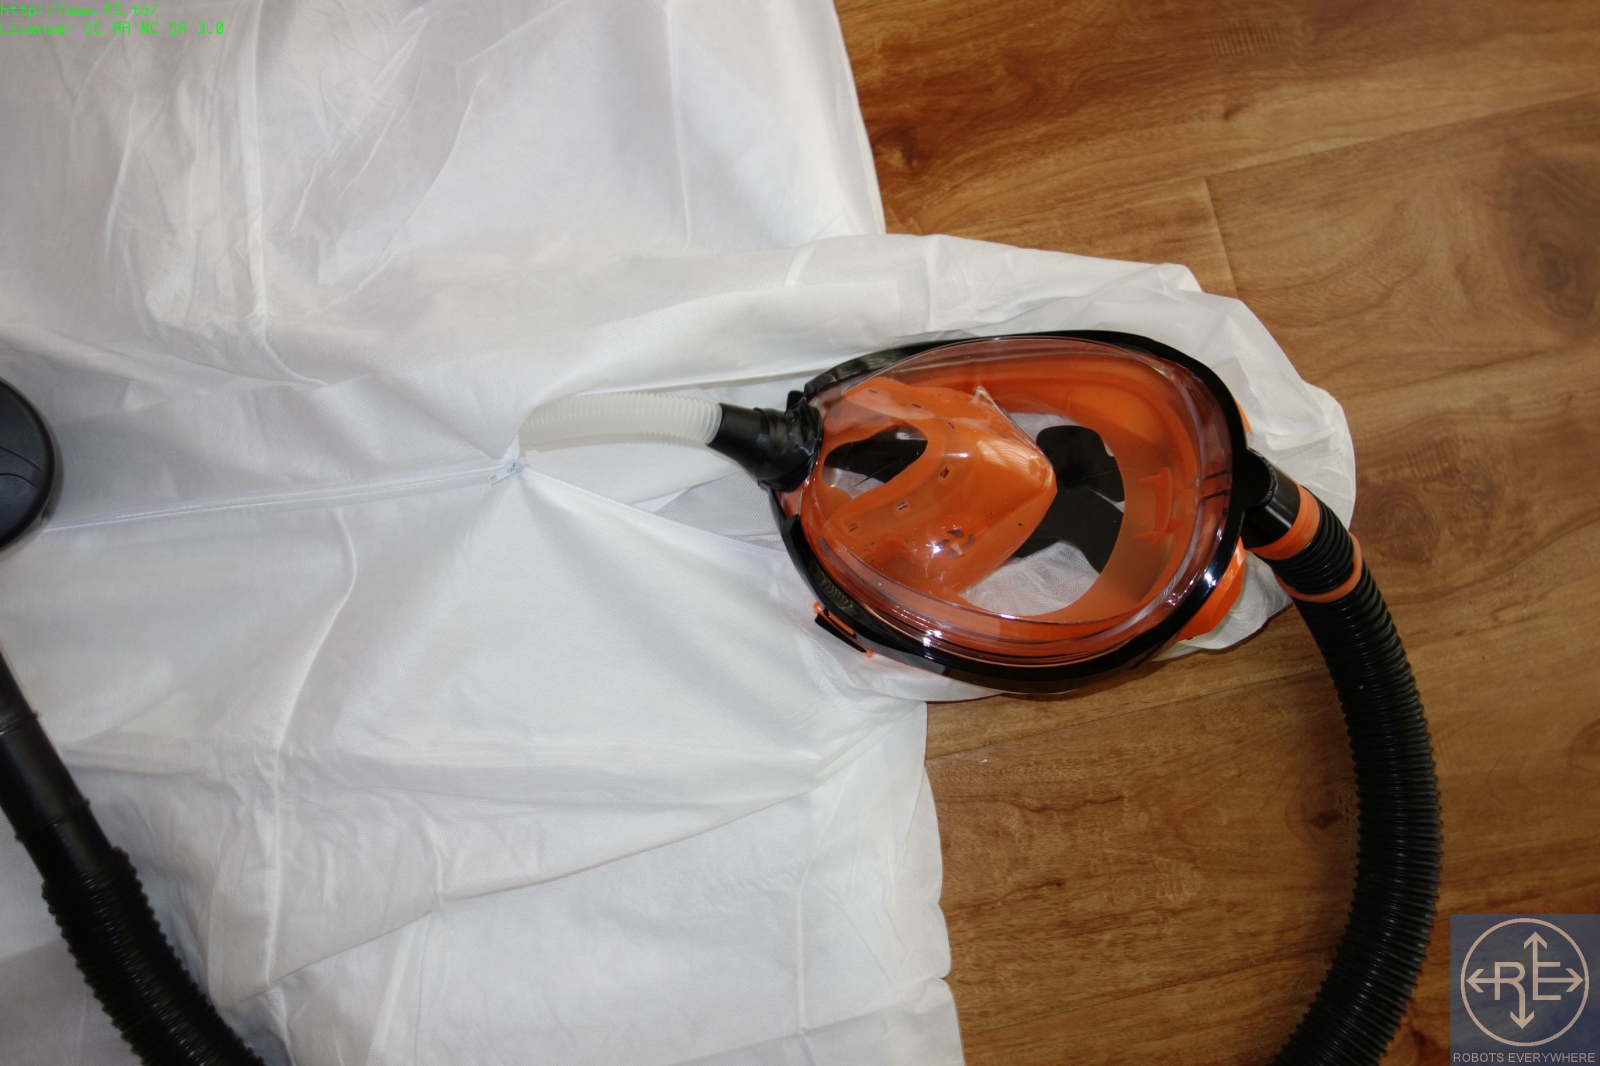
 Now, remove the rigid ends of the shop vac hose if any.
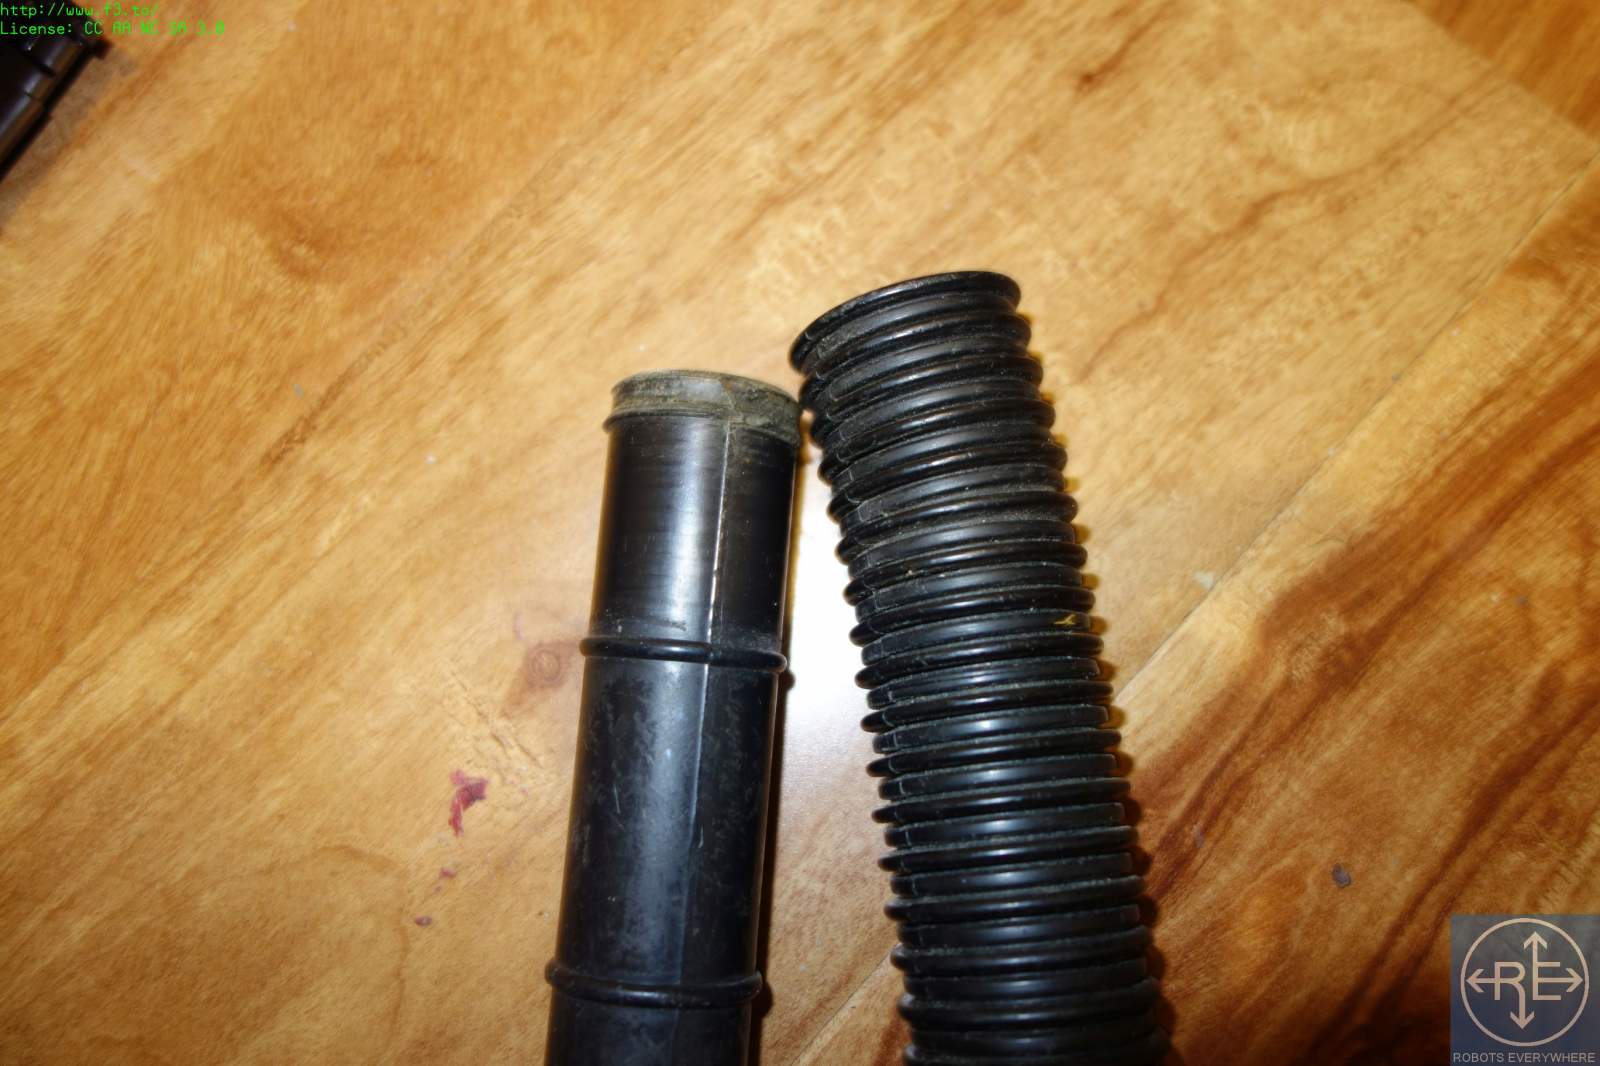 Snorkels are 1.25" so the hose will fit. Use rubber bands for a better seal and mechanical stability.
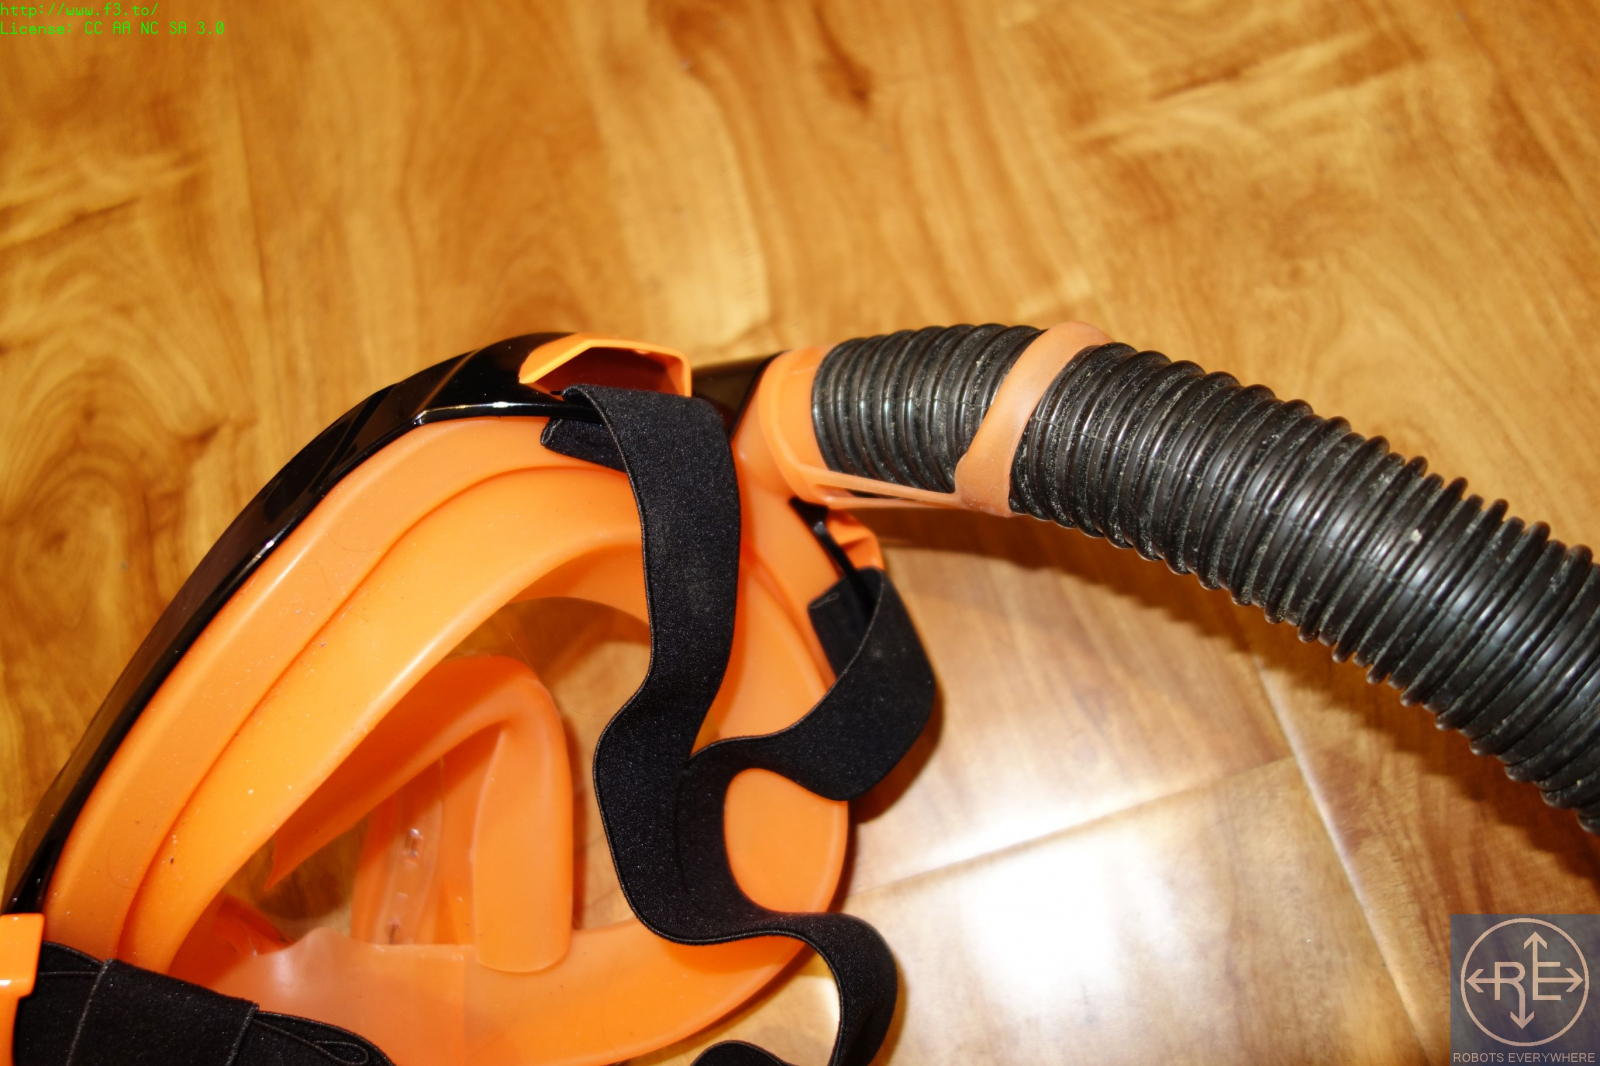
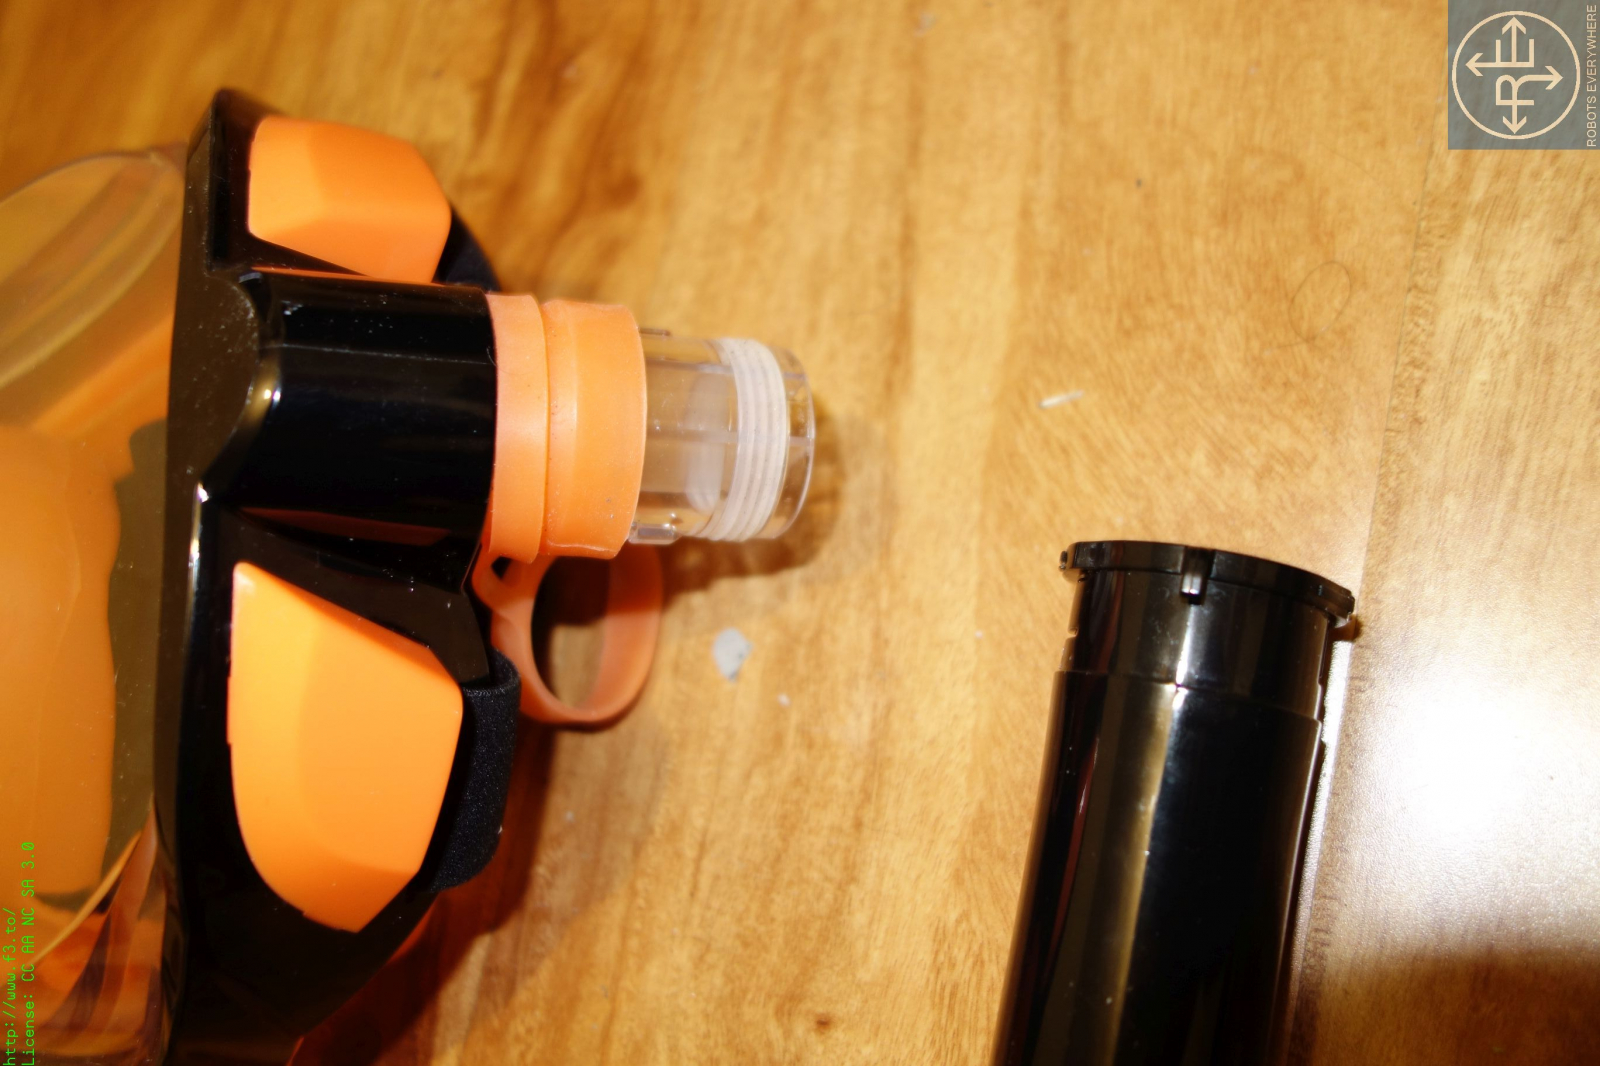
 Using tape or rubber bands, fit the hose to the inflator using the largest adapter. Push it in a little bit. Tape it together. Do NOT tape the adapter to the inflator yet.
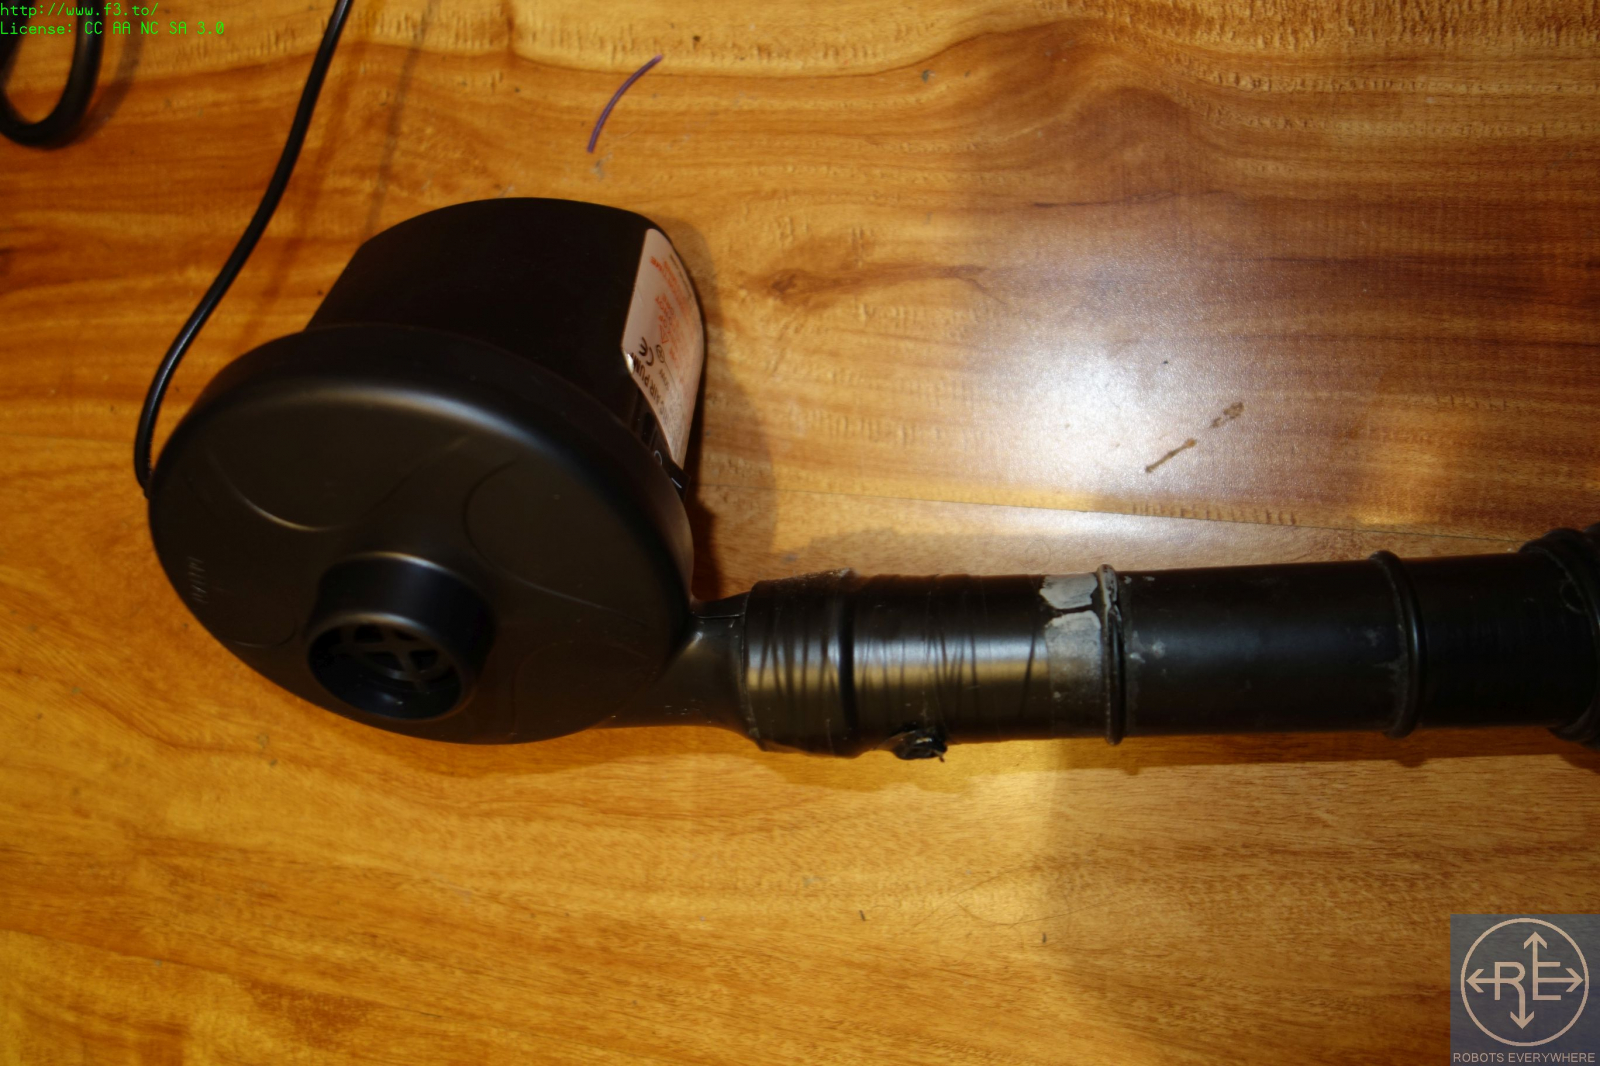 If your mask has a lower piece like this rather than an exposed valve, you'll have to remove it. A flat head screwdriver or a knife will do.
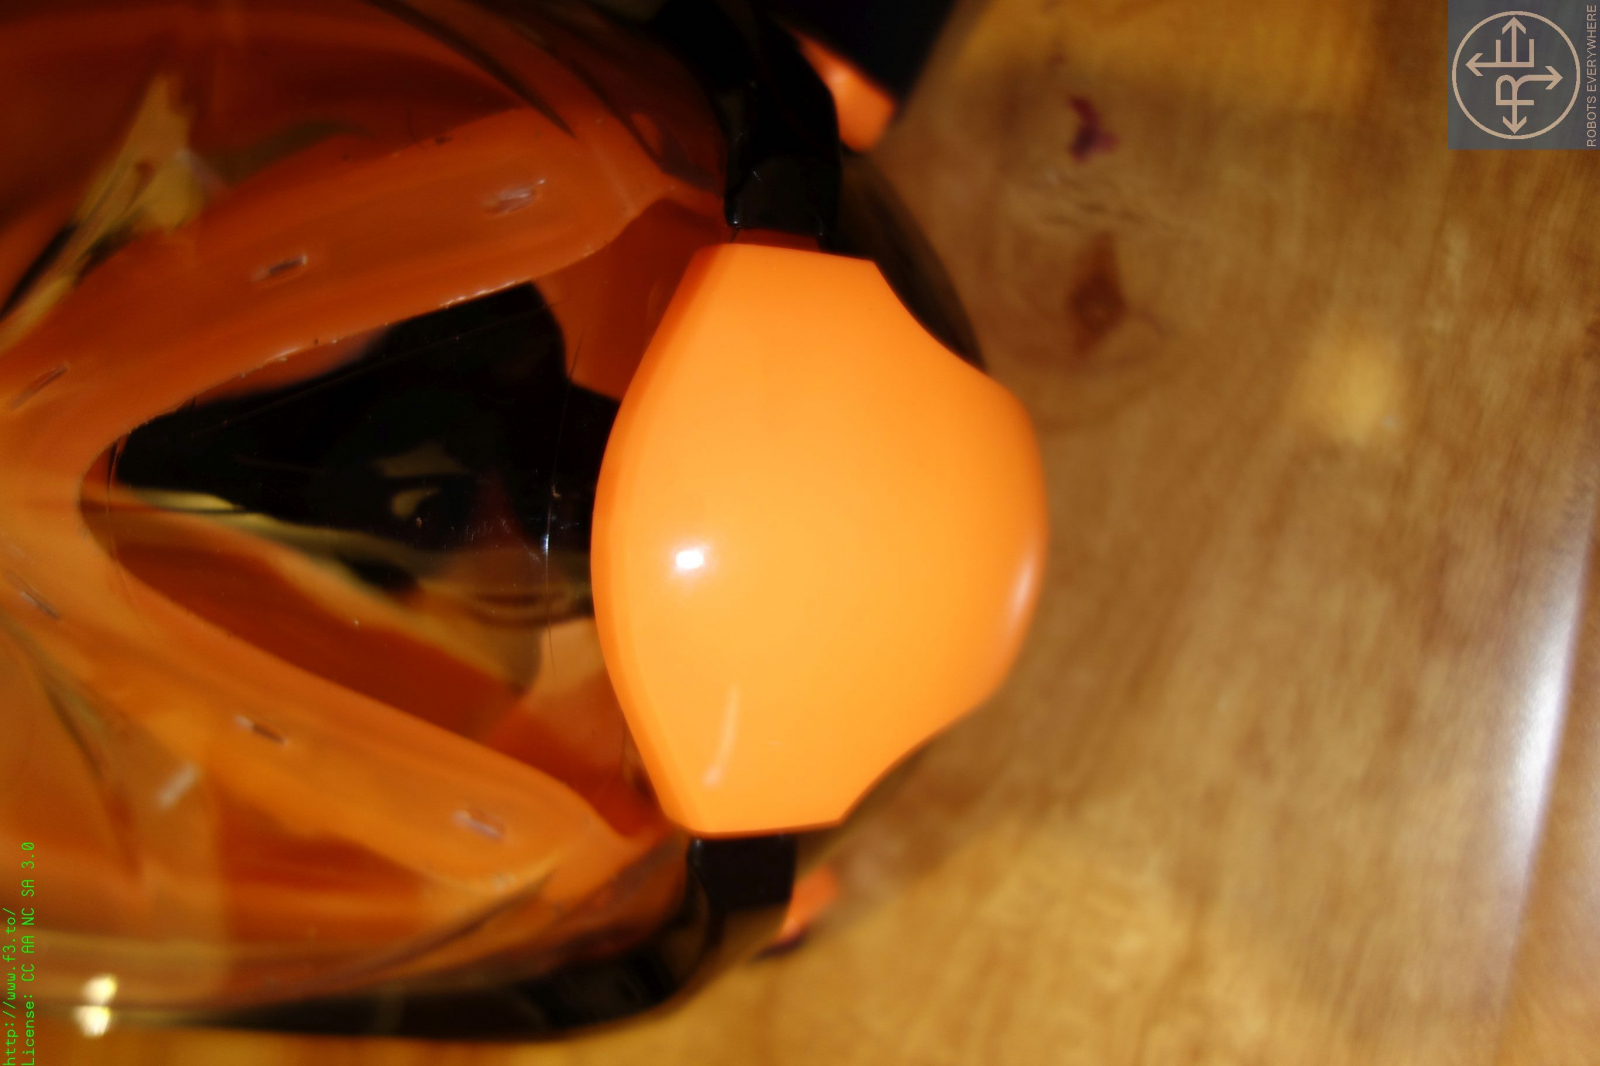 Careful to not damage the valve underneath!
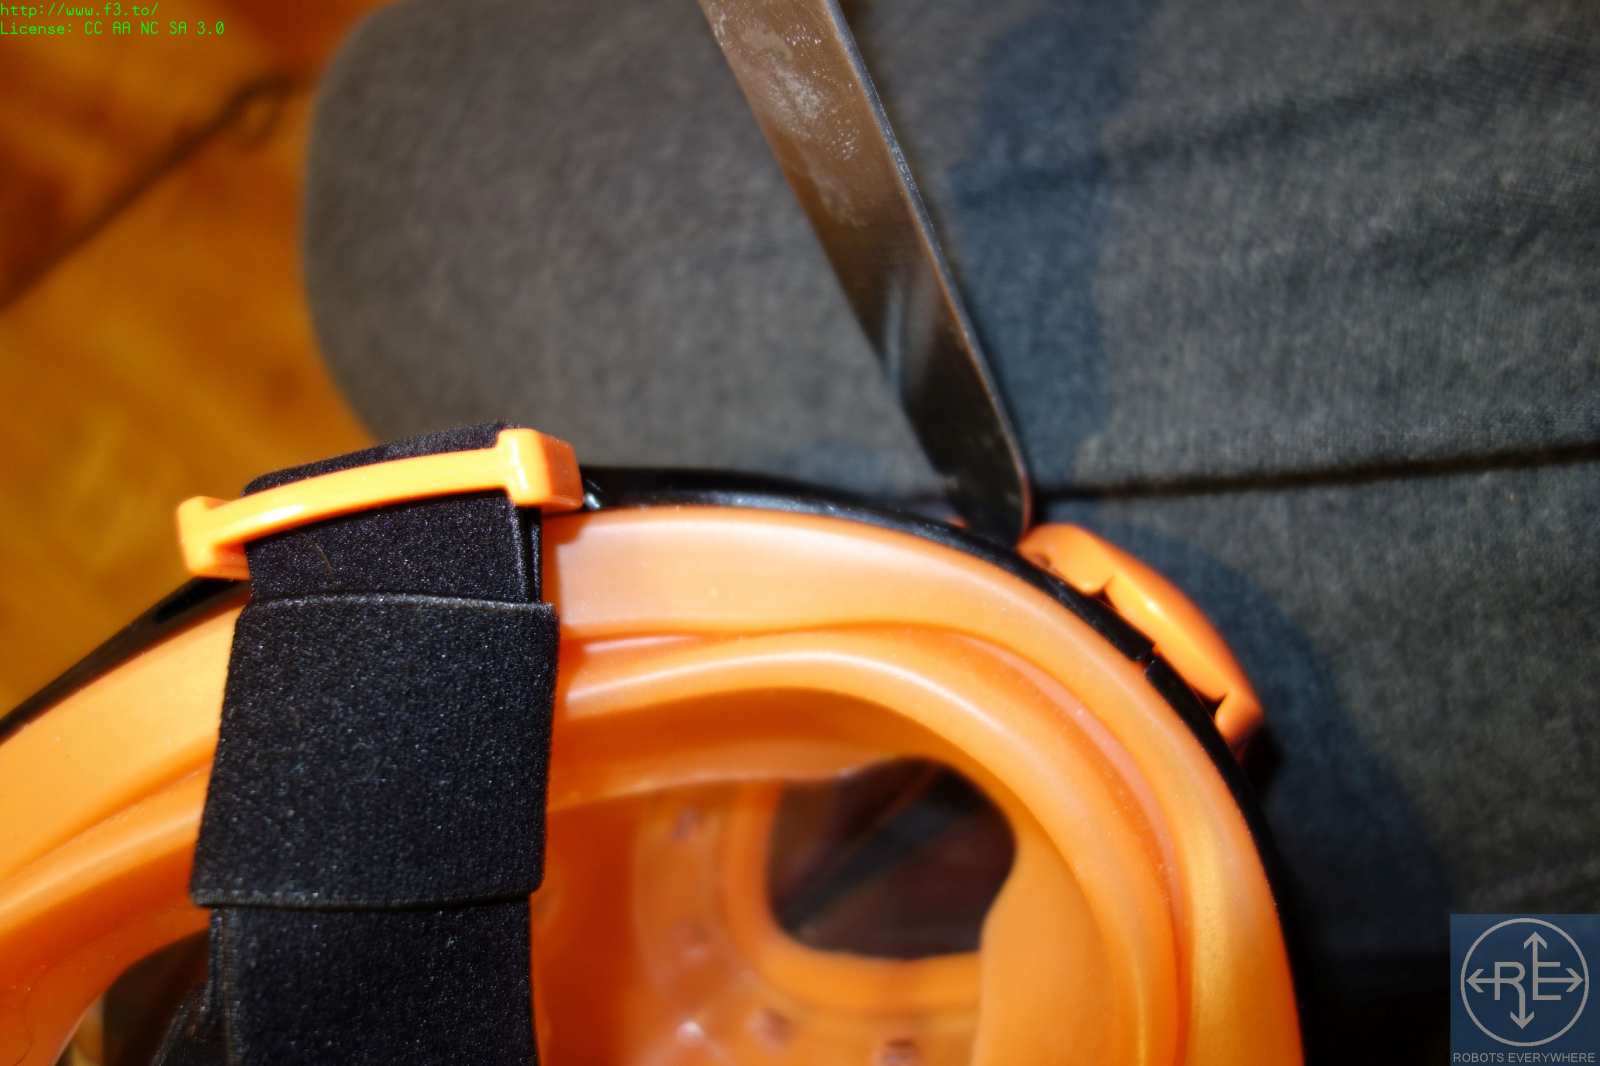 This is what it should look like once the protection is removed. You can clearly see the breathing valve.
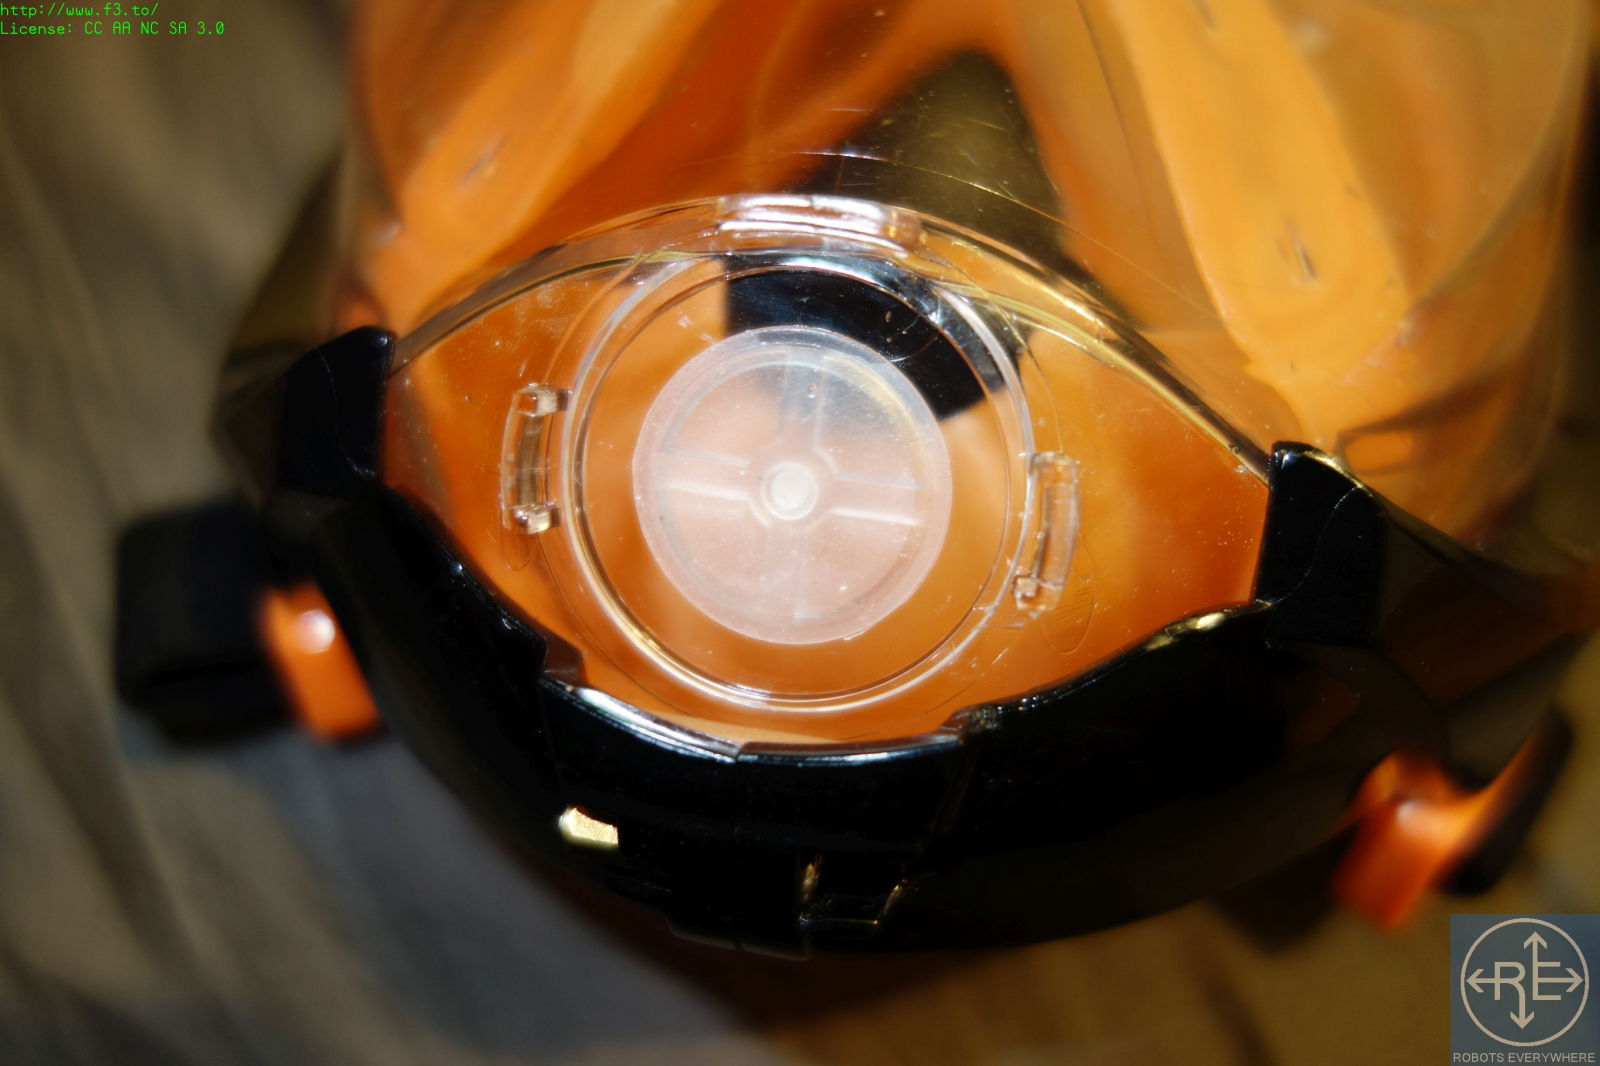
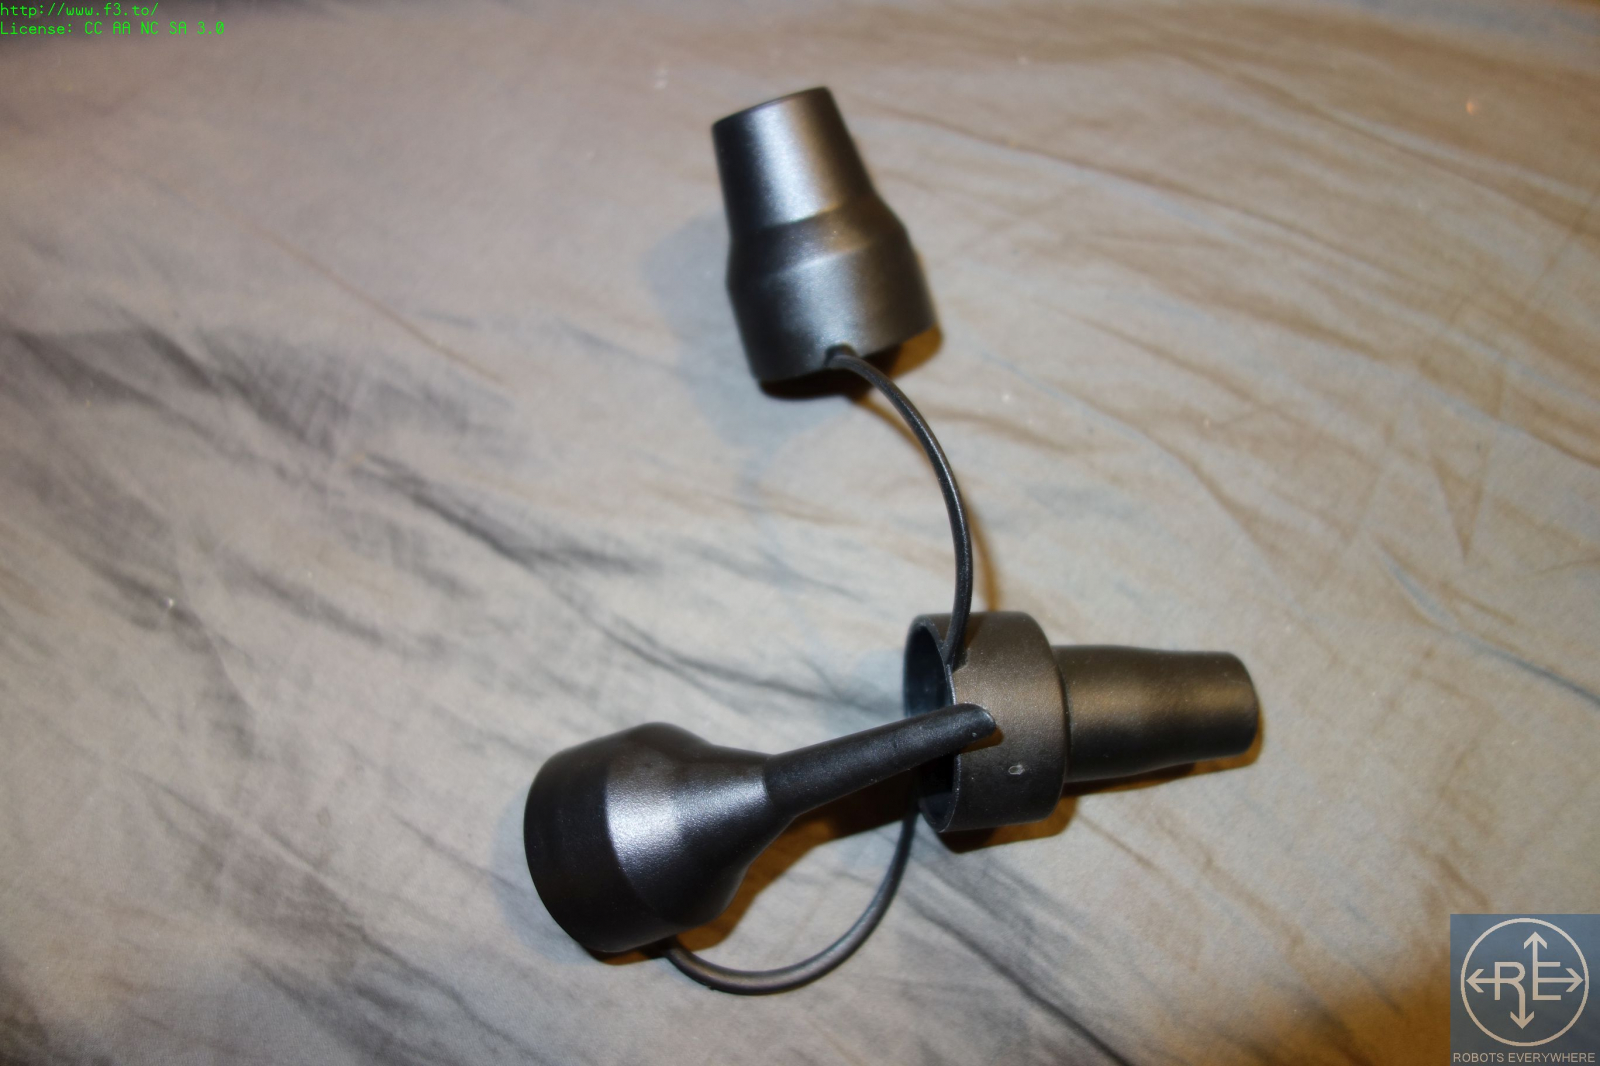 You'll need another length of hose -- like from an air pump. This one should be flexible, and can be smaller, but not too small. 1" to 0.5" is acceptable. Now, use one of these inflator adapters to make a 1.25" collar for the hose. You can make these junctions airtight using tape and rubber bands, but you do not strictly need to, as the inflator's pressure will keep unfiltered air out.
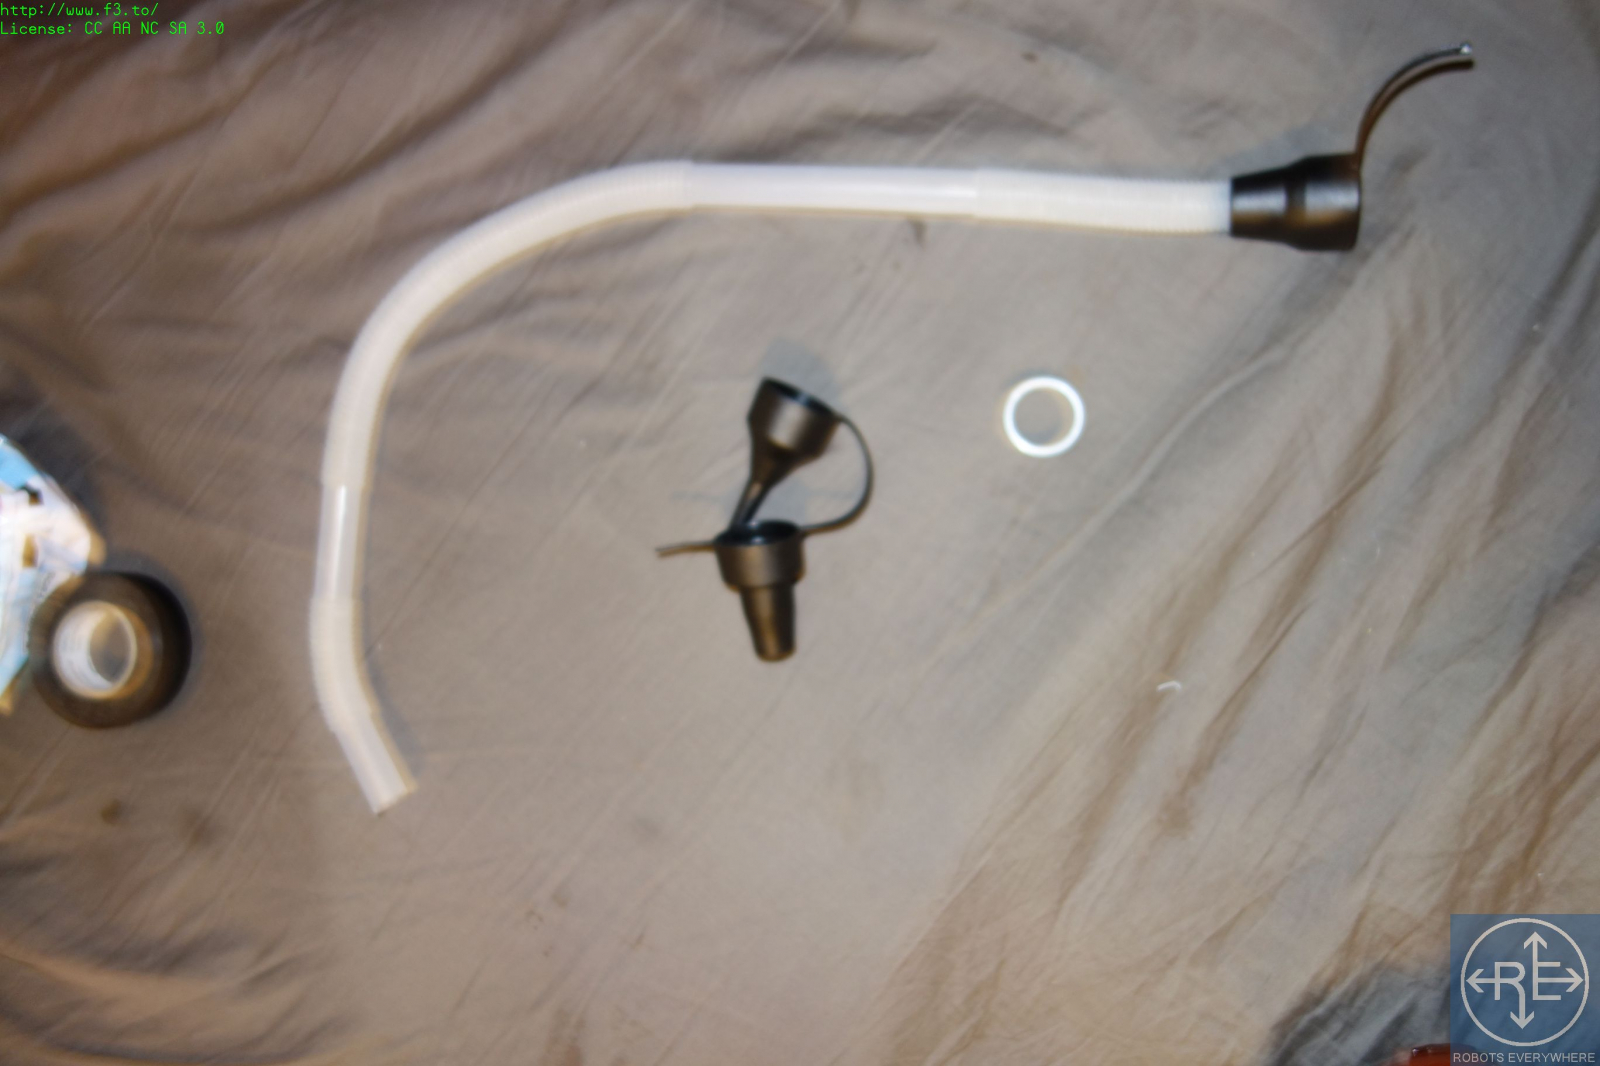 You can reuse this piece, after making a hole in it, for mechanical stability, if you like. In this build I won't because I want the tubing to be visible.
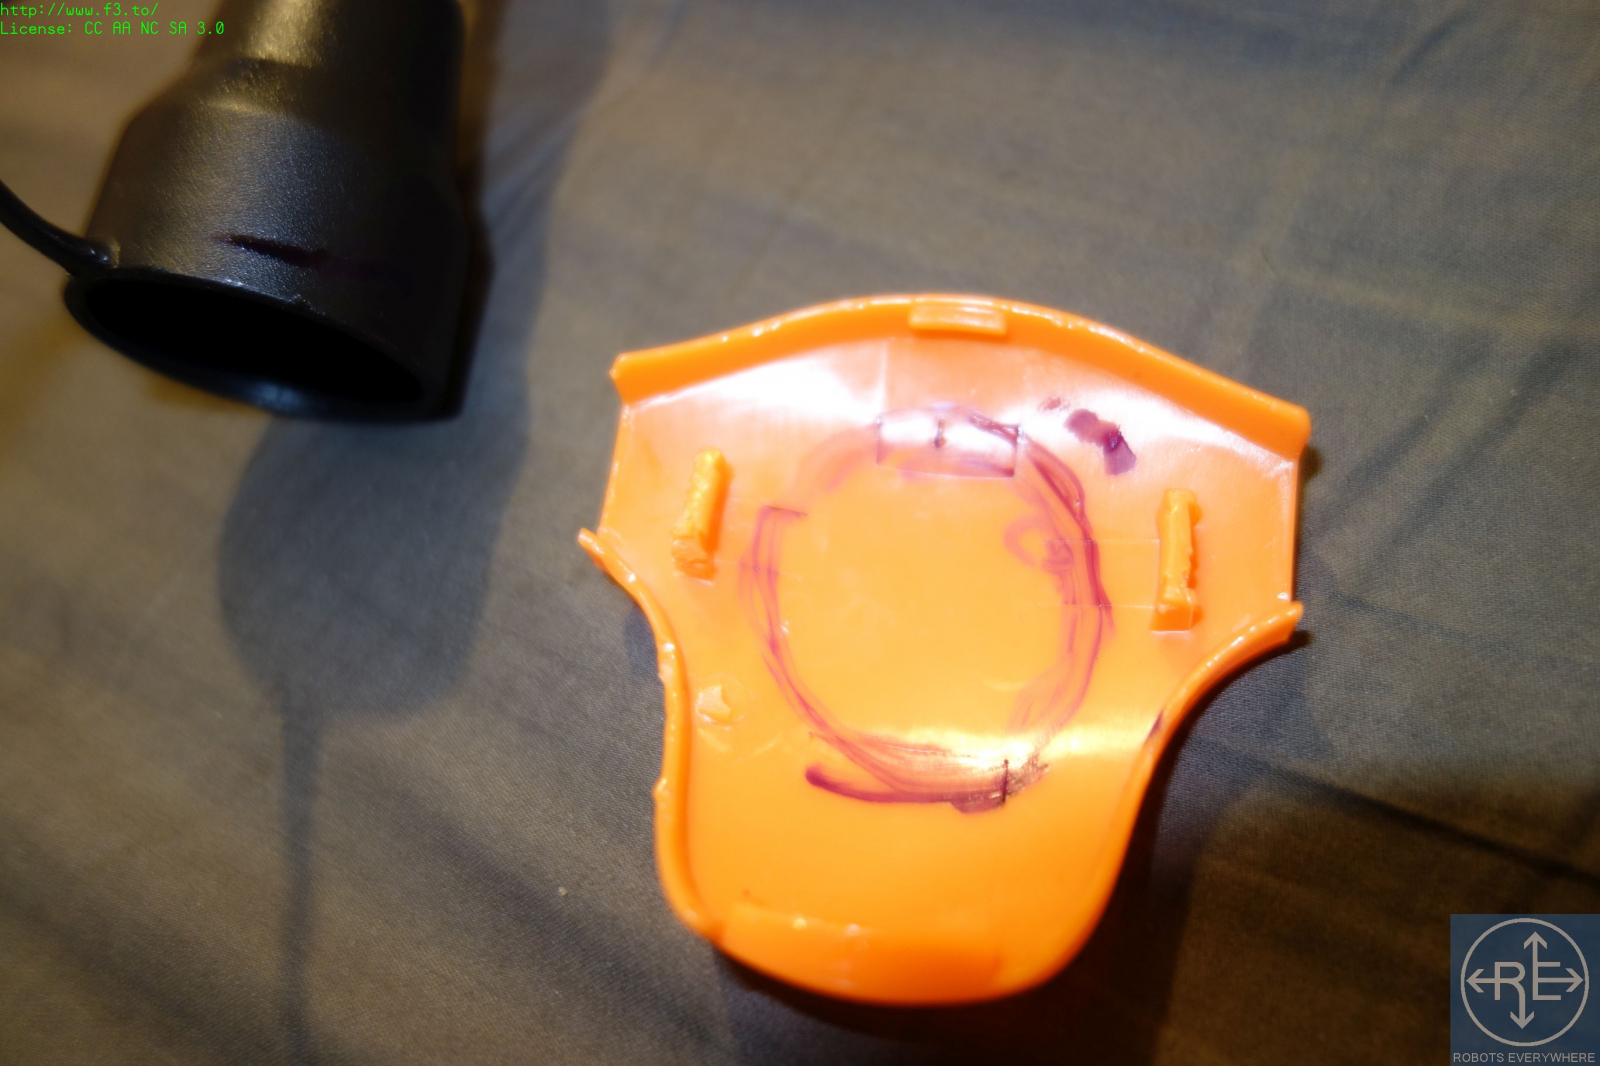 Time to glue this in place with hot glue, epoxy etc, for mechanical stability. "JB Weld" is a very strong epoxy you can use which takes about 6 hours to solidify, but will hold the tube in place very firmly. Hot glue can then be used to seal any leaks.
 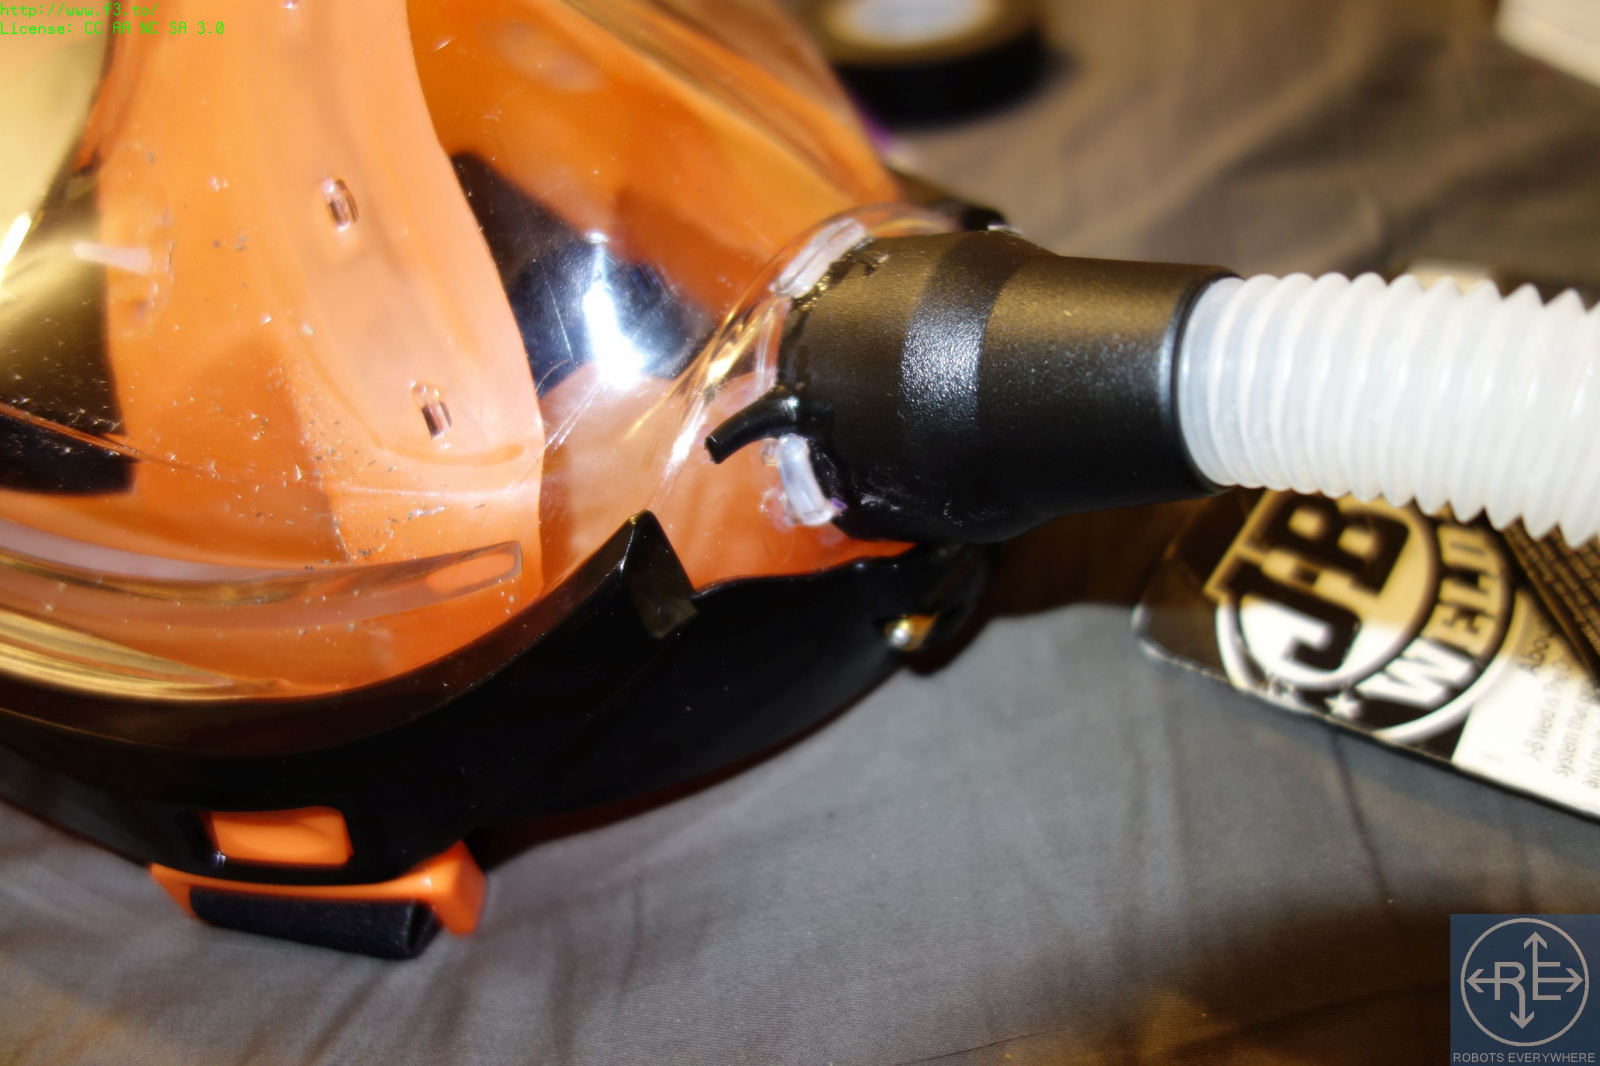 Wait for the glue to dry, don't wiggle the epoxy while it is still curing or the bond will be very weak.
 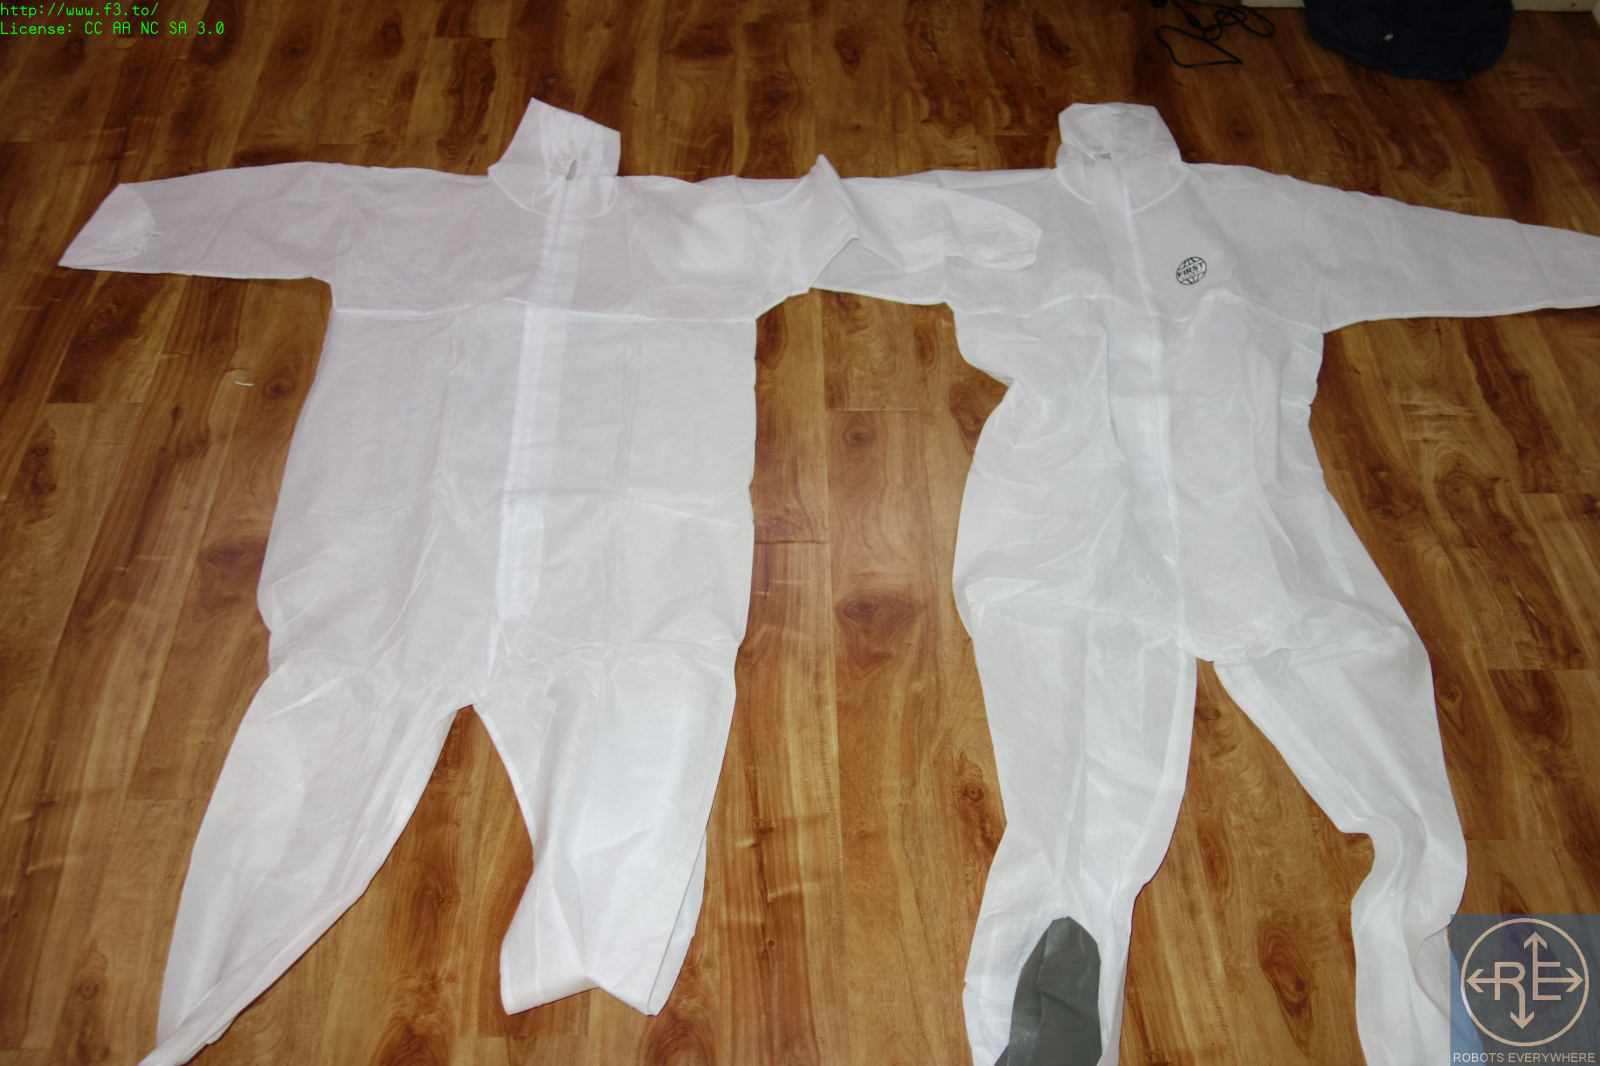 Carefully fit one into the other; be sure to get the feet/socks to actually touch inside the leg or you'll risk ripping the inner suit when donning it.
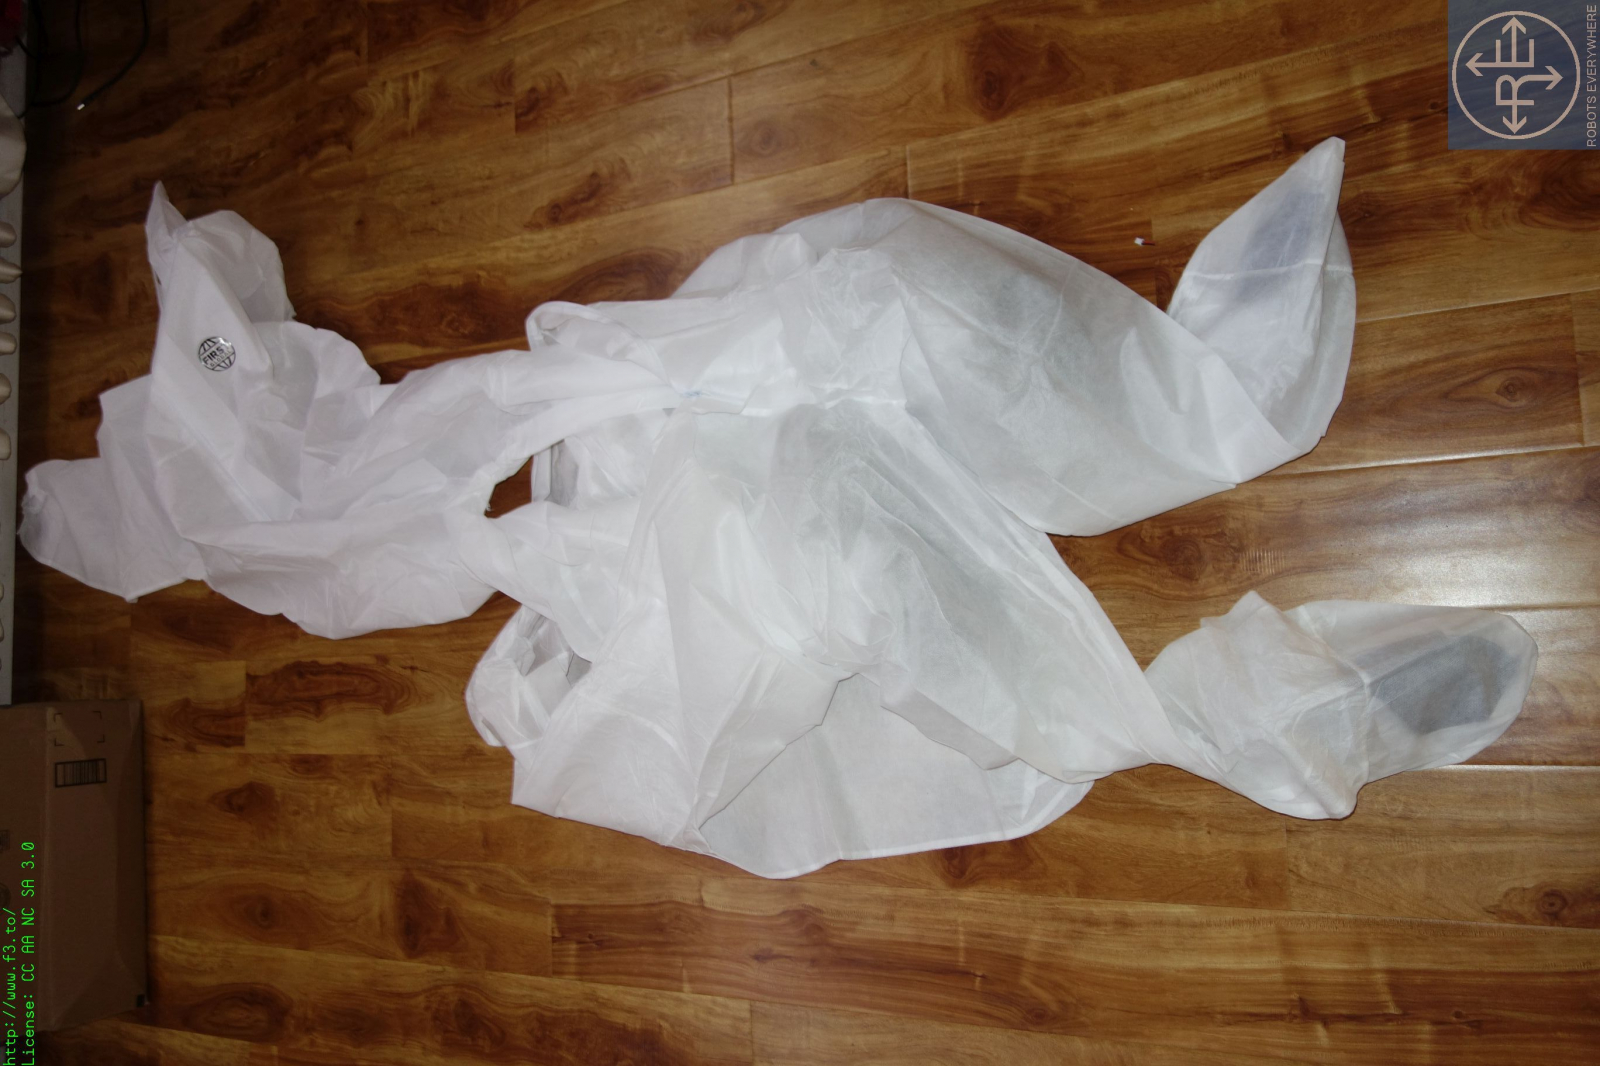 Slide the inner sleeve through the outer sleeve as you do this, unless your suits have built-in gloves.
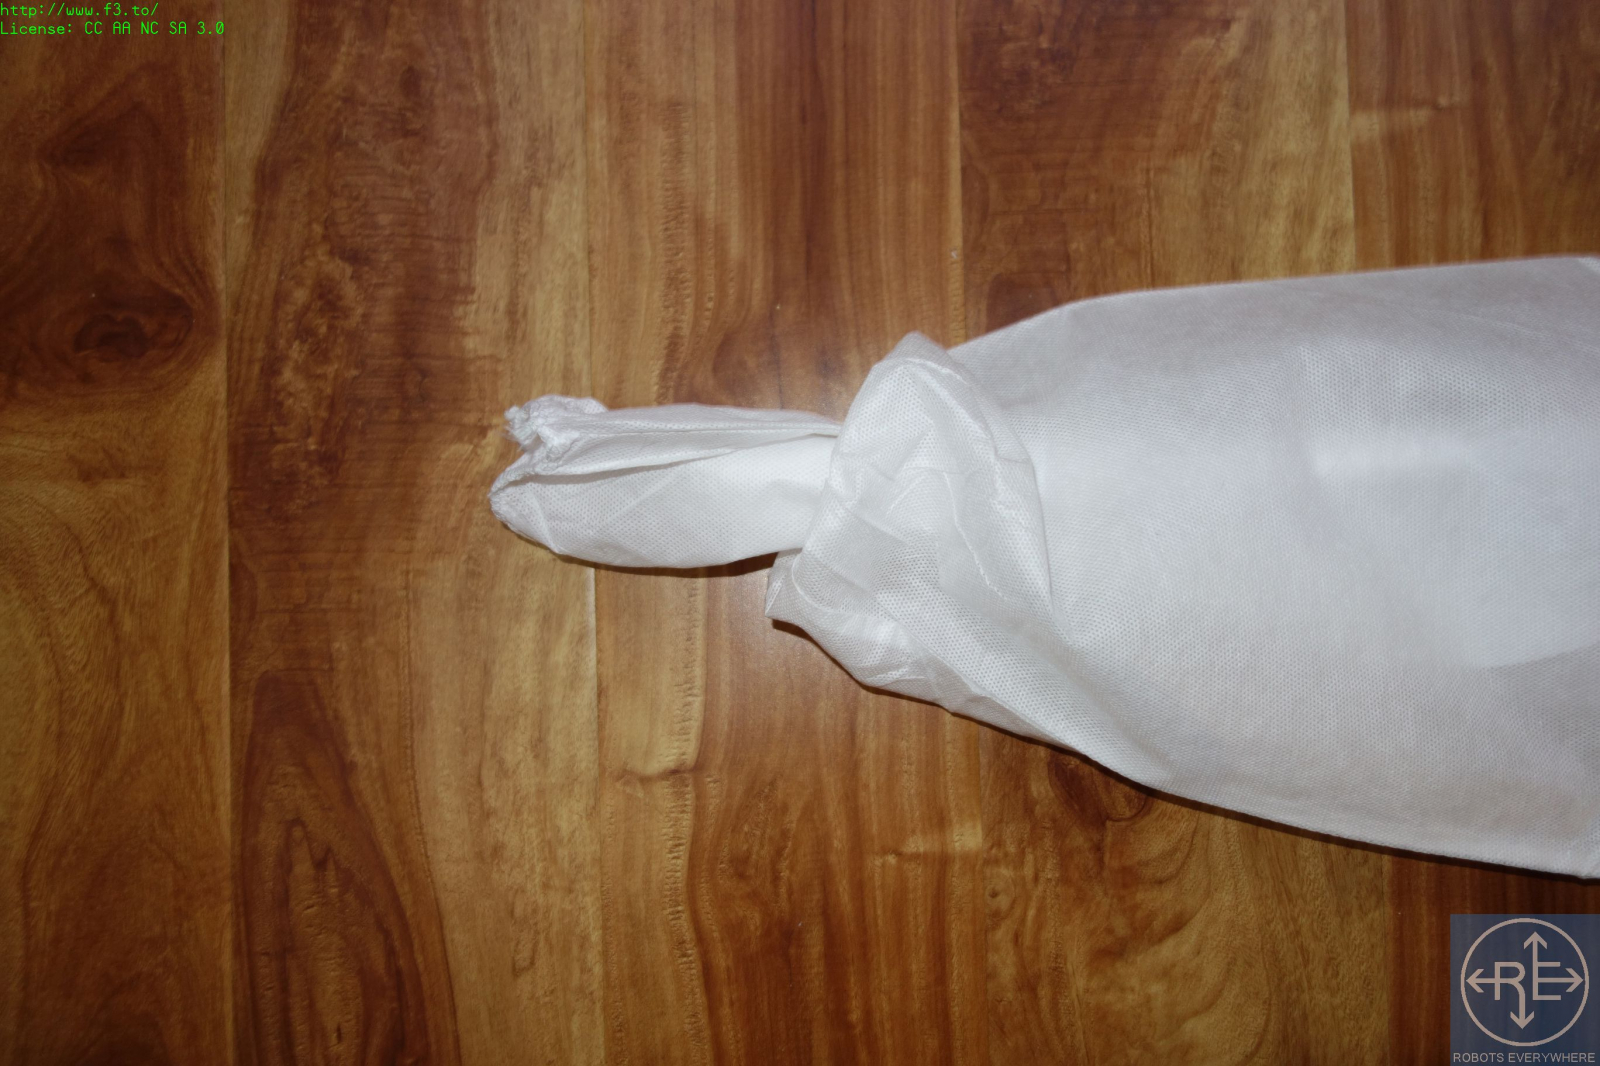 Now you will need to take the exhaust air from your mask and pipe it into the interstitial space between the two suits. This air will make the suit leak the air through its seams, which can prevent toxins from entering.
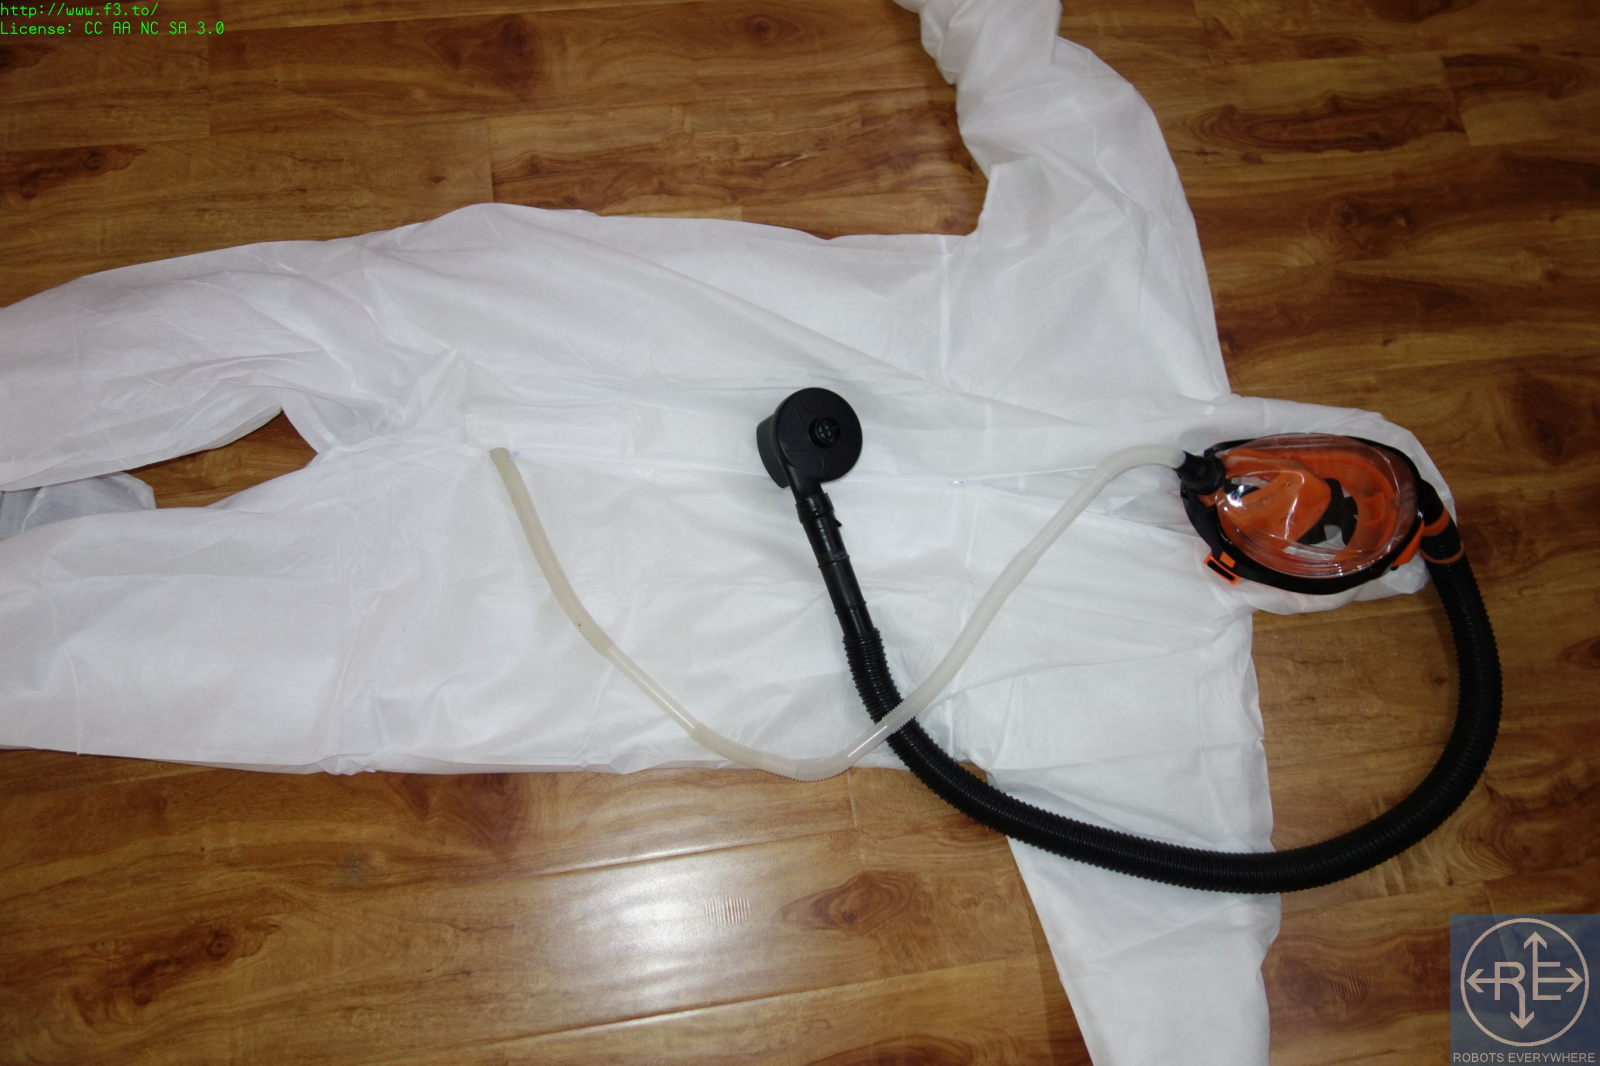 You can see how the exhaust hose should be inserted between the suits like this.
 You can also use the remaining adapter that came with the inflator to connect to outside air via a hose, if you do not have a filter.
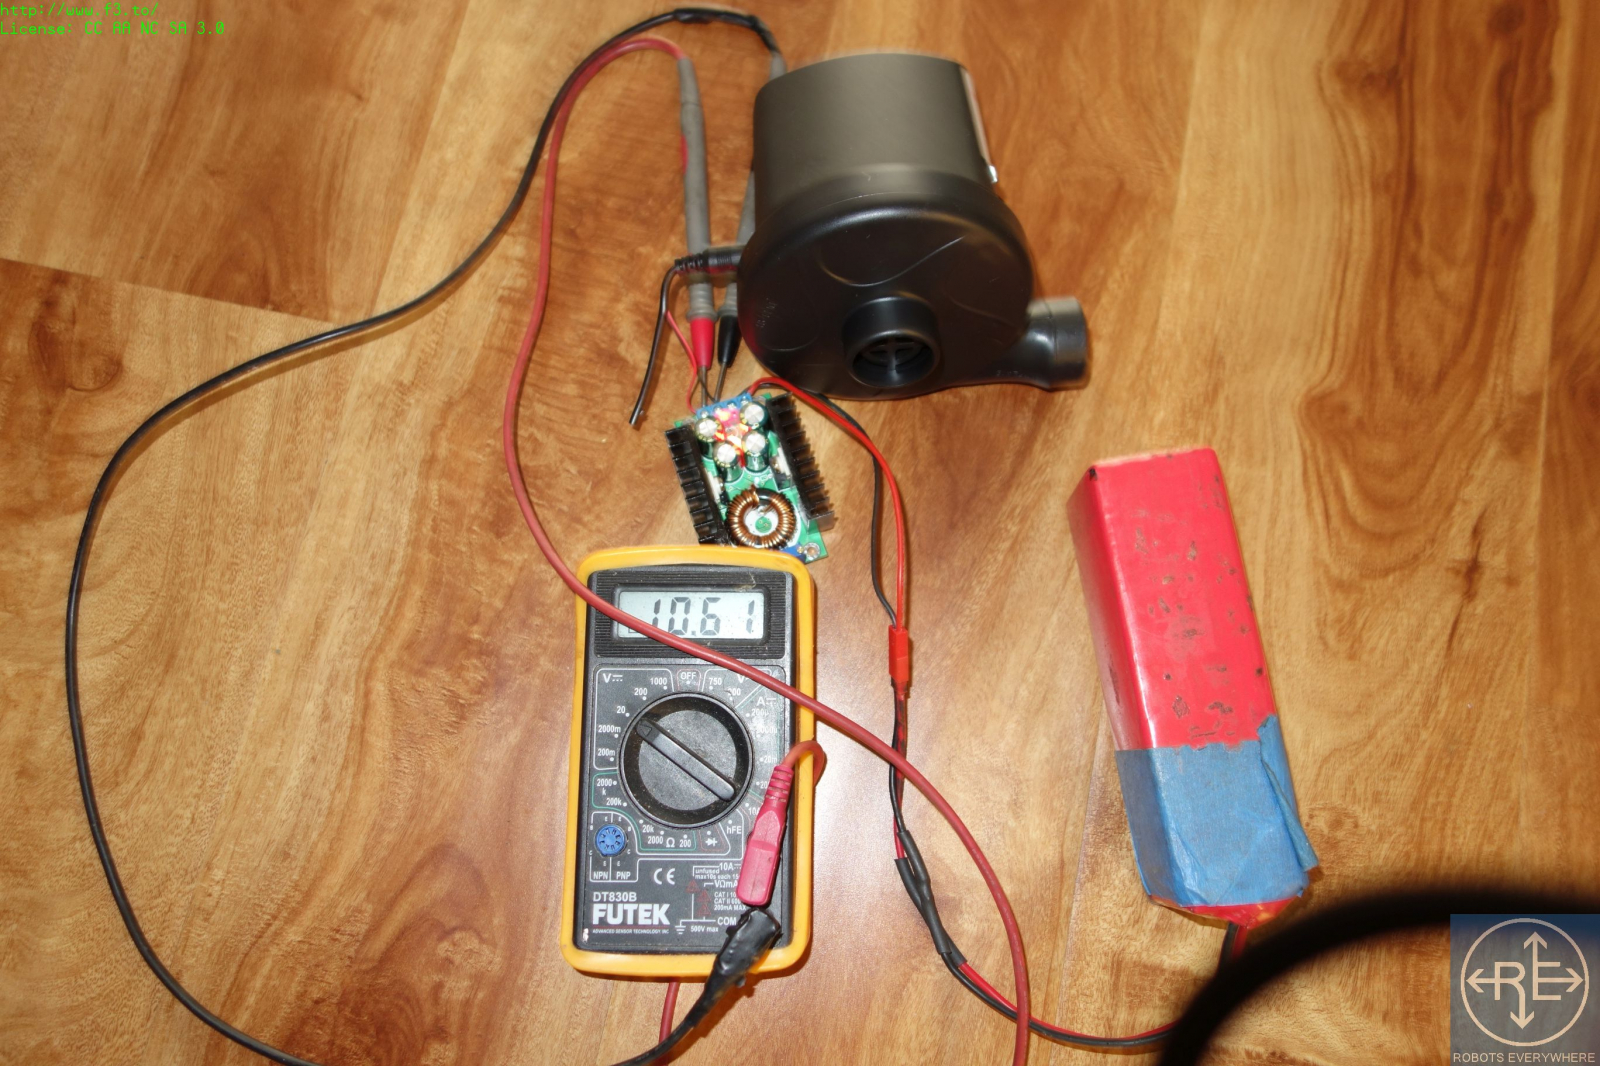

 See all the other #covid projects too!
You will need:
- 1 full-face swimming mask.
- A length of 1.25 inch hose (from a shop-vac or the like).
- Two painter's suits (tyvek or similar) of identical size. These do not stretch, so loose fit is better.
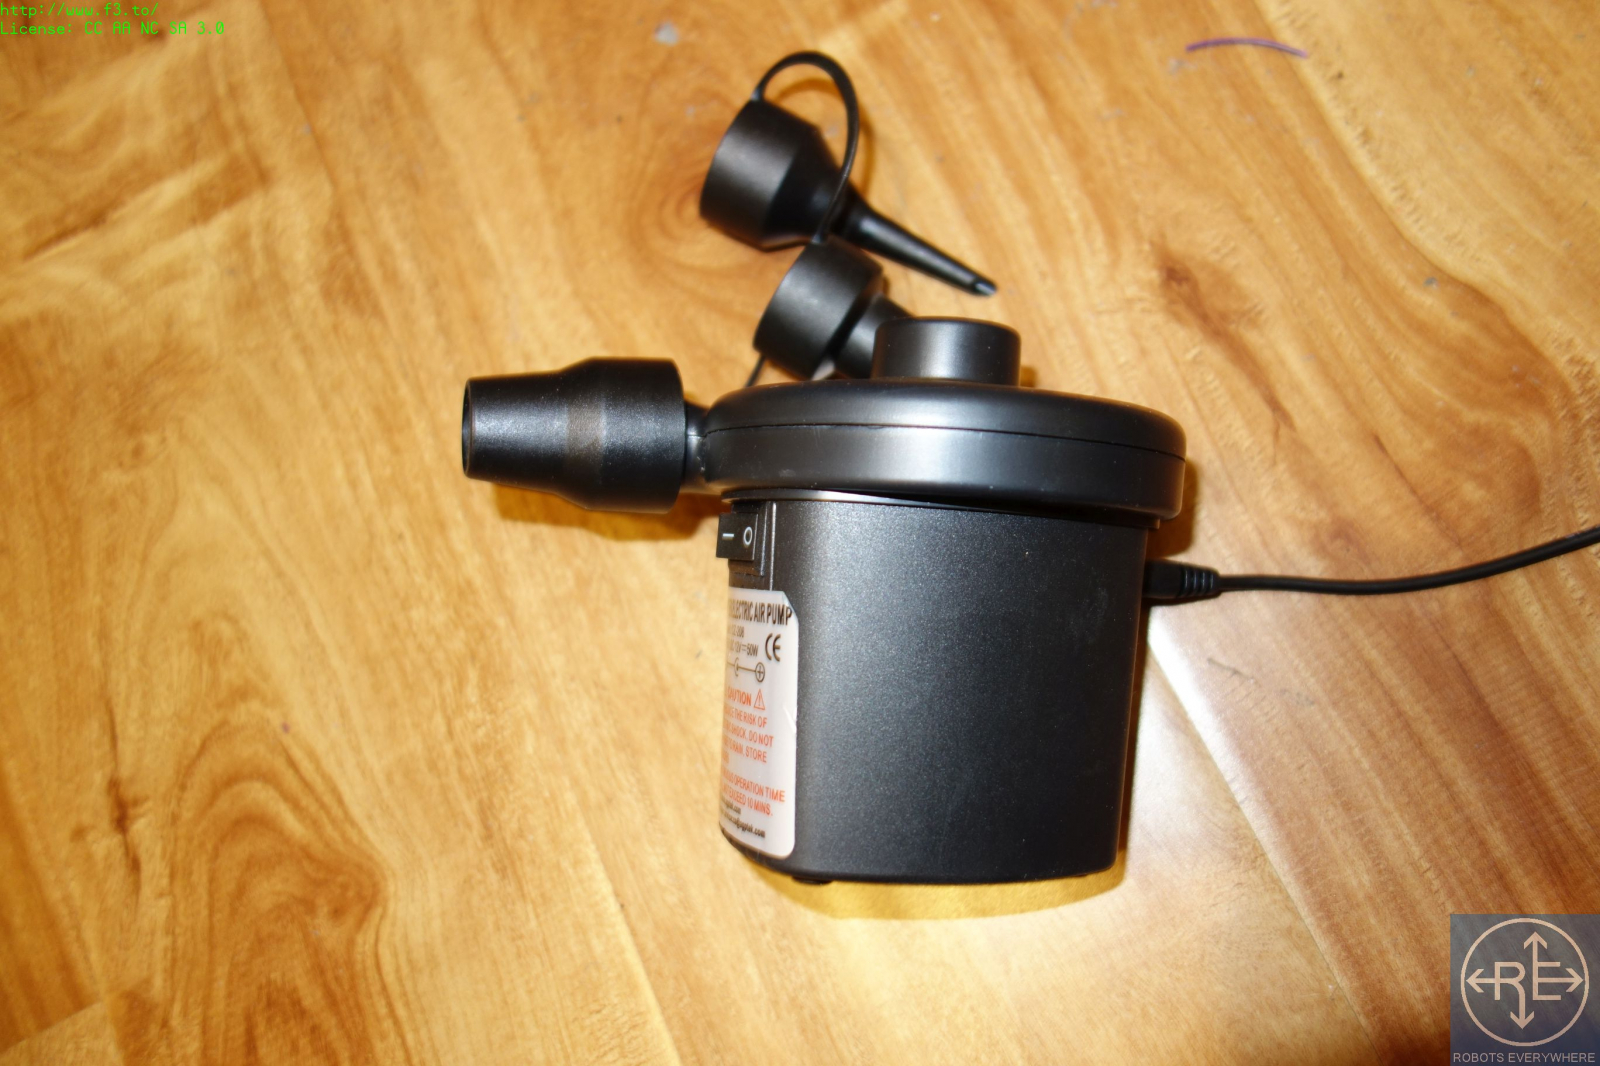
- Air bed inflater.
- Electrical tape.
- J.B. Weld or other 2-part epoxy.
- Hot glue and hot glue gun.
- Circular HEPA Air Filter, about 4" wide.
- A 12V power supply for the pump.
- A mesh bag like the kind used to hold apples at the grocery store.
Snorkel Preparation
Remove the snorkel from the swim mask, it won't be needed for this project.The Blower
You'll have to use one of the size adapters on the air bed inflator to make an adapter for the vacuum hose. Choose the one with the largest outlet for maximum airflow.Attaching the Hose to the Snorkel
You'll need another adapter, I used the next smallest, but you may need to use the smallest instead.The Pressure Suit
Let's work on the suit now while the glue dries. You will need two identical painters suits, which are available at local hardware stores. They don't stretch, so be careful to choose a looser size than you might would otherwise.HEPA Filter
To filter the air going into the mask, you will need to glue a HEPA filter to the intake of the pump. The circular style works well because it has lots of surface area, which makes moving the air very easy for the pump. You can use lots of hot glue to make a seal between the filter and the pump.Electronics
Some of these pumps are not designed to run continuously, and may overheat. But, by running them at a slightly lower voltage, they can run continuously. There are a number of ways to accomplish this.If your pump runs on "D" batteries, you can replace one of the batteries with a ball of aluminum foil which will run the pump 1.5V lower than normal. However, if your pump has a 12V input, like mine shown here, you can use a "DC-DC converter" to step the voltage down from a lithium ion battery to about 10V, which should keep the pump running a long time. If you need to build a voltage regulator from scratch, or need other help with the electronics, please see the robots-everywhere "cookbook" wiki for more information.Bag it all up
Now, place everything into a satchel which won't restrict the air flow. A mesh bag like those used to carry apples at the grocery store can work really well.The Result
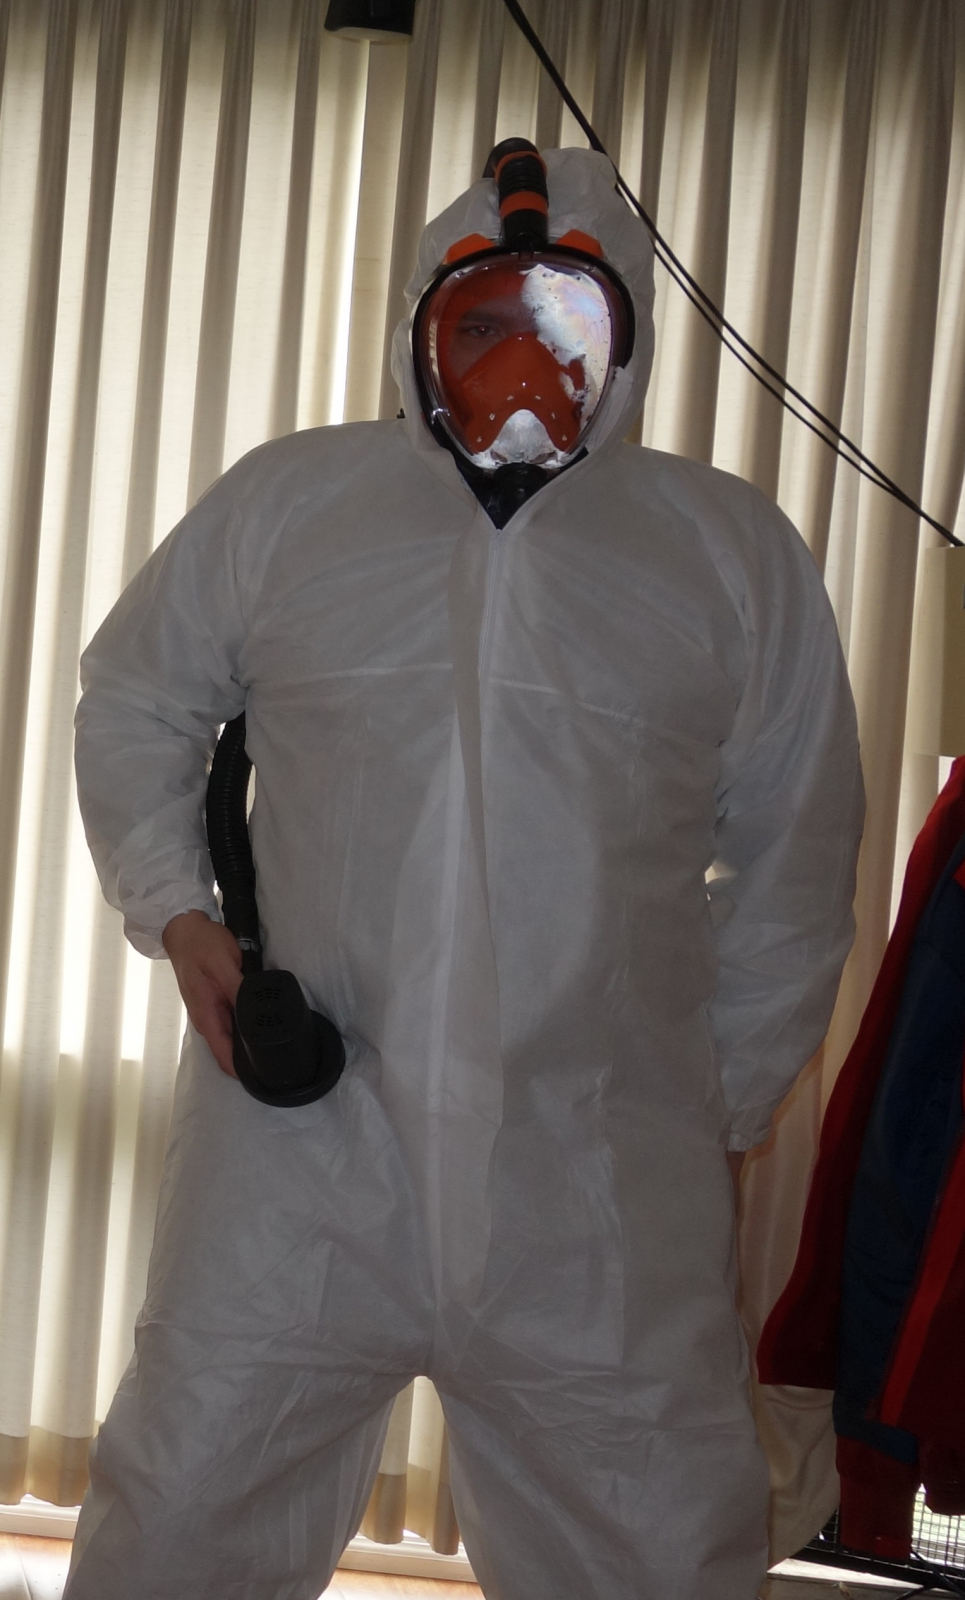
If all is working well, the suit should be inflated and ready to use!