TEA Laser
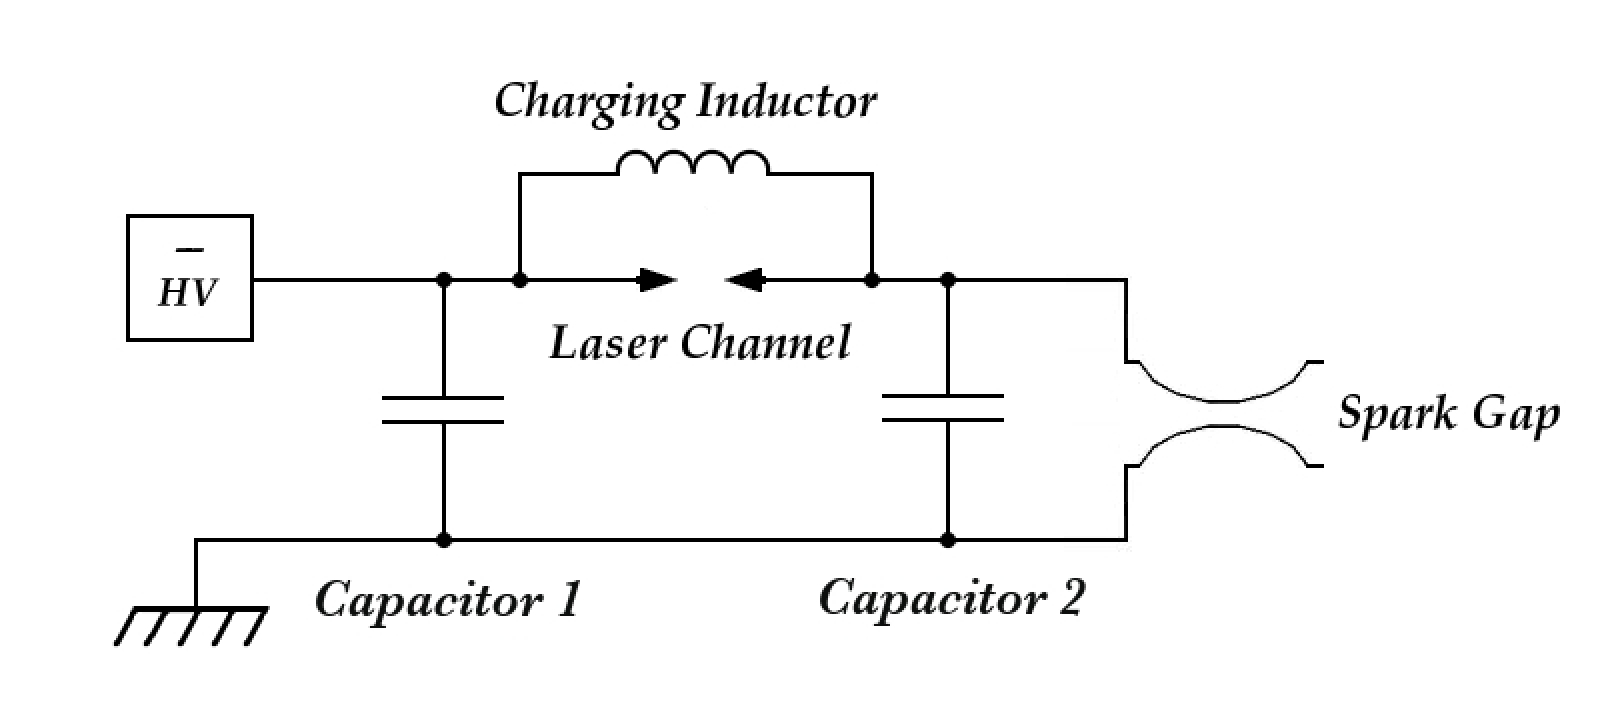
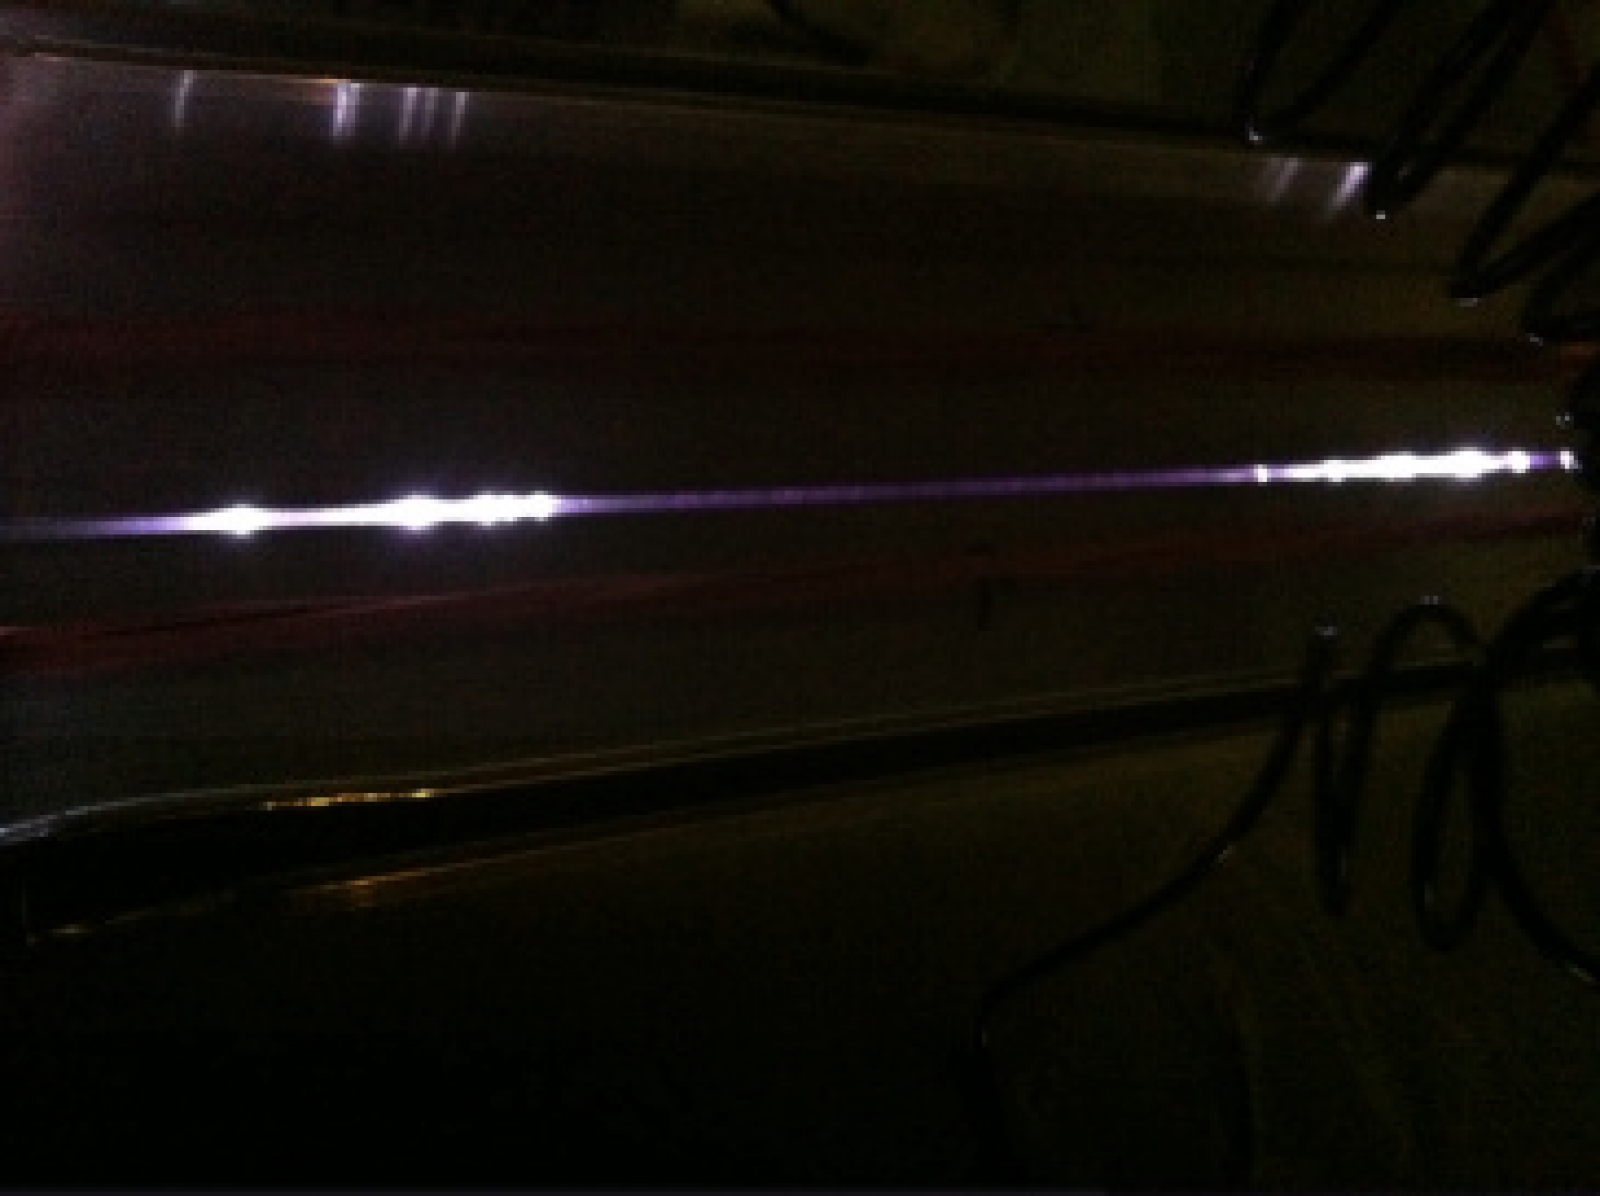
A laser with no optical cavity that operates at atmospheric pressure…wait…what?Yes, you heard me right, this is a laser that uses no mirrors to bounce light back and forth (an optical cavity or resonator), no special gas mixture, and operates at atmospheric pressure. It’s called a TEA laser.TEA lasers, or transversely excited atmospheric-pressure lasers, consist of two long, parallel electrode rails about 1 mm apart, with each rail connected to a capacitor, and an inductor across the rails. A diagram of this is seen below (credit to jossresearch.org for the diagram): After the capacitors/rails are charged to a high voltage through the inductor, a spark gap is triggered. This causes the voltage of the capacitor and rail closest to the gap to fall very rapidly, as charge flows through the spark gap to ground. Due to the low inductance of the capacitor this flow of charge occurs very quickly. The inductor between the rails keeps the second rail and capacitor from discharging at a similar rate, and the potential difference between the rails results in dielectric breakdown of the air between the rails.This discharge excites nitrogen in the air to a high energy level, which then decays to a lower energy level, lasing and releasing photons at 337.1nm. And hence, a laser pulse is completed.As it turns out, TEA lasers are really easy to make! I built one using little more than spray adhesive, aluminum foil aluminum angle iron, an overhead projector transparency, and of course my trusty 15kV, 30mA neon sign transformer.
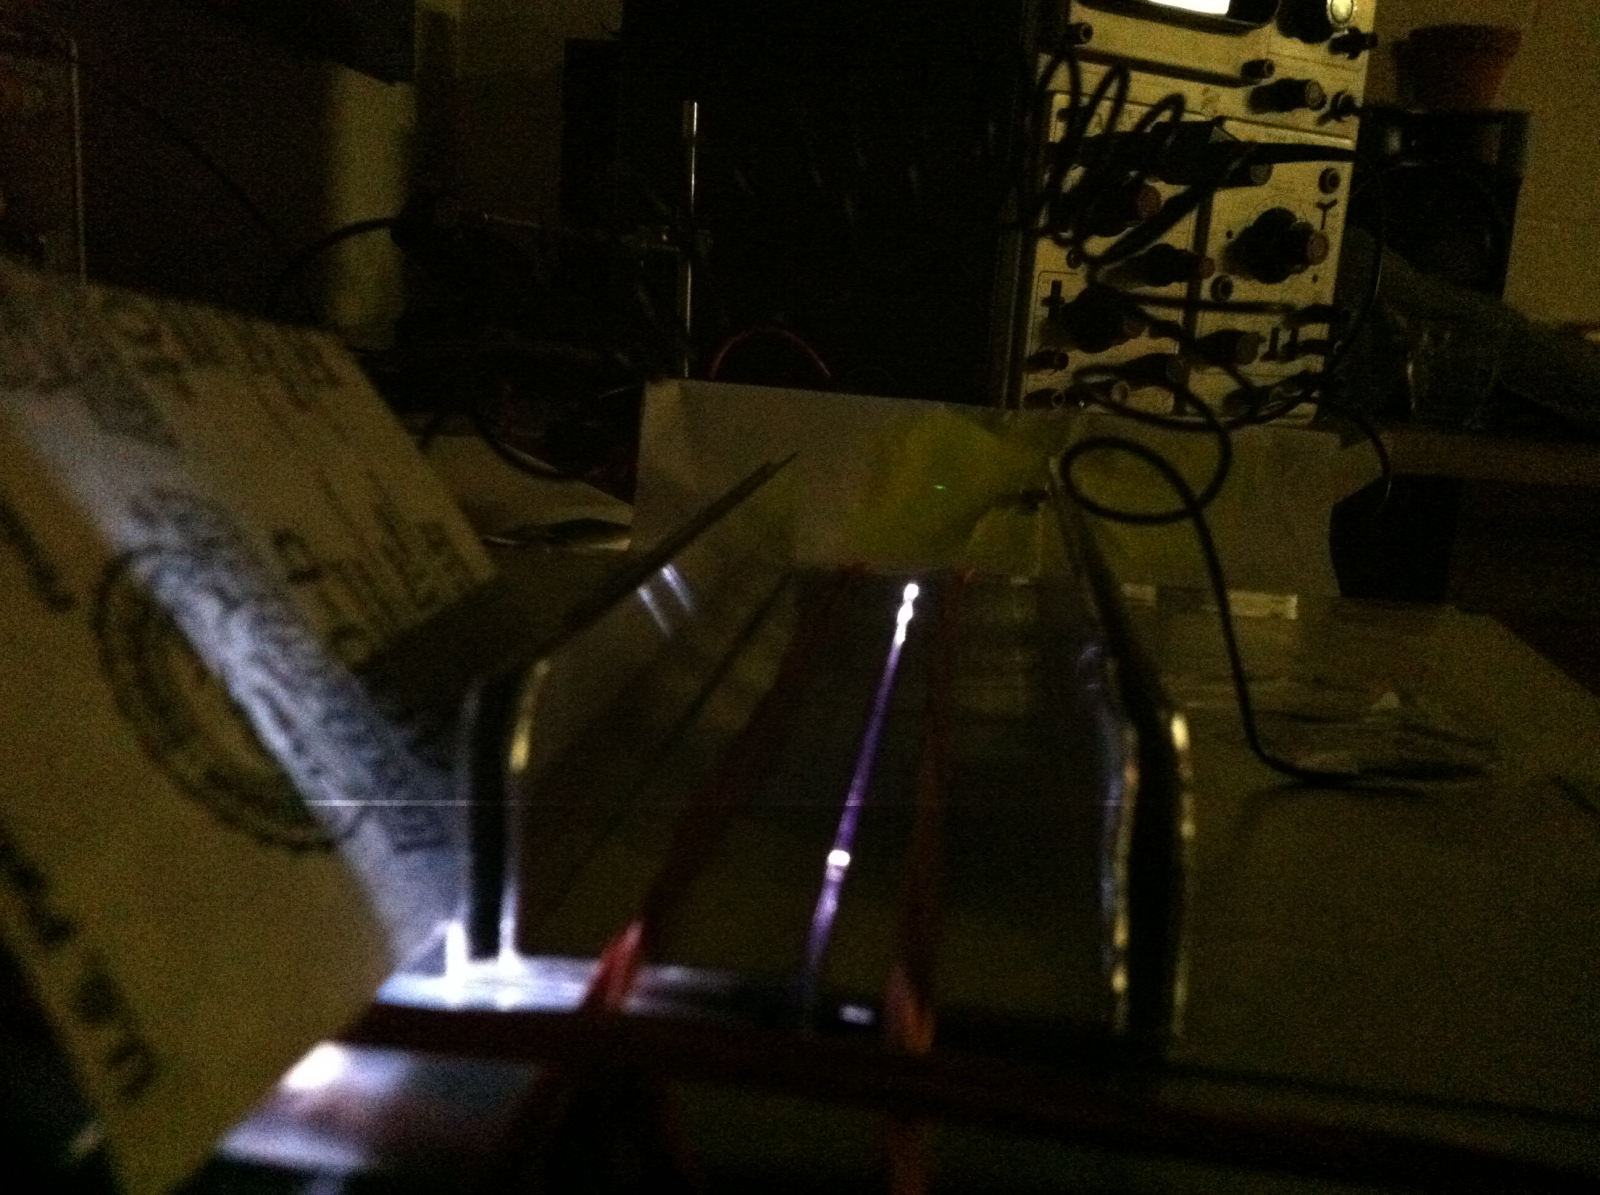
 To make the capacitors I glued aluminum foil on either side of a transparency using 3M Super 44 spray adhesive, using a large sheet as a common ground plane, and two individual smaller sheets as the individual electrode plates. I trimmed 1″ aluminum angle iron to the length of the capacitors, smoothed off rough edges to prevent corona losses, and set them up as the laser discharge rails. I built a simple spark gap from two piece of angle iron, a bolt, and an acorn nut. And finally, for a power supply I used a neon sign transformer passed through a simple, two diode full wave rectifier. To control the power output of the transformer I used a variac to control the input voltage to its primary coil.
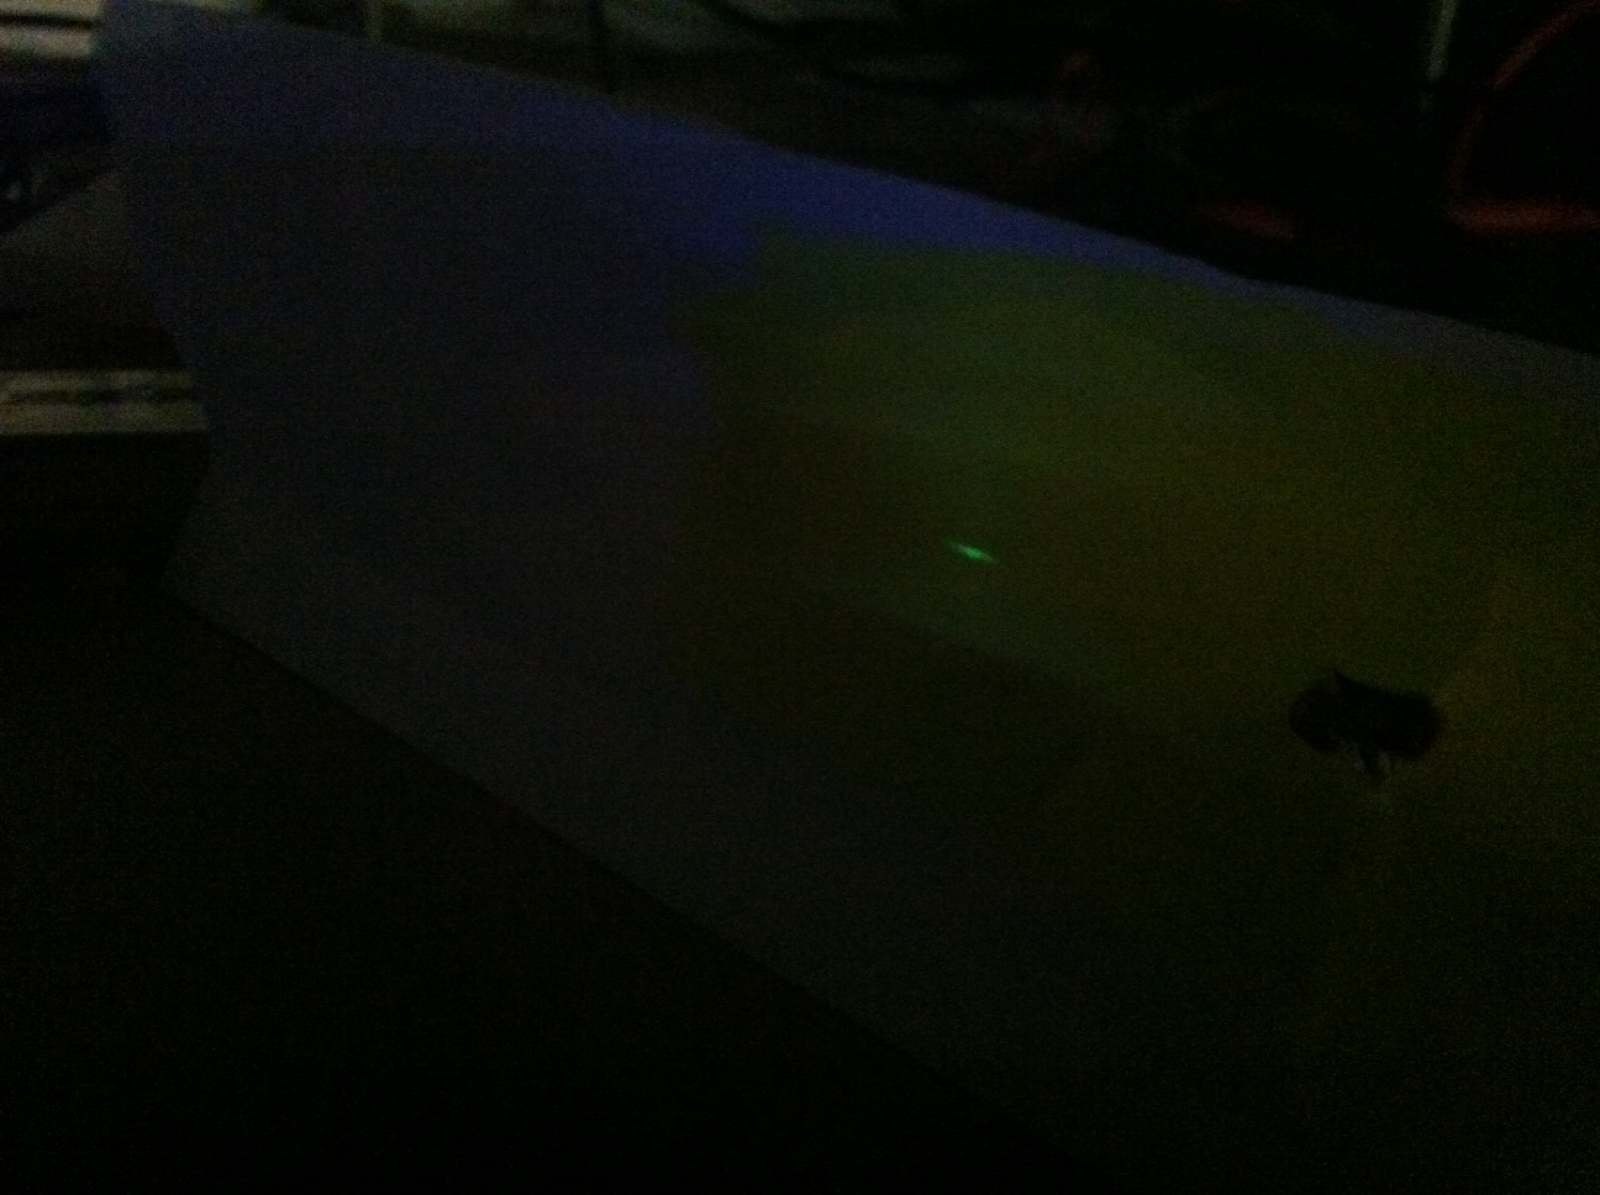
 After a bit of fine tuning of the laser electrode alignment I finally got the laser to lase! Here’s a picture of the laser during a pulse. The UV beam is visible because I placed a piece of paper covered in highlighter ink in its path. The UV beam hits this paper, causing the highlighter ink to fluoresce visibly.
 If anyone wants to build a laser like this and needs help or more details, don’t hesitate to email me at [email protected]


