Laser-Cut Double Air Valve
This air valve is made to be used with #HandyVent, or other similar ventilators. When these ventilators are used to treat COVID-19, any parts that were in contact with the patient should be throughly sanitized when they are switched from one patient to another. The advantage of this valve is that the air hoses are sealed, and do not directly expose the valve mechanism to air from the patient. I'm not a medical professional, but it seems like this would allow the valve to be more easily reused when transferring from one patient to another. WARNING: This is a work in progress. When the device was left on overnight the motor burnt out. #Air_Valve_v2 is a 3D printed device that uses a stepper motor to bend the tube instead of smashing it. This design seems to work better, however the current design is only capable of crimping a single tube.
Materials and ManufactureYou will need the following parts: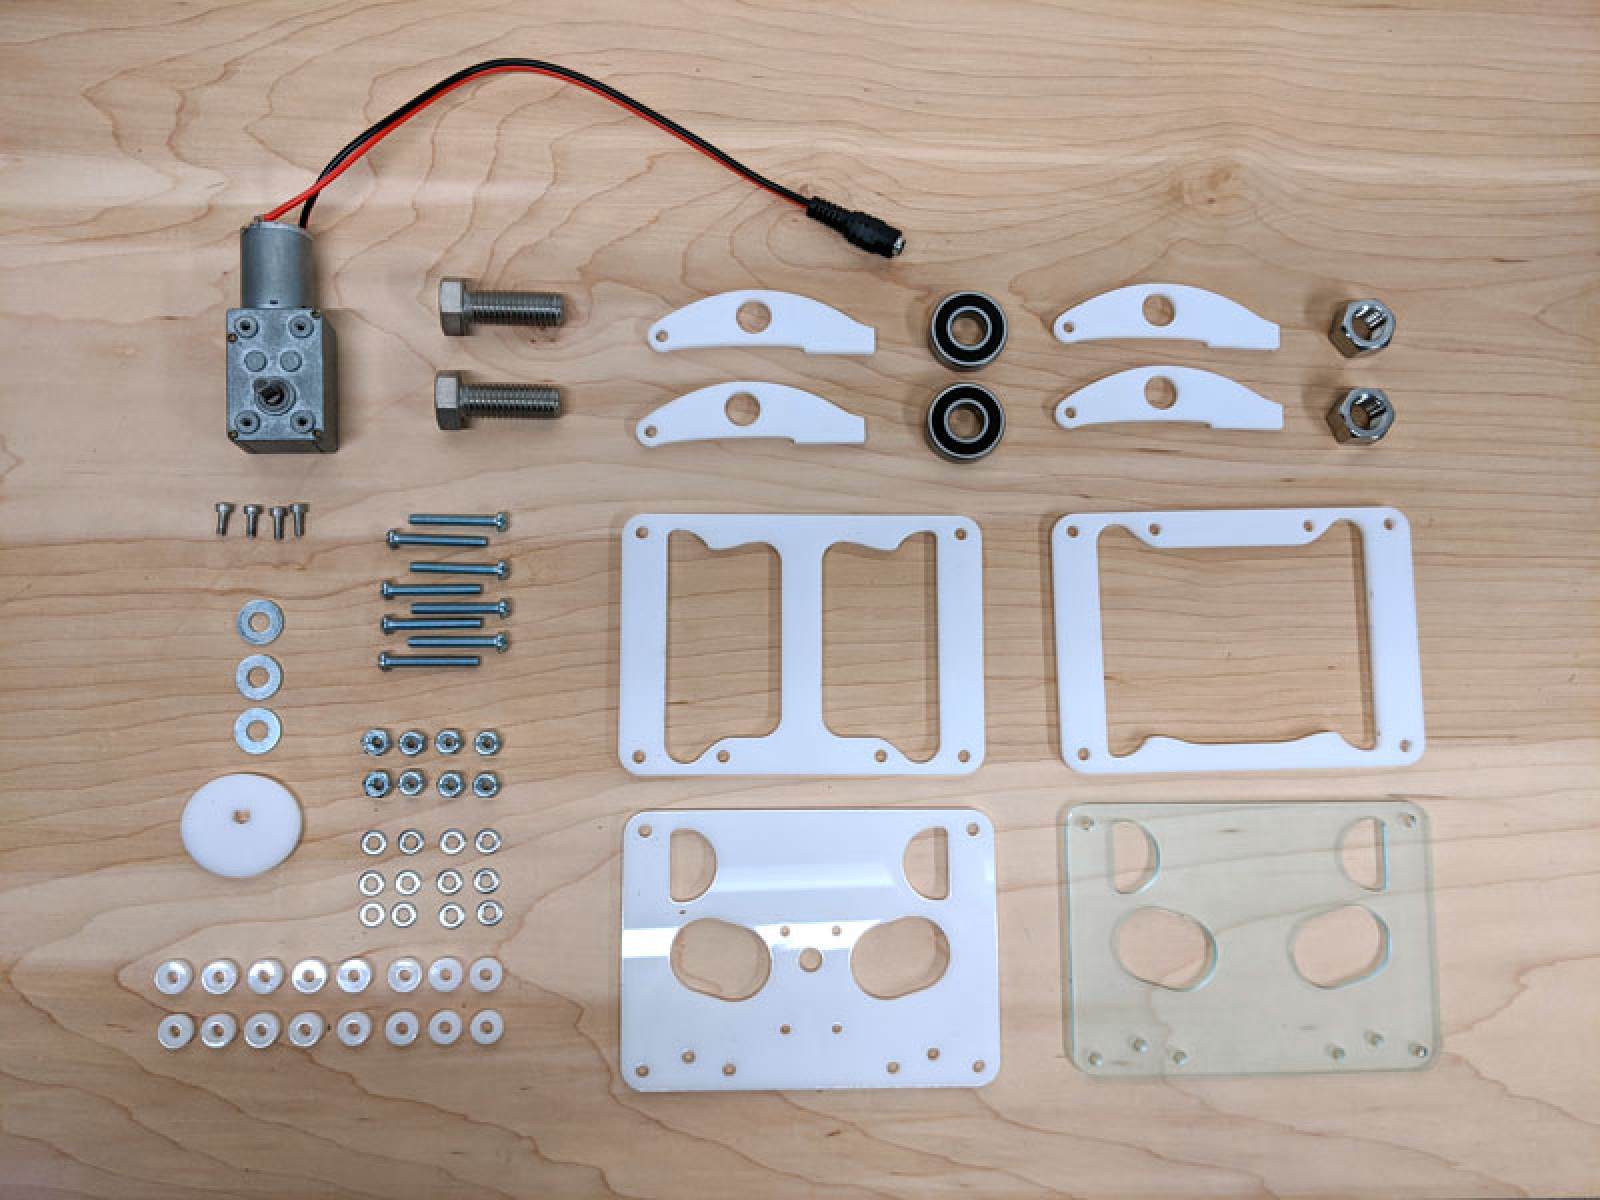
 Next, use some tape to prevent the screws from falling out while you continue assembly.
 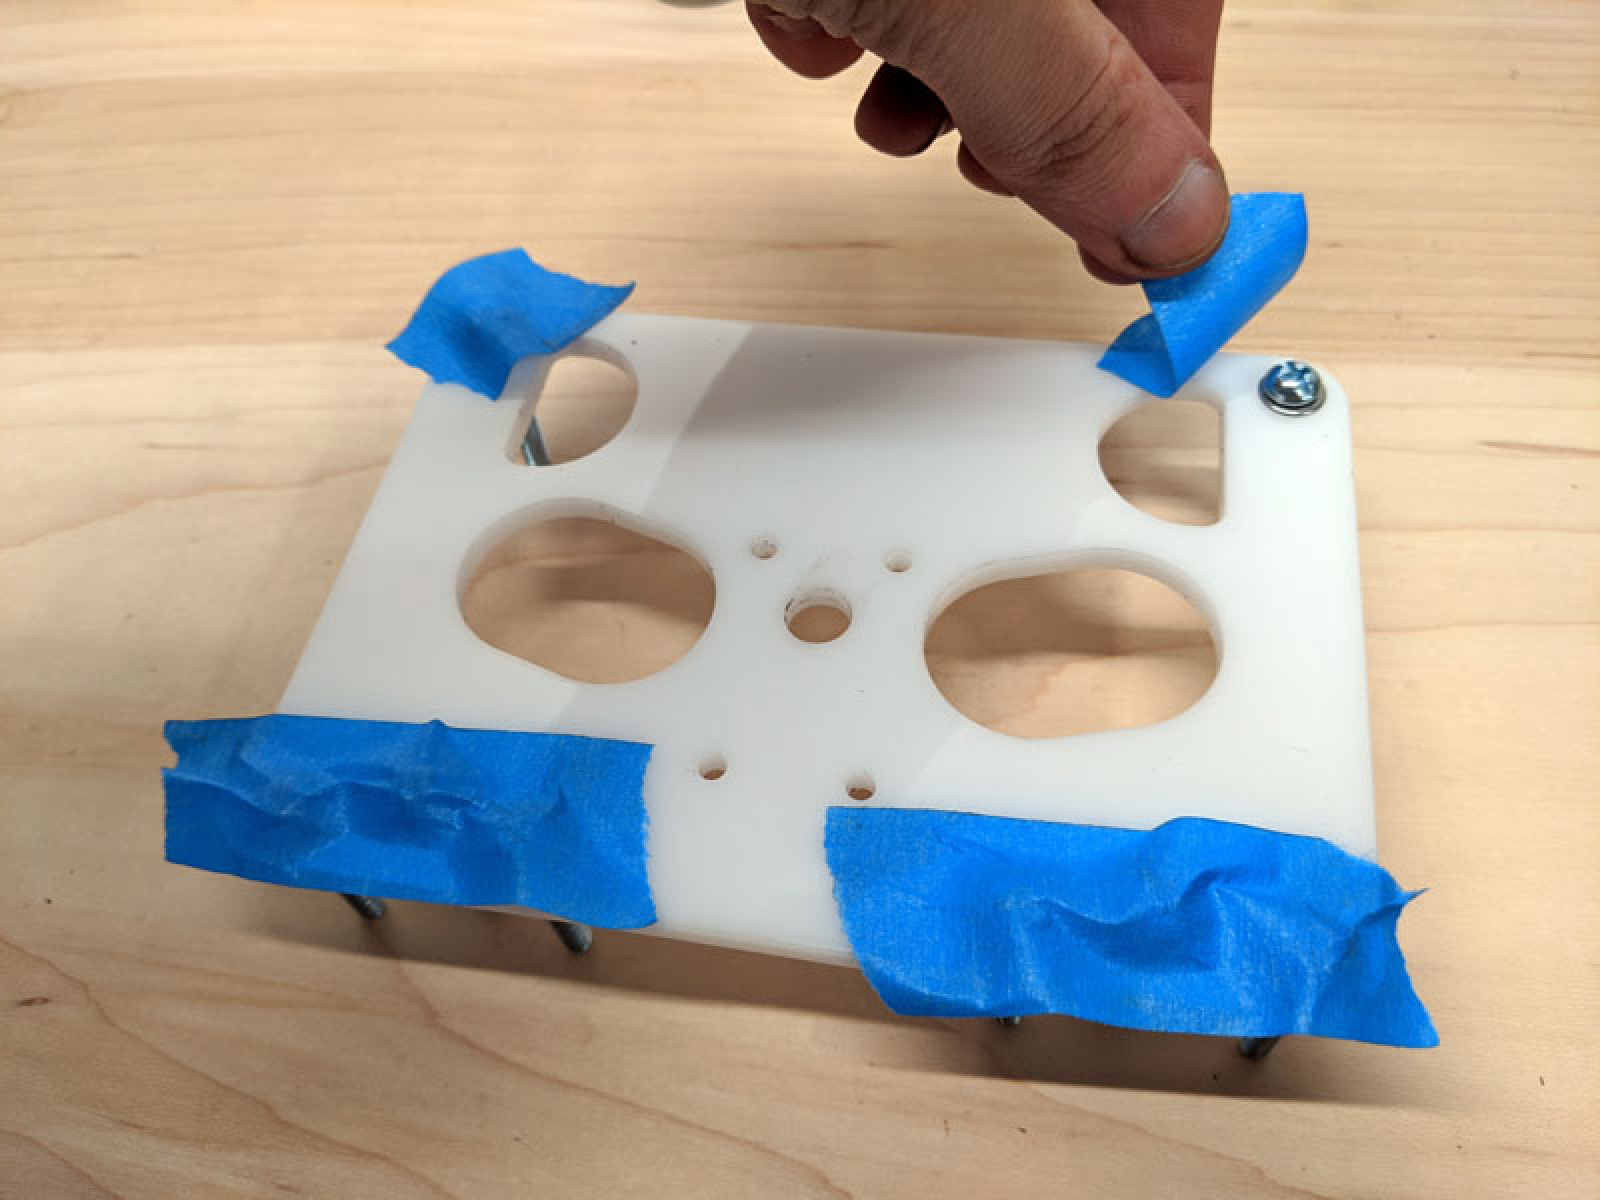 Next, flip over the cover plate so you can install your geared DC motor.
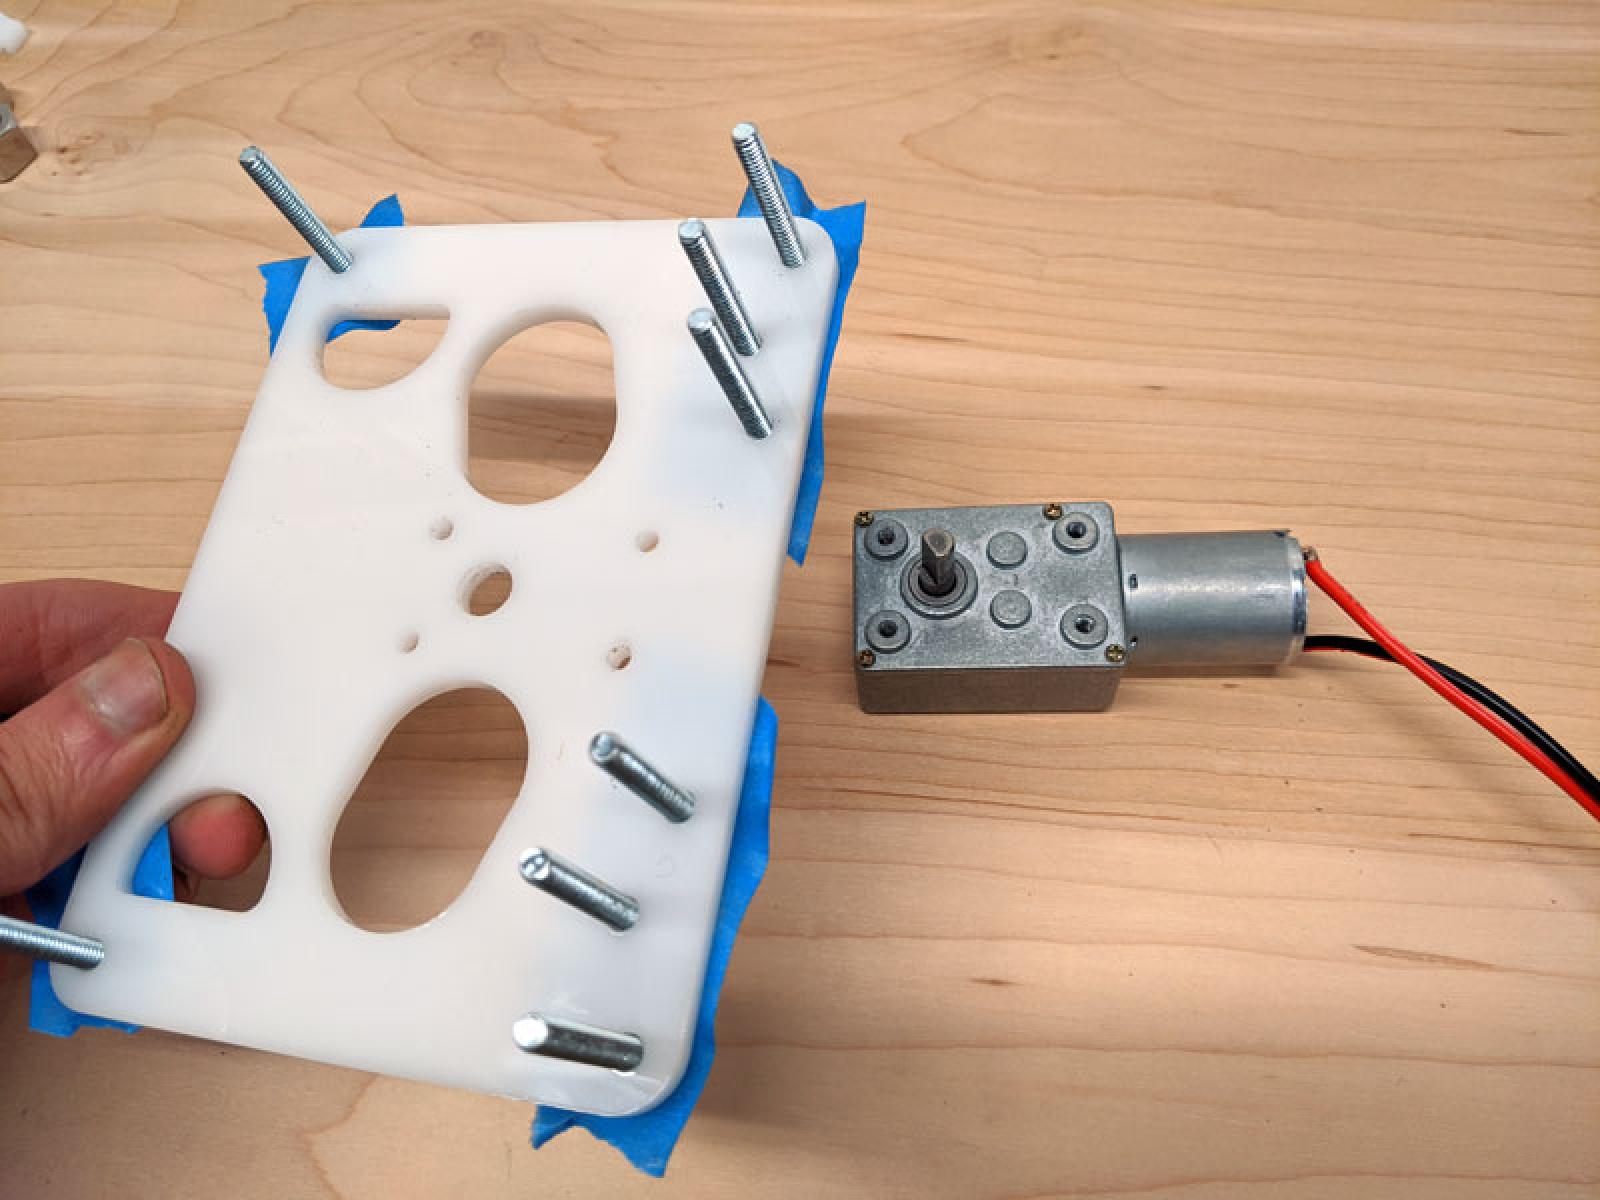 Now screw in your geared DC motor:
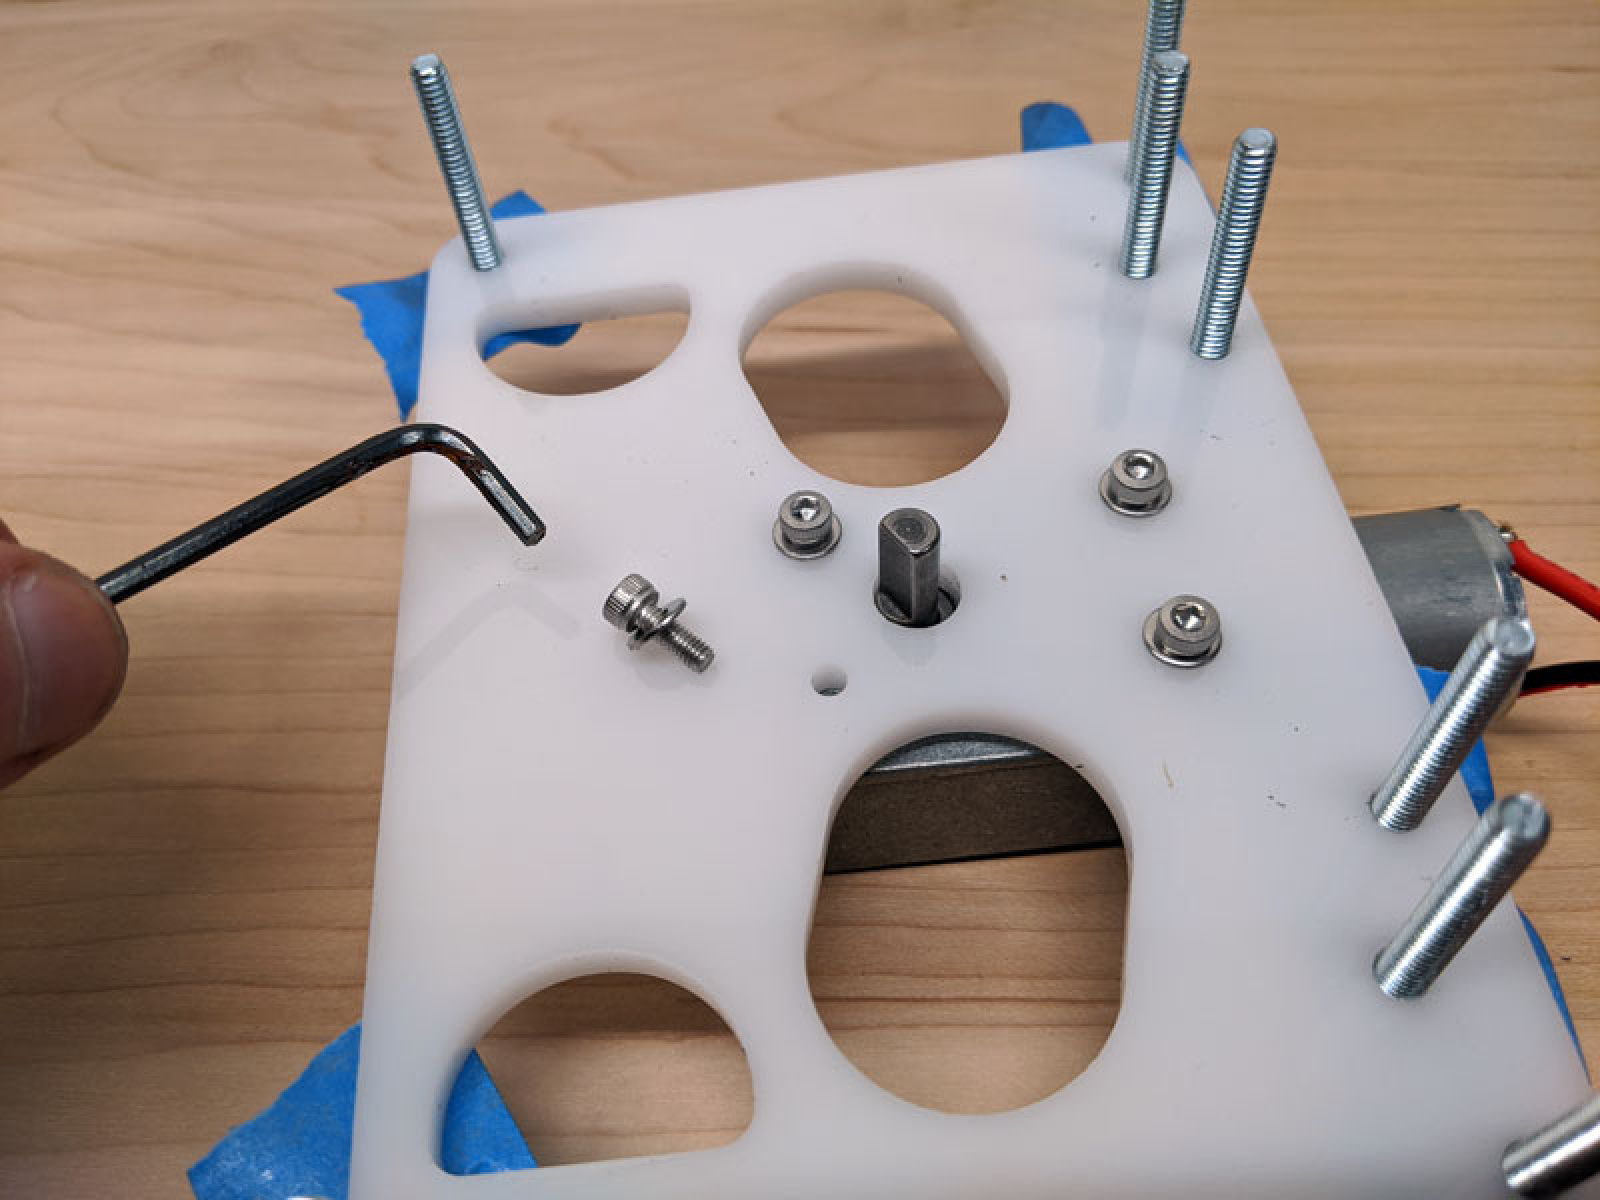 Install some washers over the motor shaft to space the cam away from the screws holding the motor secure.
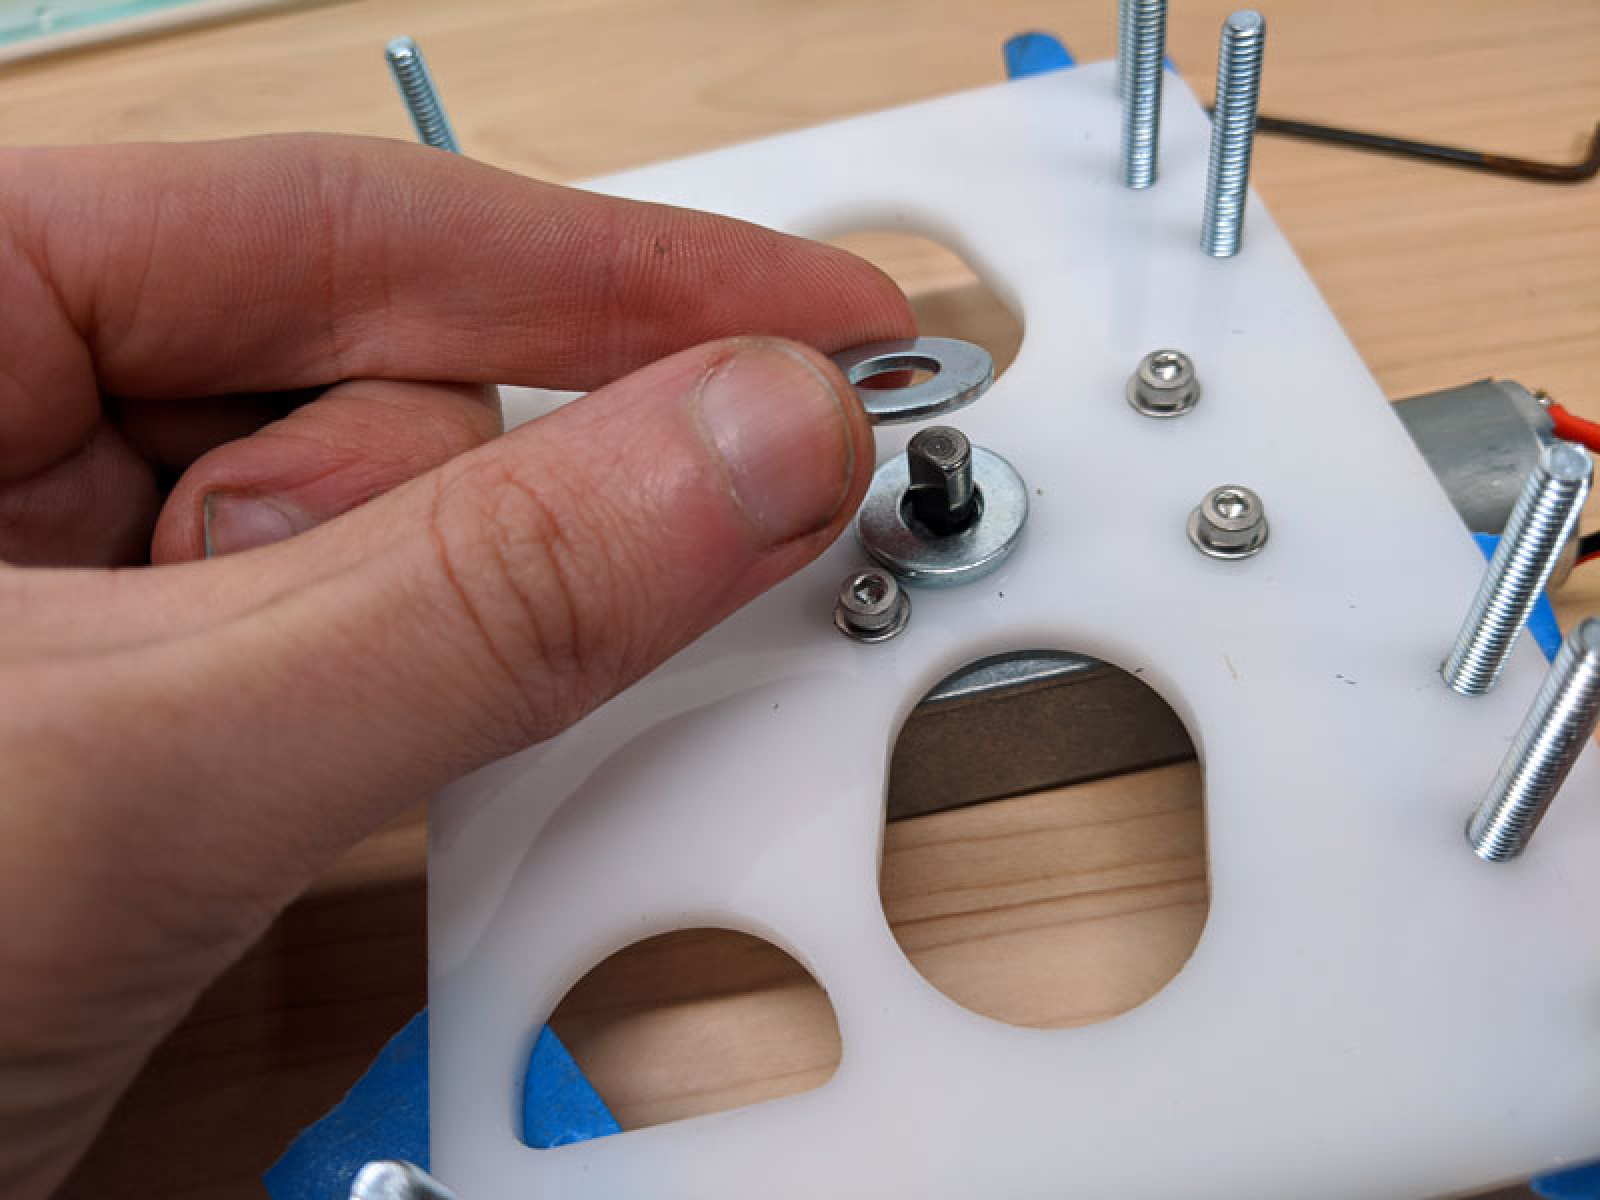
 Install the parts so that they look like the following picture. Note how that the spacers and washers together create enough clearance to not pinch the levers between the acrylic plate we will install next.
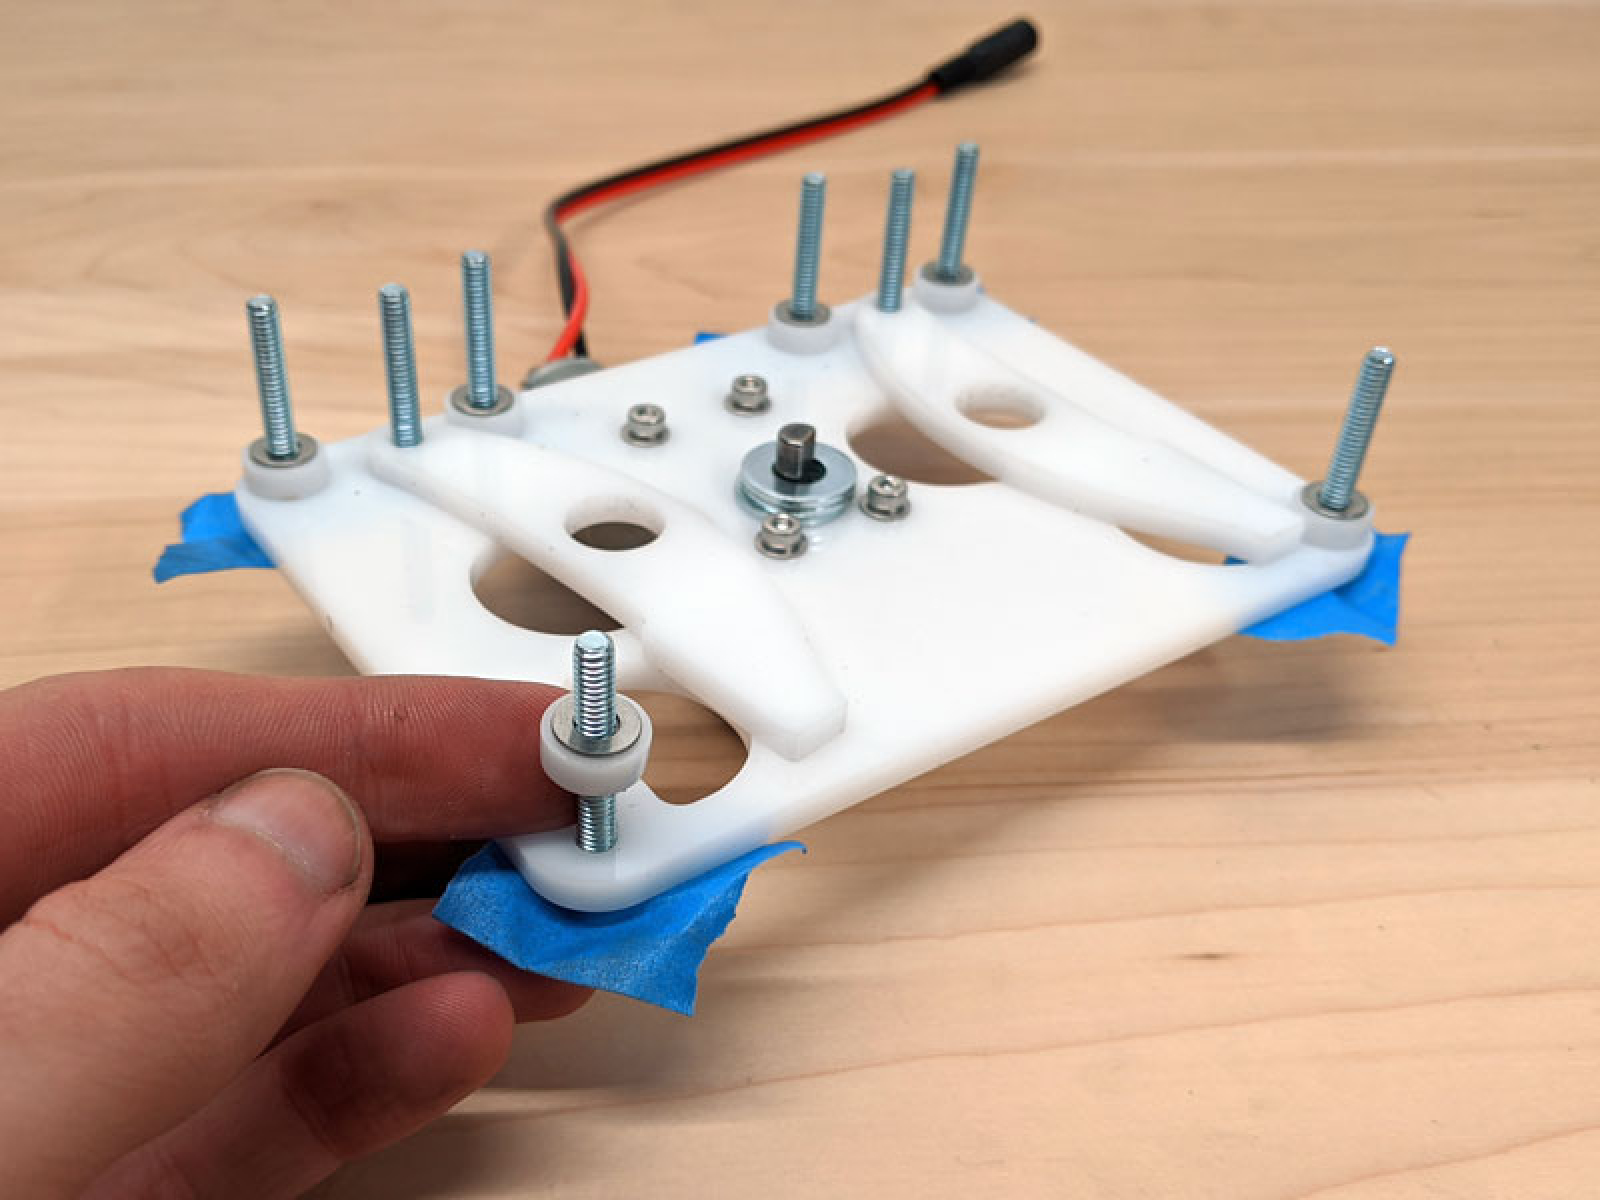
 Now take your bearings and large bolts, and install them into the lever arm such that the second lever arm part is holds the bearing captive.
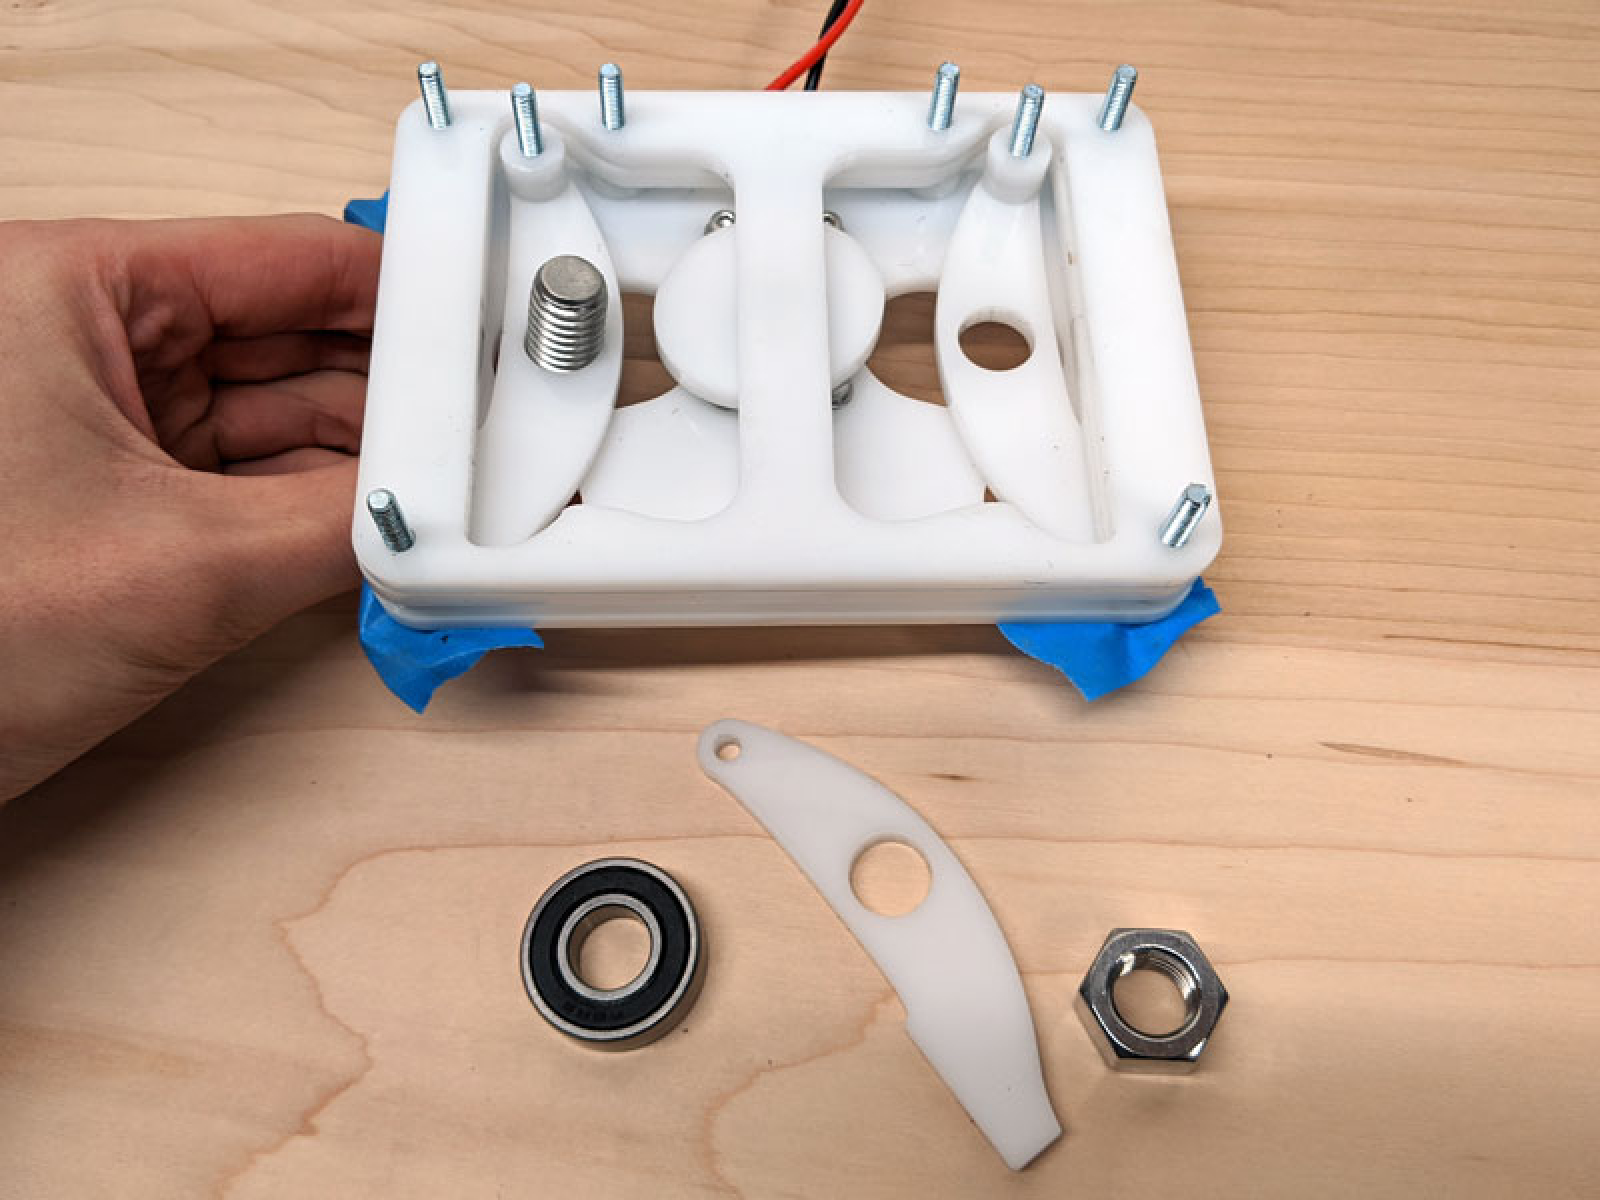
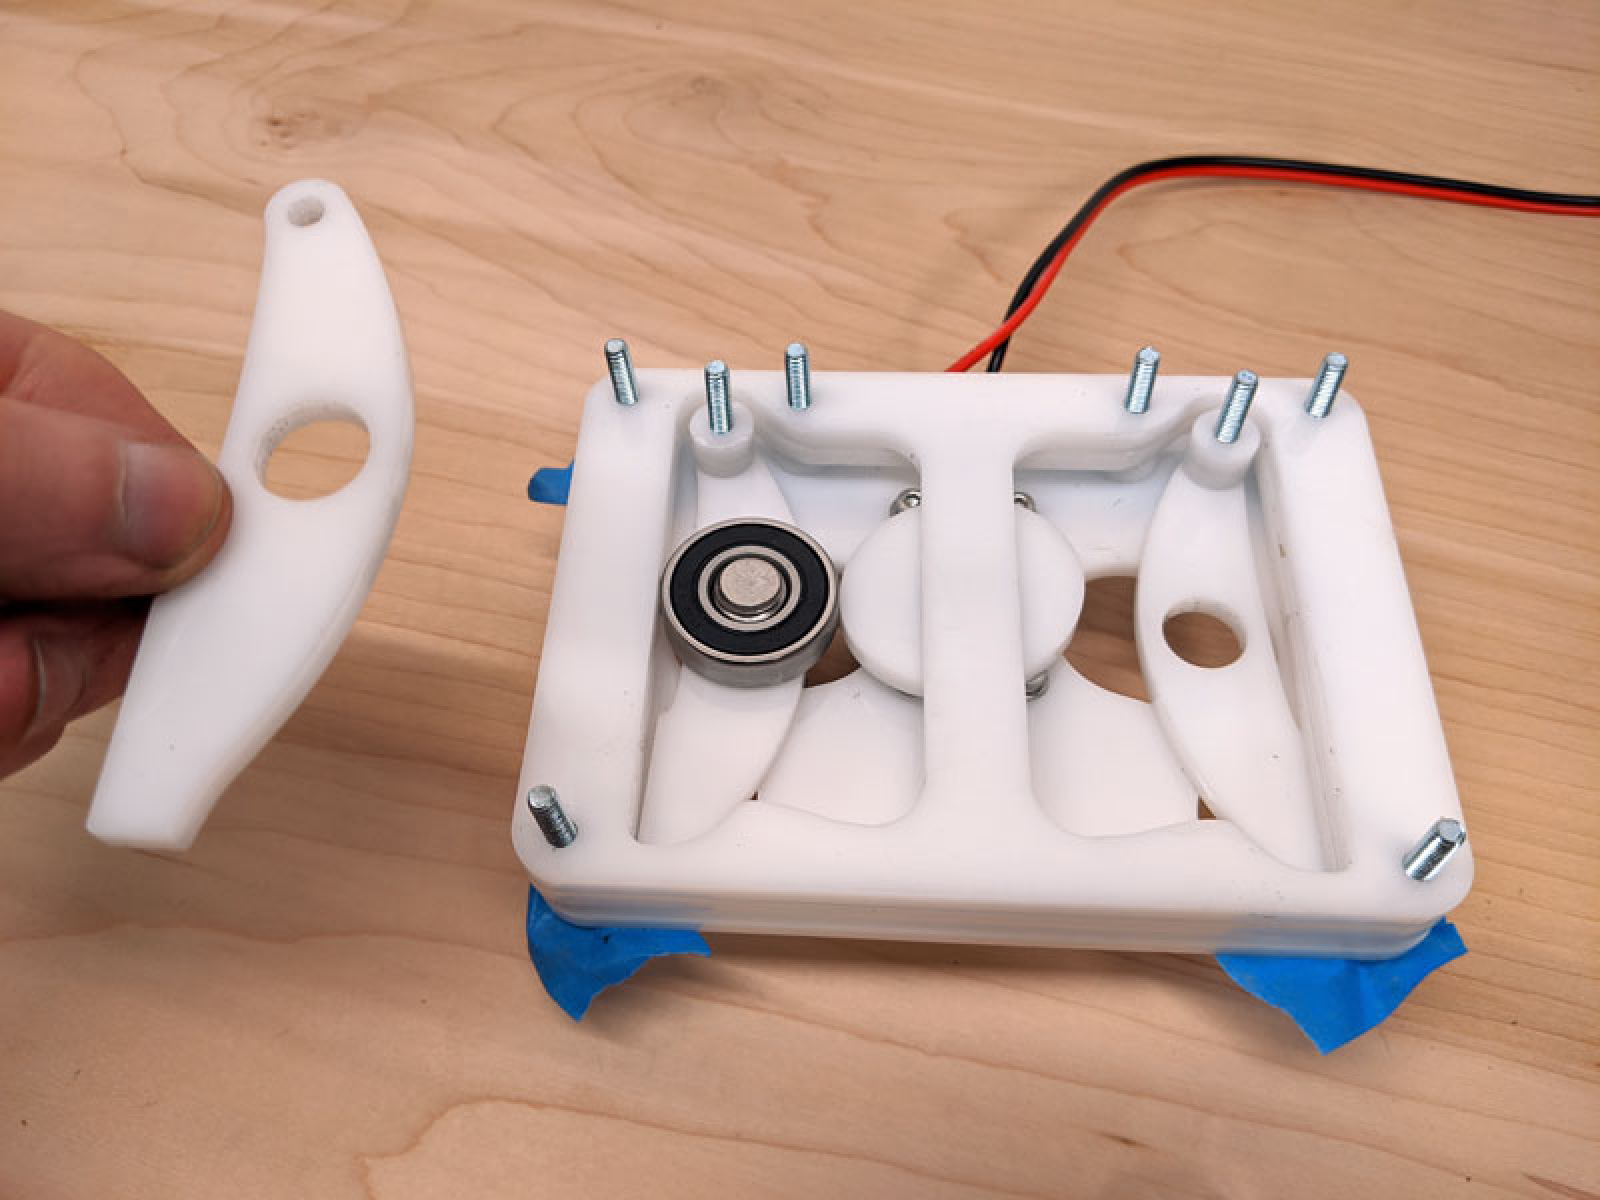
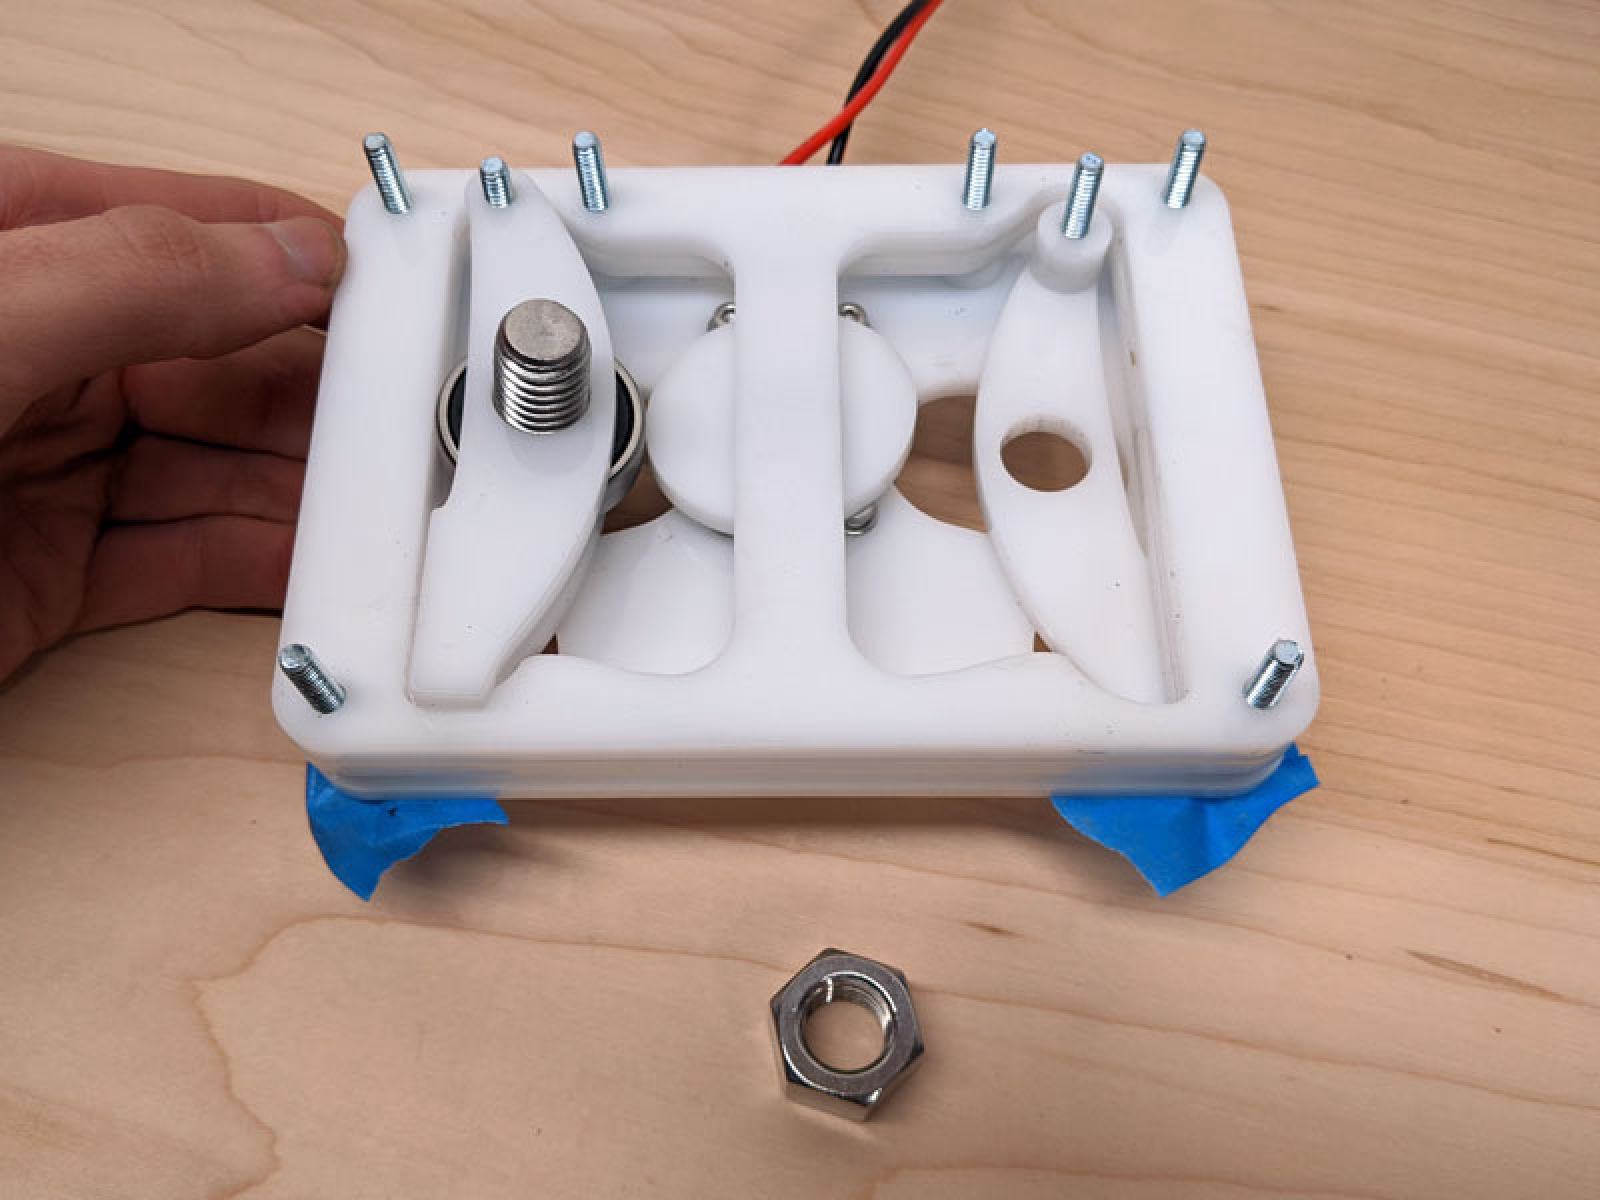 Make sure when you install your large nut, it isn't tightened so much that the bearing does not rotate freely. You should use some sort of thread glue, tie wire or other means to prevent the nut from falling off. Next, do the same exact thing for the second lever arm.
 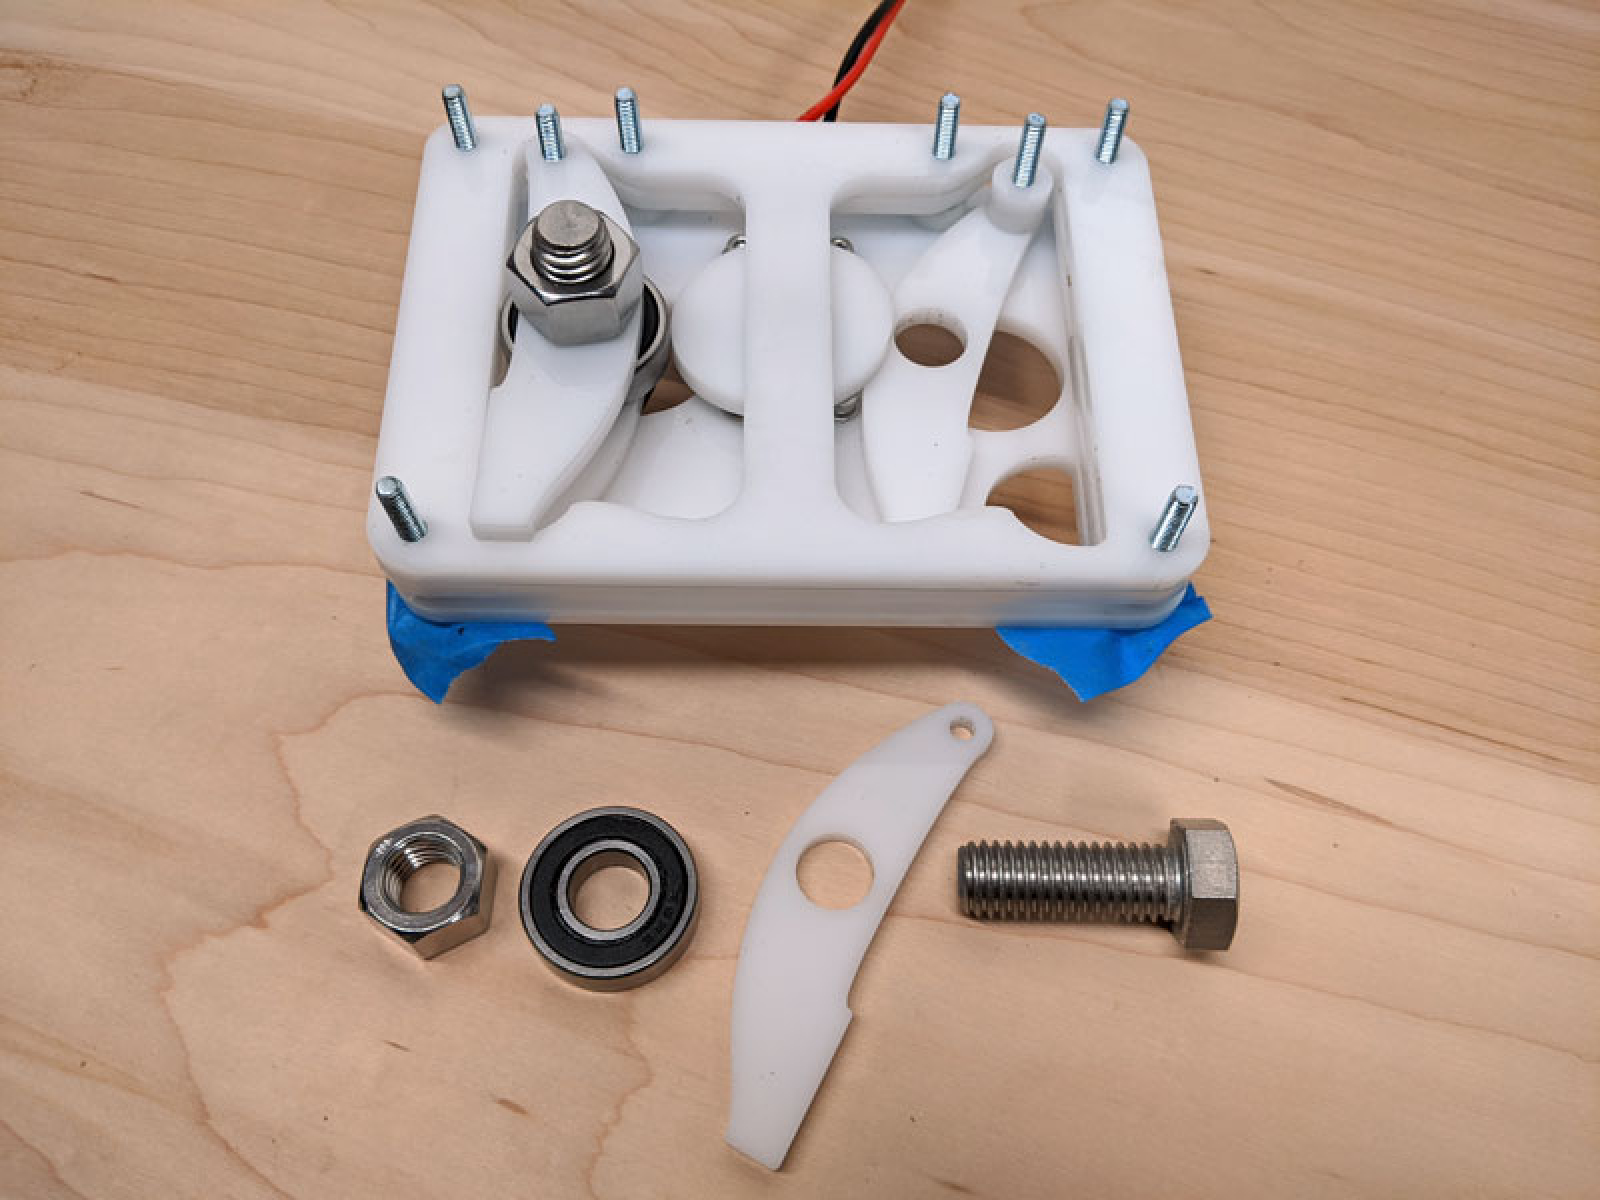 The finished result should look like this:
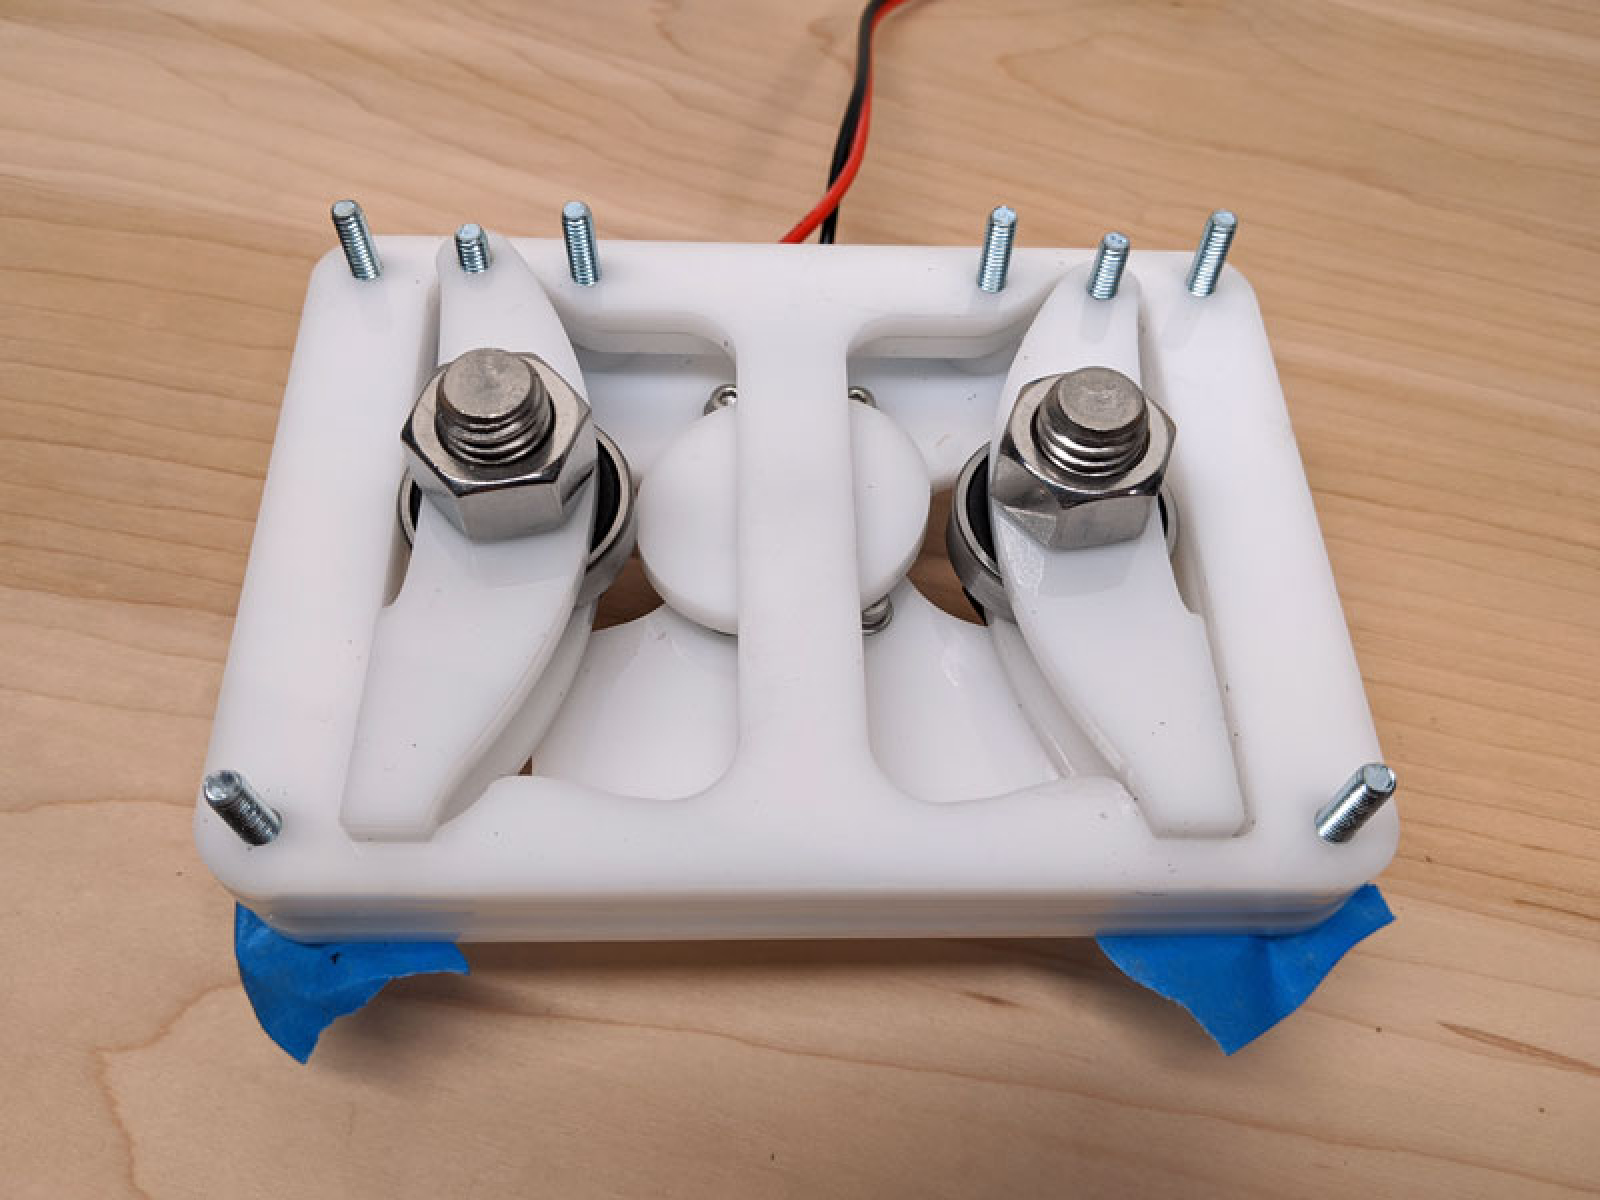
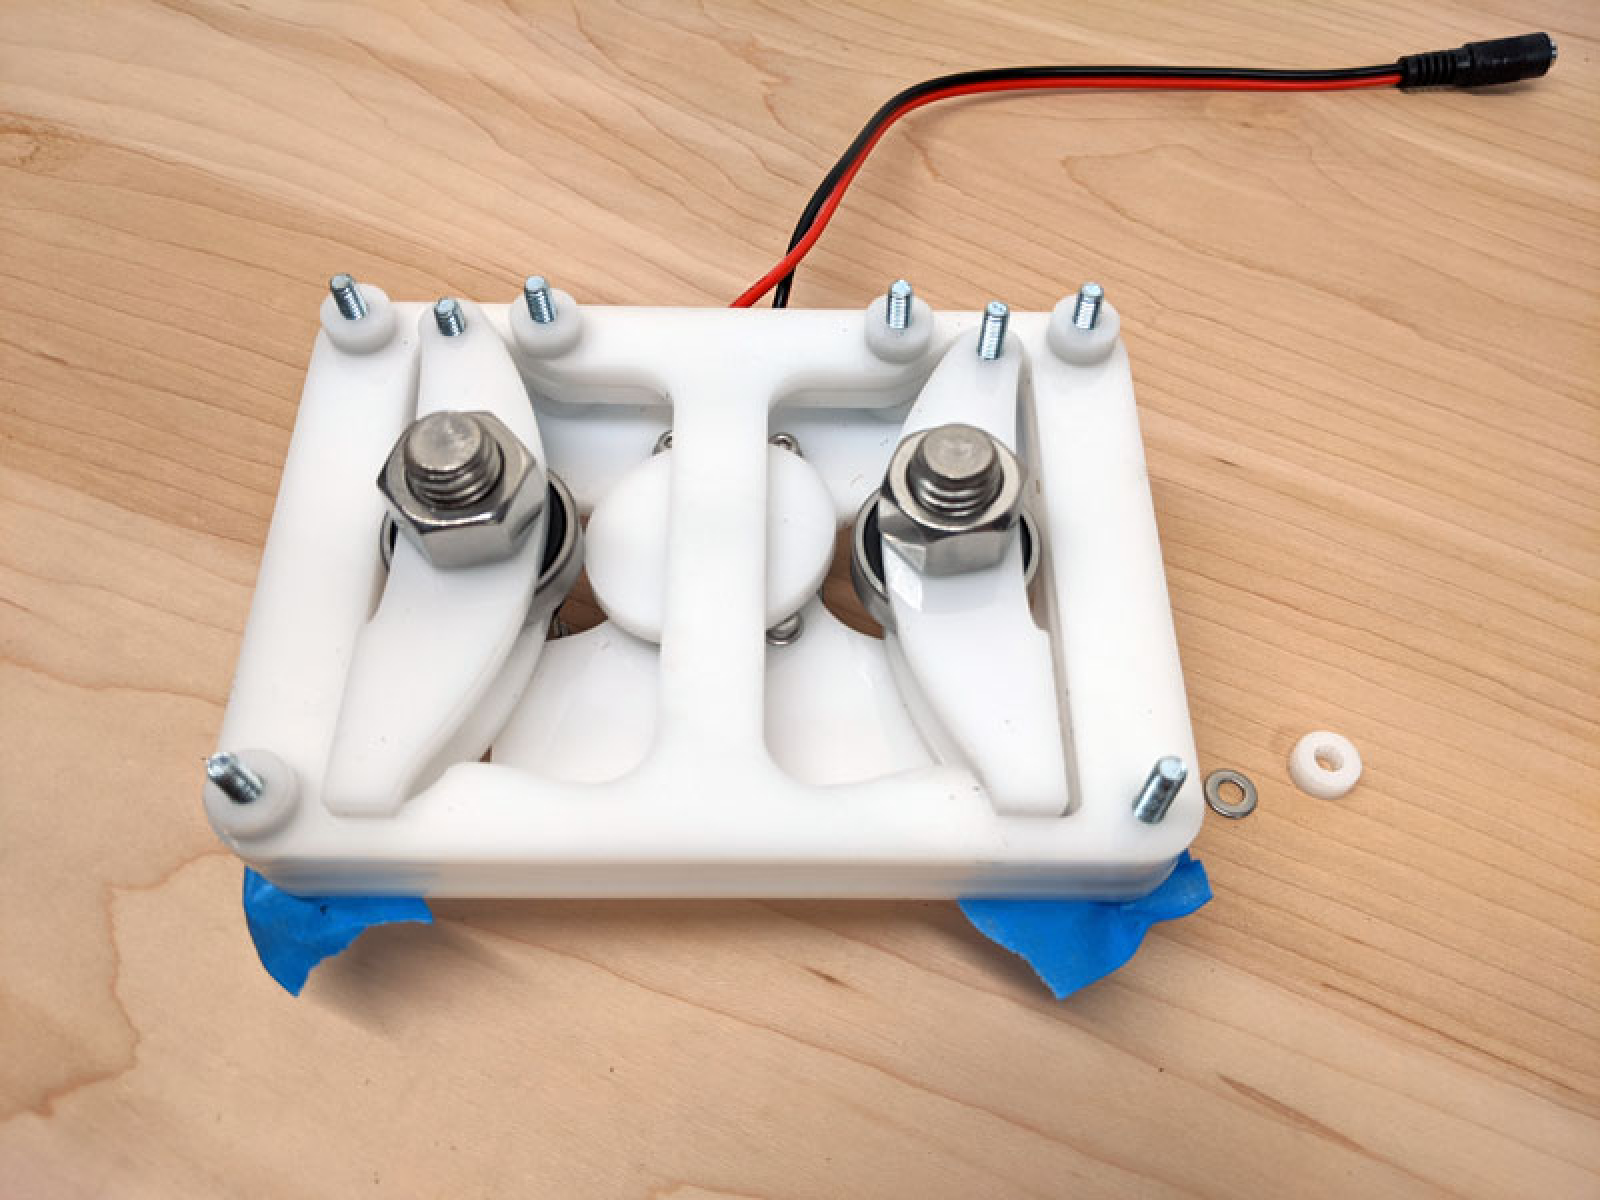 Then, install the back cover plate. Your dual-valve is now complete!
- Geared DC Motor
- Sealed Cartridge Bearings (2)
- Nuts, Bolts, Washers
- Laser Cut Acrylic Parts
- The SVG file for laser cutting, attached below.
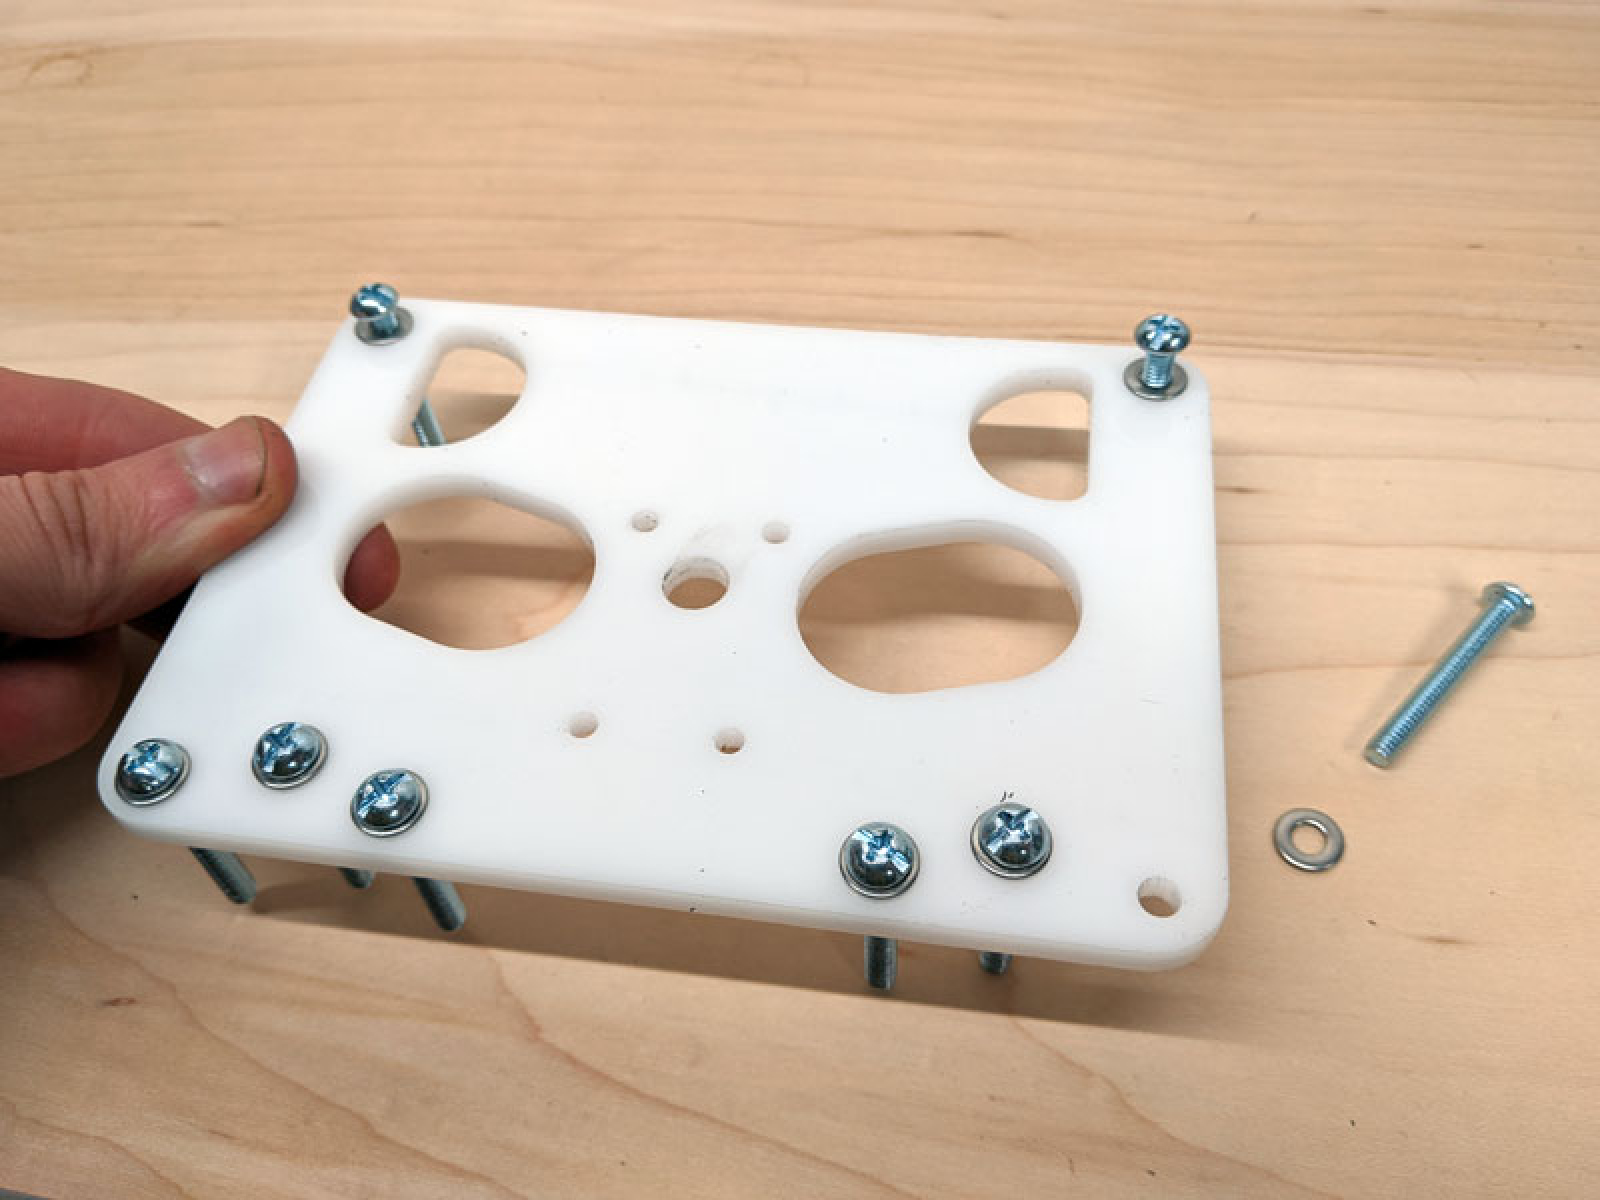
Assembly: Motor
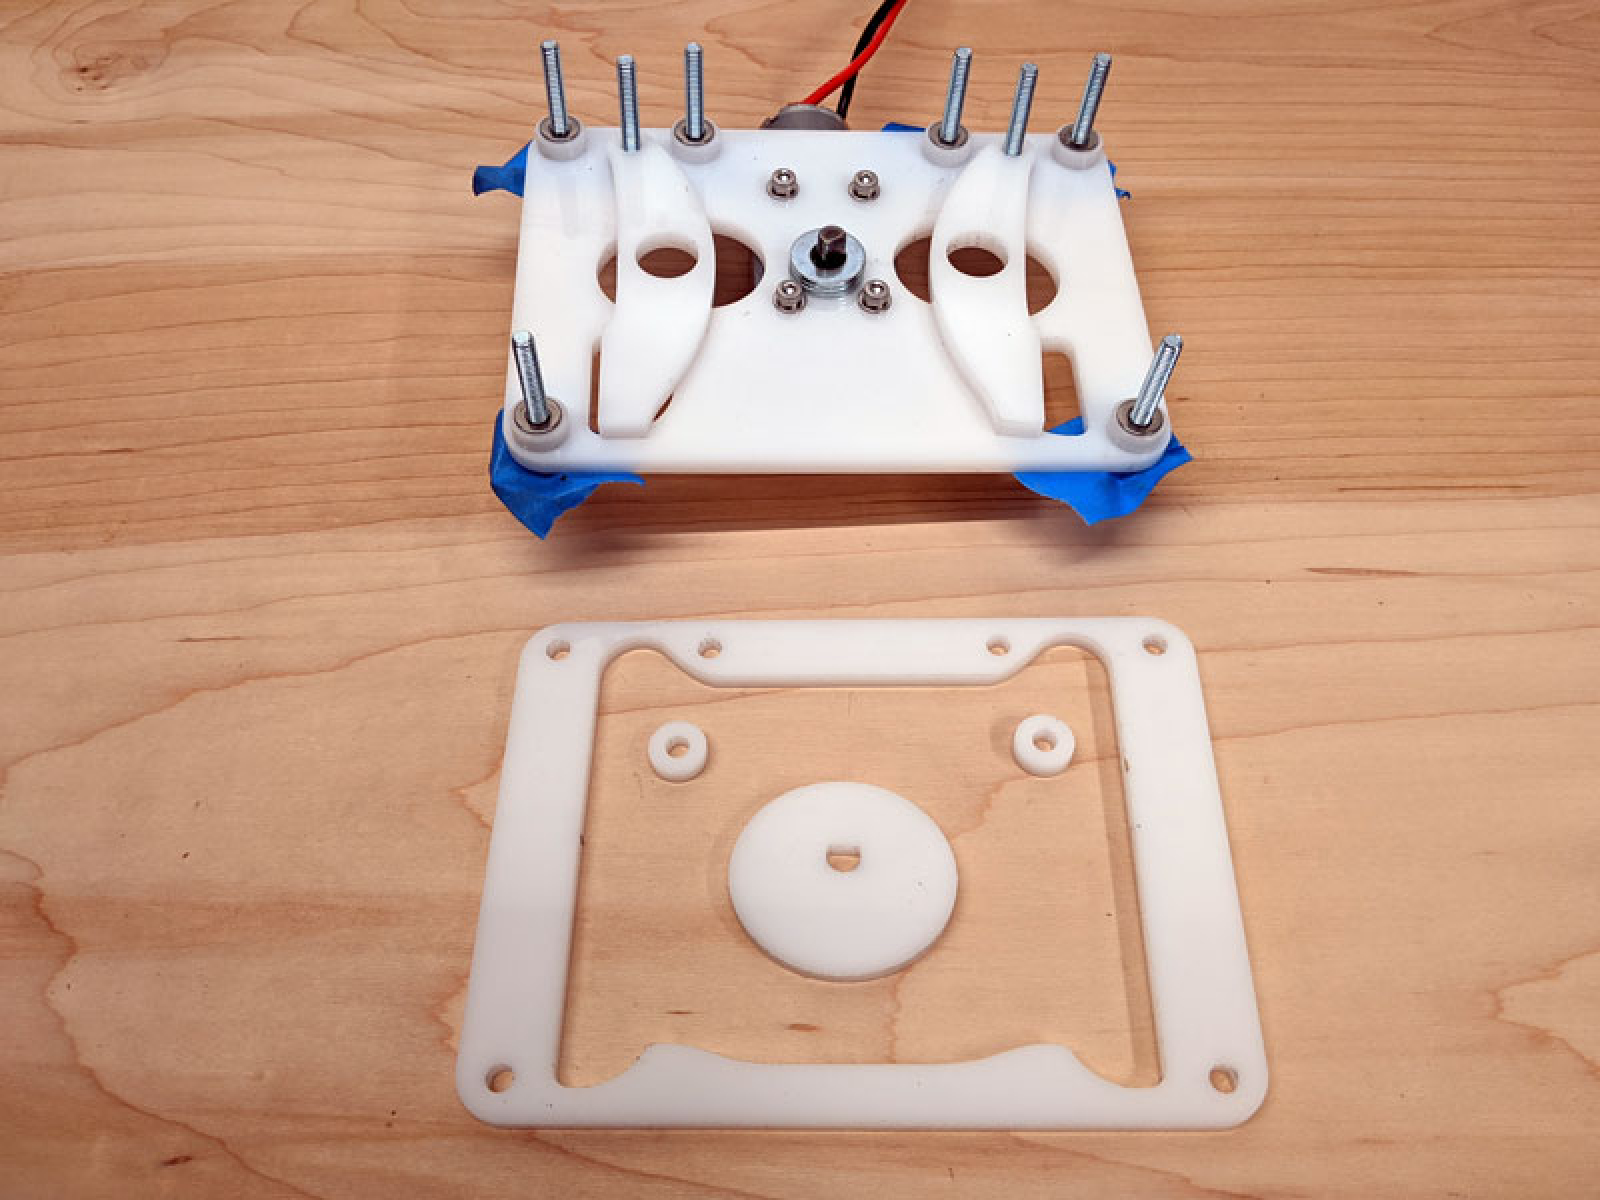
First, install screws into the cover plate. Make sure you use washers to help protect the plastic from cracking.Assembly: Valve levers
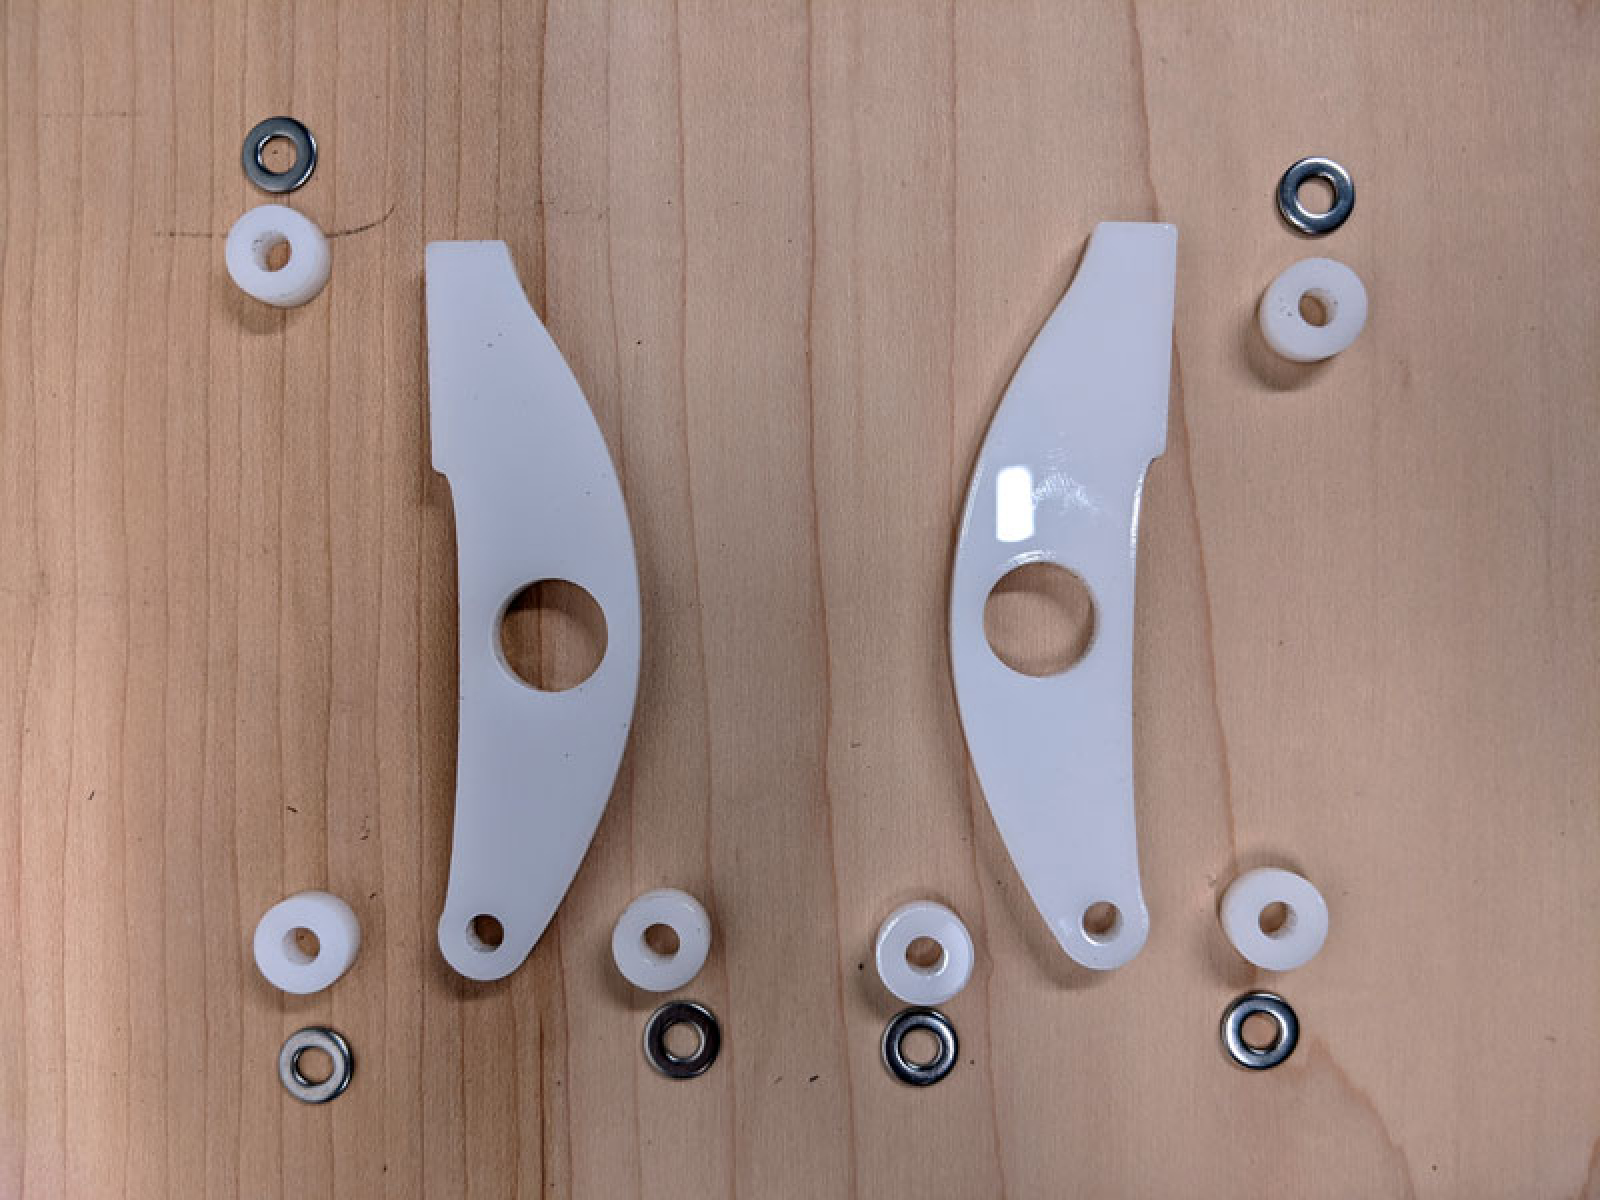
Next we must install the levers used to squeeze the hoses shut. They pivot on two of the bolts, and will be moved by a cam to open and close the silicone hose. You will need the two laser-cut levers, washers, and laser-cut plastic spacers for this step.Assembly: Spacer Plate #1 and Cam
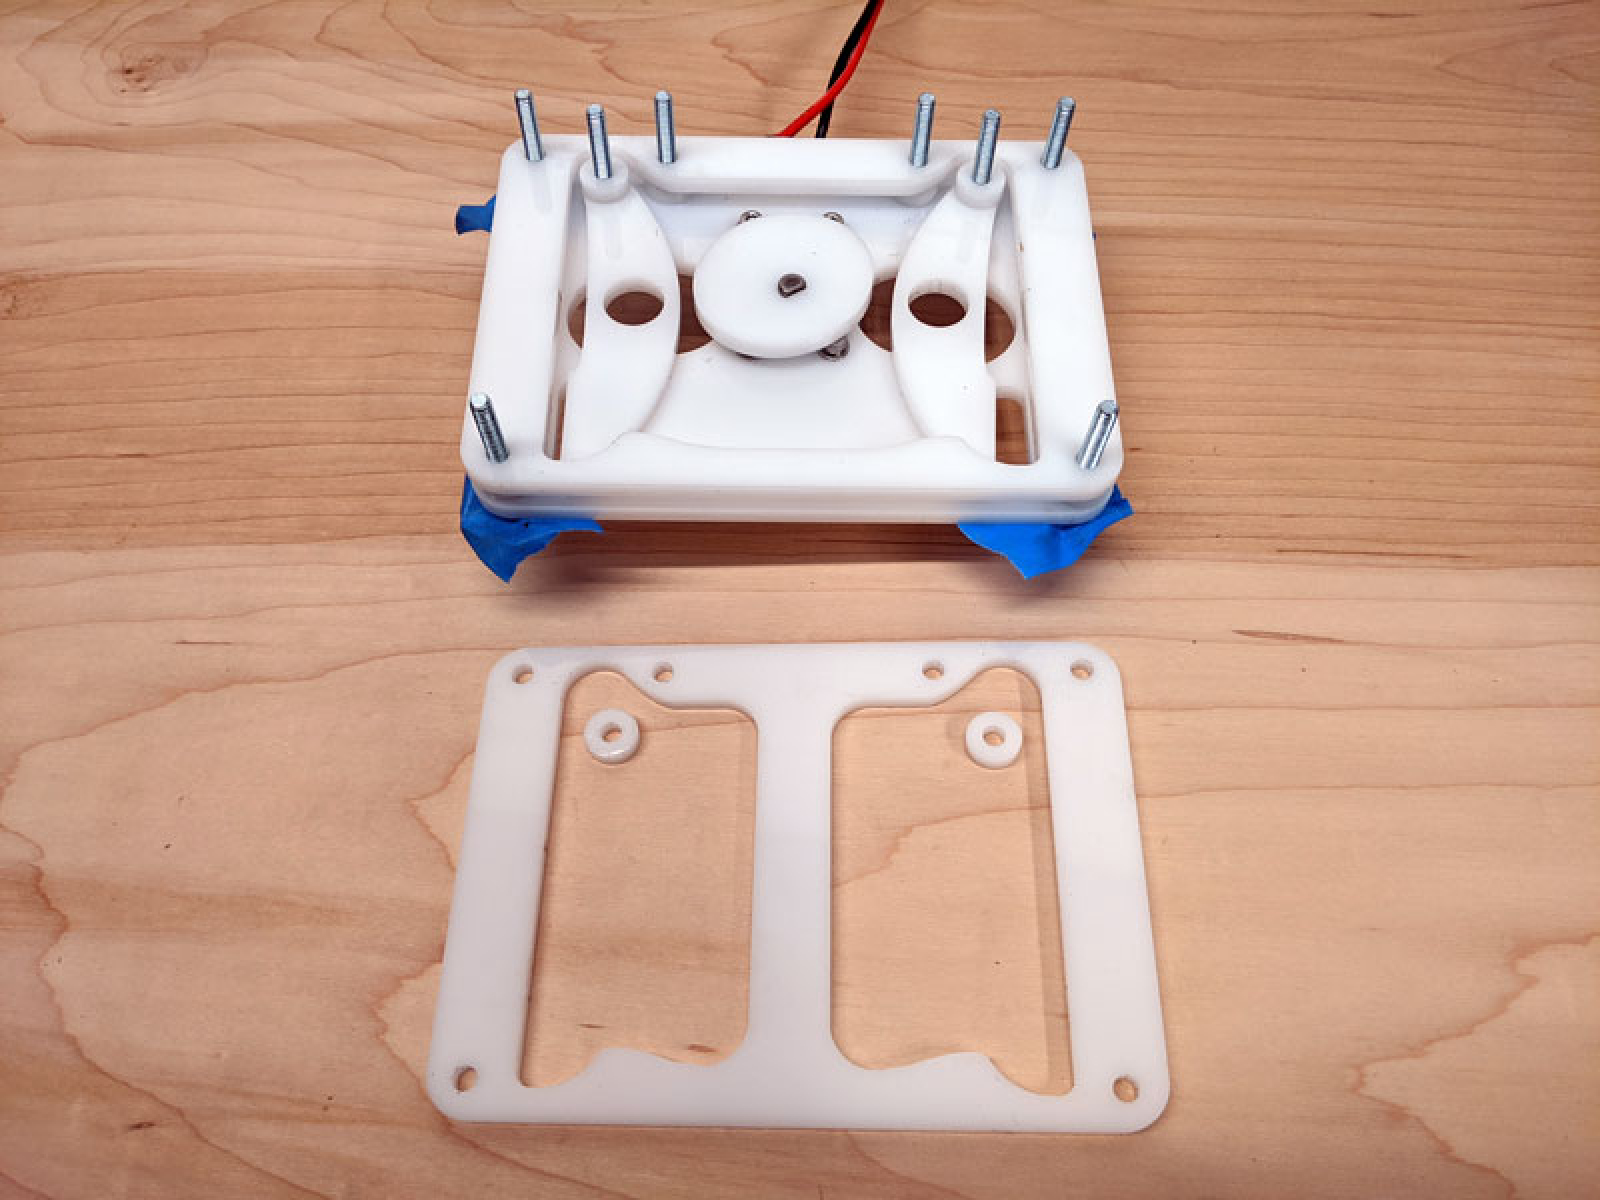
Next we install the spacer plate, two more plastic spacers, and the motor cam which will be used to roll against the ball bearings we install later.Assembly: Spacer Plate #2
Afterwards, install spacer plate #2, as well as two more ring spacers on the lever arms.Assembly: Bearings
You will need your bearings, large bolt and nut, and second lever arm. One set of pieces for one arm is shown here:Assembly: Back plate
Take the last remaining spacers, and install them on the four perimeter bolts to prevent the cover plate from squishing the lever arms.