Ludlum Model 12 Restoration
Recently I’ve been restoring a Ludlum Model 12 rate meter. What is that you might ask? The best ratemeter on this side of the valley, that’s what!I say this, because it’s one of those rare instruments built with “user serviceable” in mind, much like old tektronix oscilloscopes. Along with its bare, “don’t touch this lest you get shocked” circuit board, it contains trim potentiometers and for nearly everything one could wish to adjust; the high voltage power supply, the pulse discriminator, the integrator dividers, as well as a switch to change the integration speed and to reset the integrator entirely. But those are just big words for people who don’t know what a survey meter even is! By “losing its voice”, I mean that my meter had no ability to make sound. This is rather unfortunate, because while it might seem like only a minor inconvenience, those clicks could be the alarm one needs to learn whether or no one is in a radiation field!
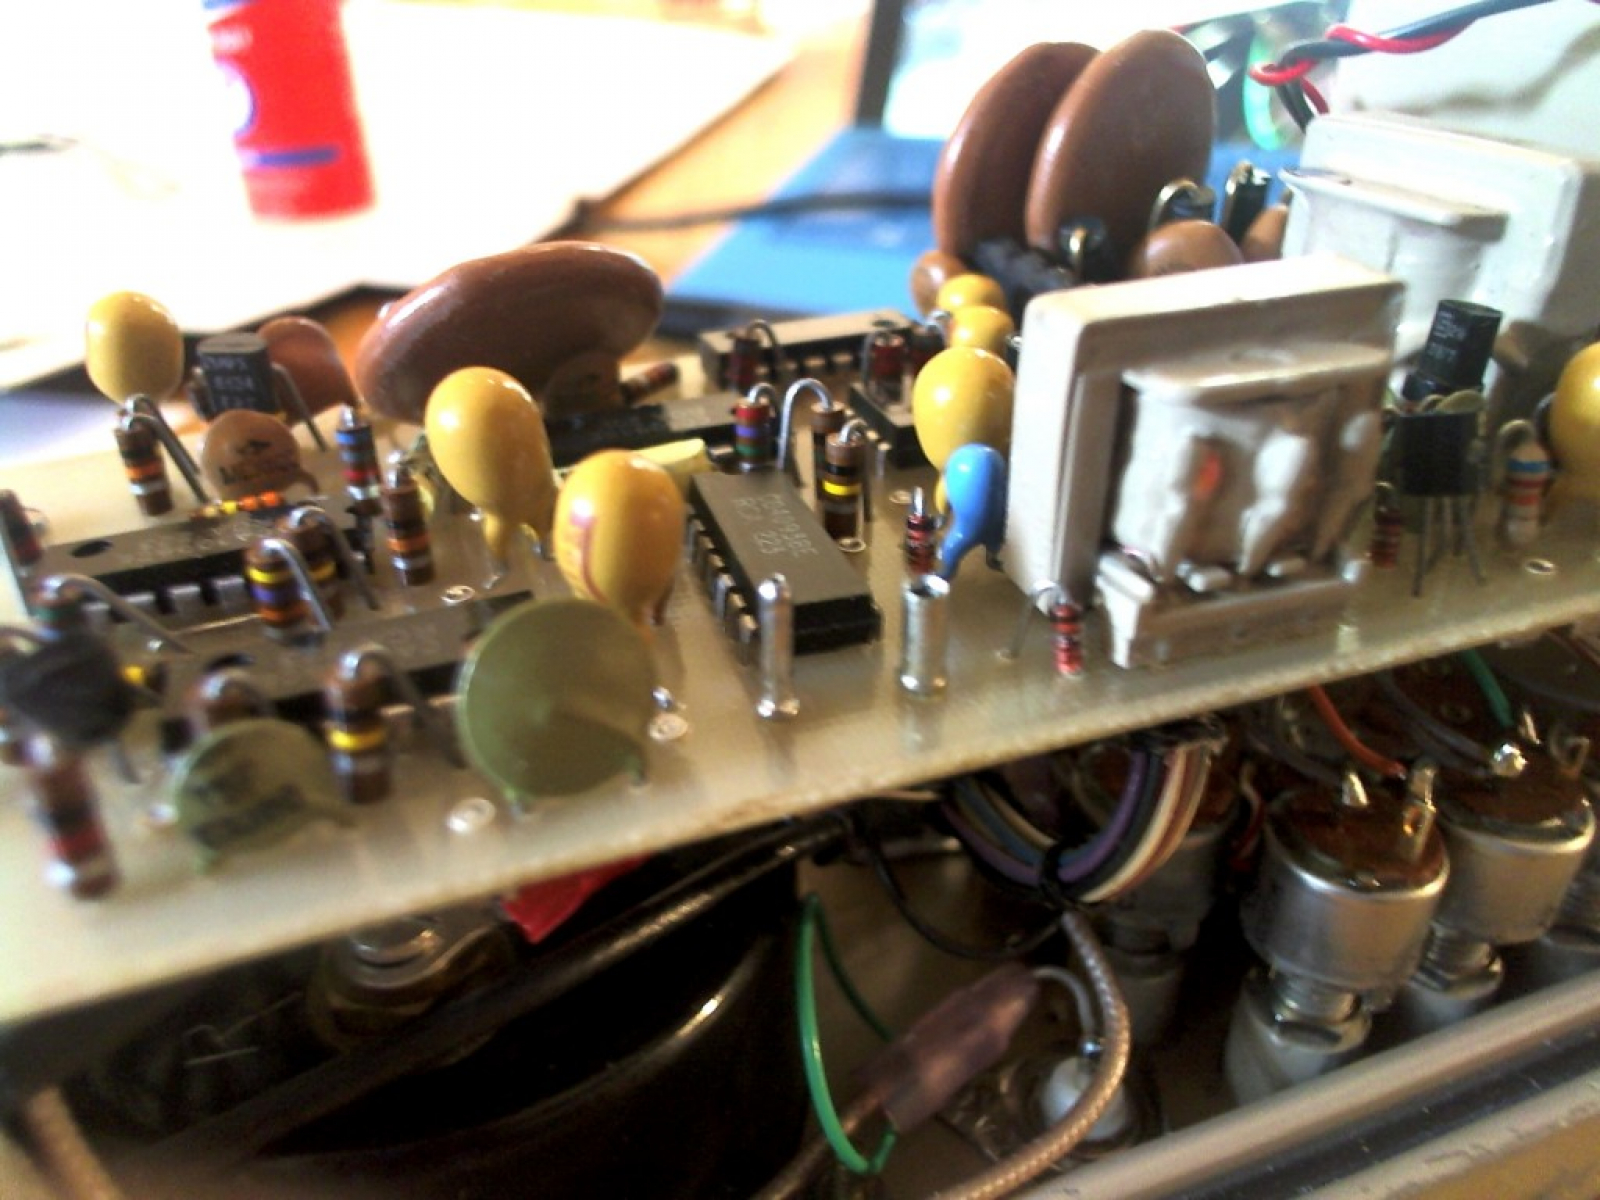 The Ludlum-12 is an entirely analog instrument. Nowhere on its board exists any form of proprietary turing machine, which is rather fortunate as this makes it quite repairable. So where was the damage? Here!
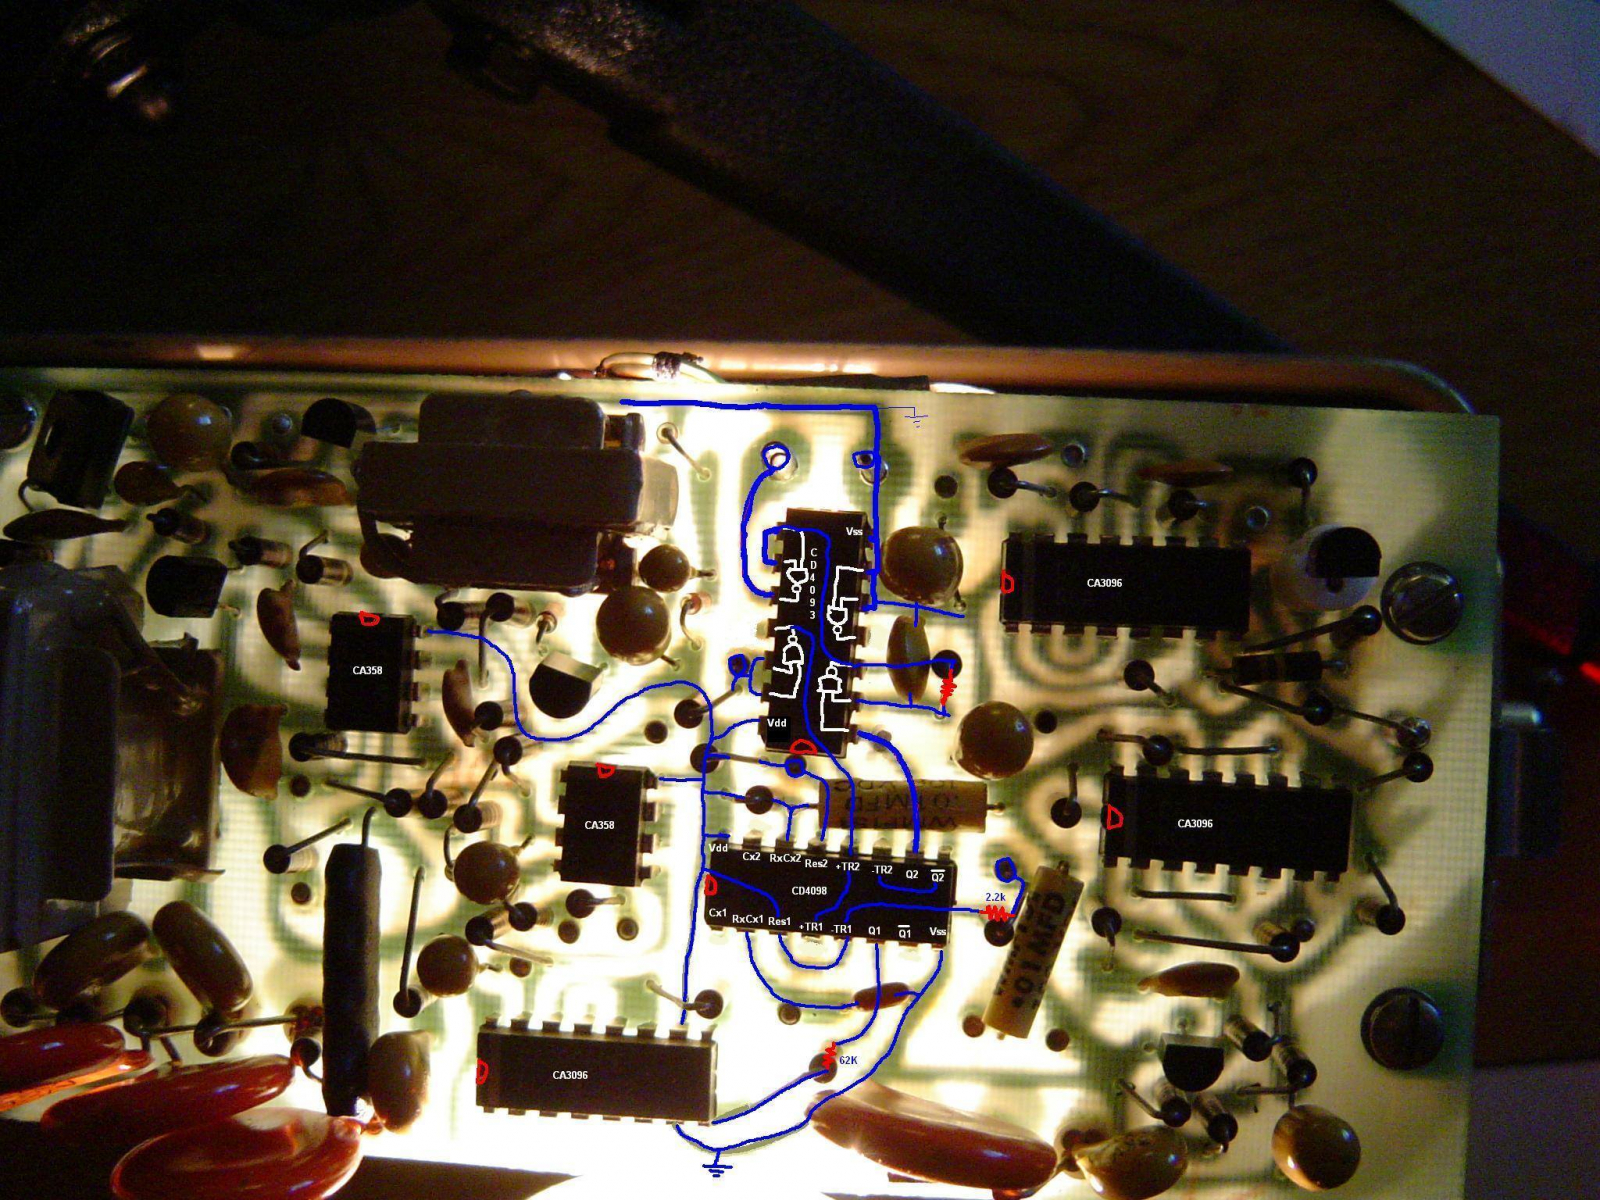 The audio circuit in this machine is rather simple. An astable multivibrator (CD4098) is triggered by the pulse discriminator (not labeled), which creates a few-kHz audio tone that’s fed out of Q2 into a NAND gate (CD4093). This NAND gate, being of the schmitt trigger type, squares-up the signal a bit, where it’s then further buffered by a second NAND gate and sent into a piezoelectric speaker. The audio “mute” switch is simply an SPDT toggle that holds the multivibrator’s RES2 (reset) pin low. These are the two ICs that somehow failed in this meter; likely due to some sort of electrostatic event given that they’re old and of fragile design. Interestingly, the multivibrator failed in such a way that pulses were able to make it out of Q2, but not periodic square waves. Weird. Replacing these ICs fixed the issue.
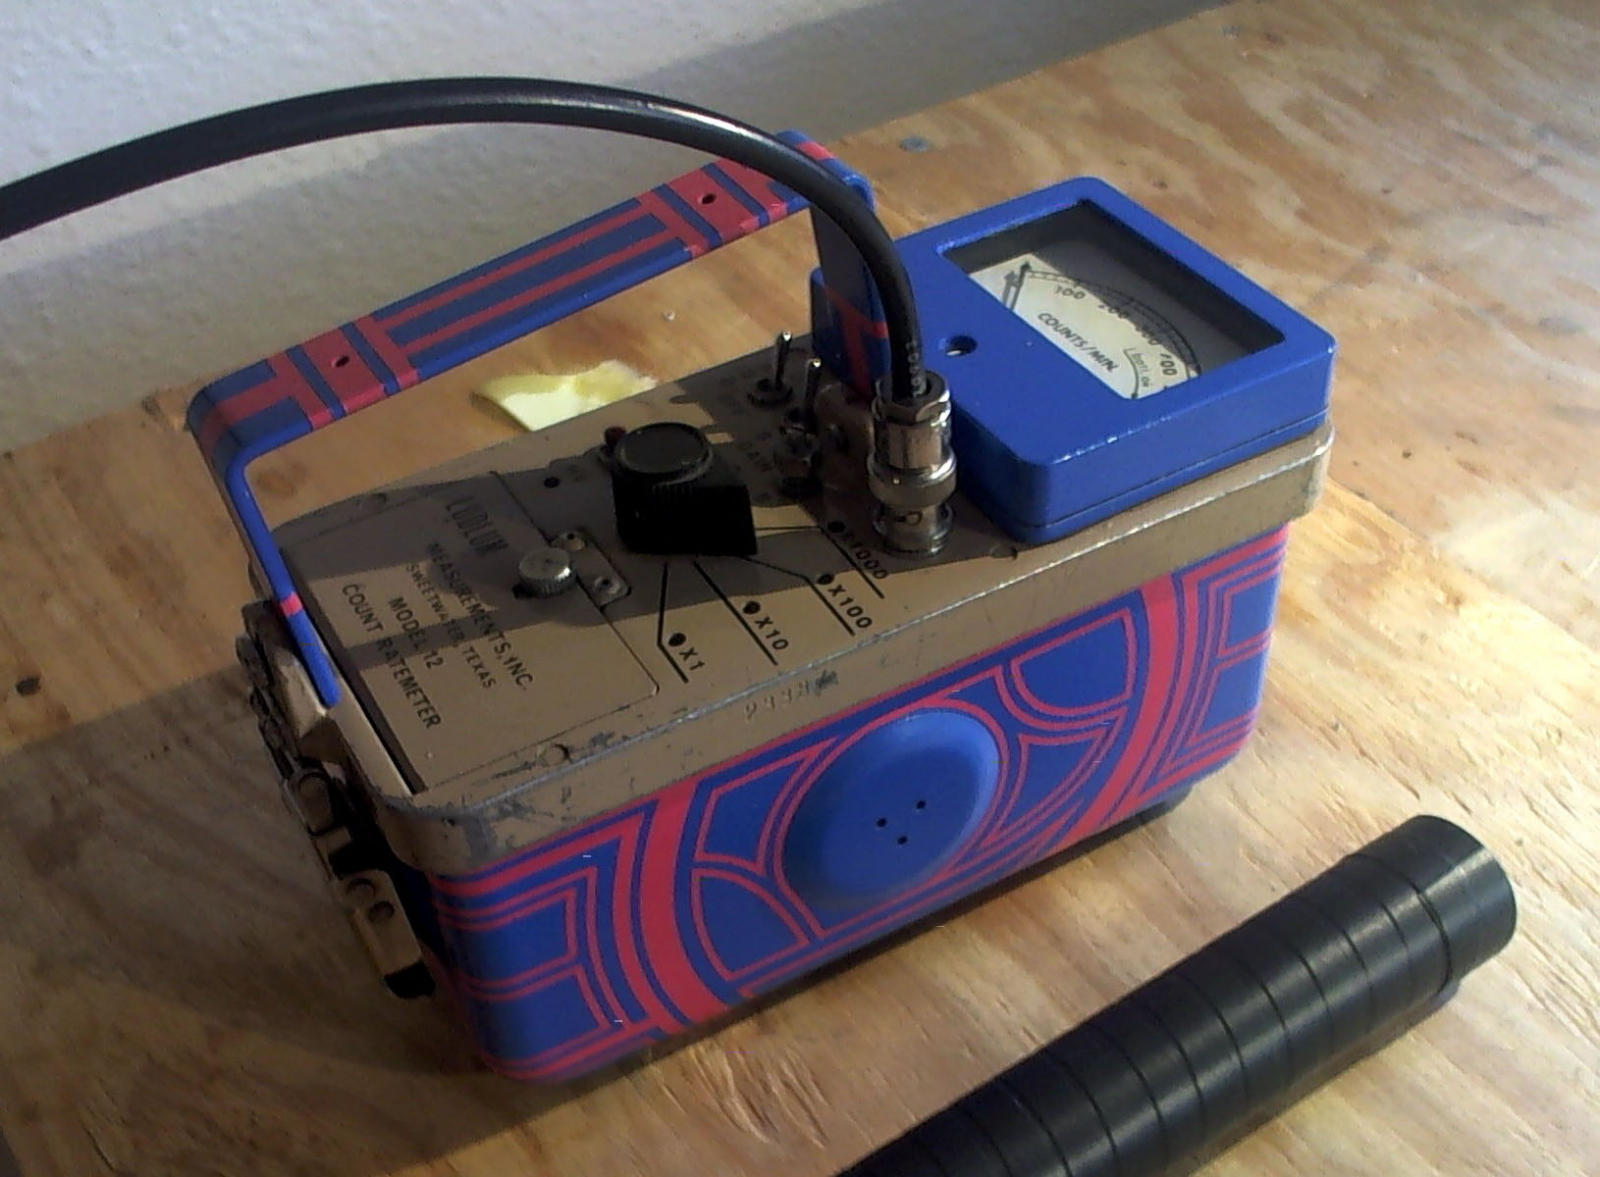
 Given a small coat of polyurethane for strength, it’s just about as good as one made from aluminum!
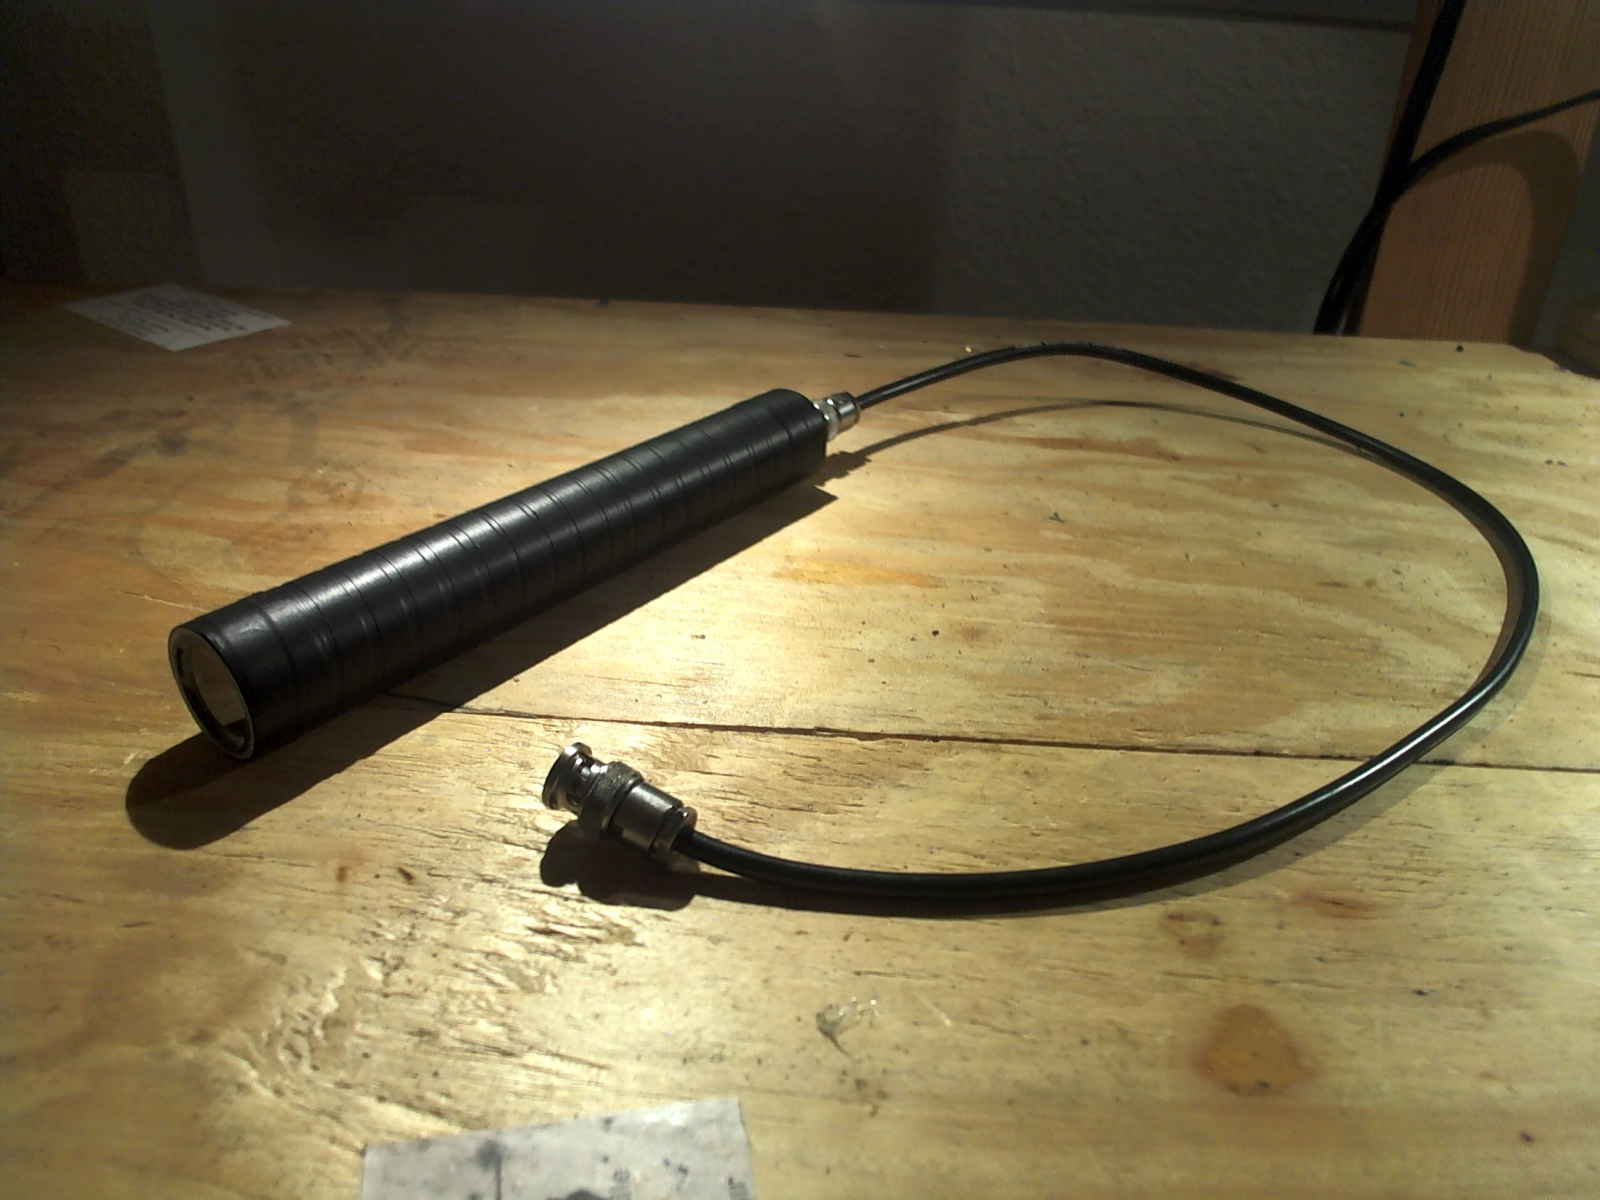
What is a rate meter / survey meter?
A survey meter is a radiation measurement device; something that provides for a measurement probe;- A high voltage power supply. Most radiation detectors (eg, geiger-muller tubes) require a high operating voltage, typically on the order of 700 to 2,500VDC. Geiger-muller tubes typically require a potential of 400-700V, photomultiplier tubes a potential of 900 to 1500V, and proportional counters a potential of 1200 to 2500V.- A pulse discriminator. During a count events, an electrical pulse is formed across the radiation detector. On some detectors, such as neutron proportional counters, this magnitude of this pulse is co-relates to the detected particle’s energy. The discriminator is a circuit capacitvely coupled to the probe’s high voltage power supply which monitors these pulses, and triggers a count event if the pulse exceeds some magnitude. By adjusting the reference voltage, one can discriminate between say, a neutron, and a gamma ray.- An integrator. This is just some display mechanism that integrates the pulses, to give a “counts/minute” measurement. The accuracy of the integrator is of course, highly dependent on the length of time which it is active.- A speaker. Click-click. Click-click-click-click.Naturally, being able to adjust all of these things means you can use a Ludlum-12 with any probe you wish!My Rate Meter
Ludlum-12’s in working condition are notoriously hard to find, as they’re highly coveted instruments, and no one lets go of a working one easily! As such, I bought mine semi-broken and much beat-up. The meter I acquired had lost its voice at some point in its life, and was in much need of a face-lift.The Facelift
Whilst fixing this meter I was convinced by a fellow artist to make it snazzy. The above was done with spray enamel, masking tape, and a razor blade.Testing
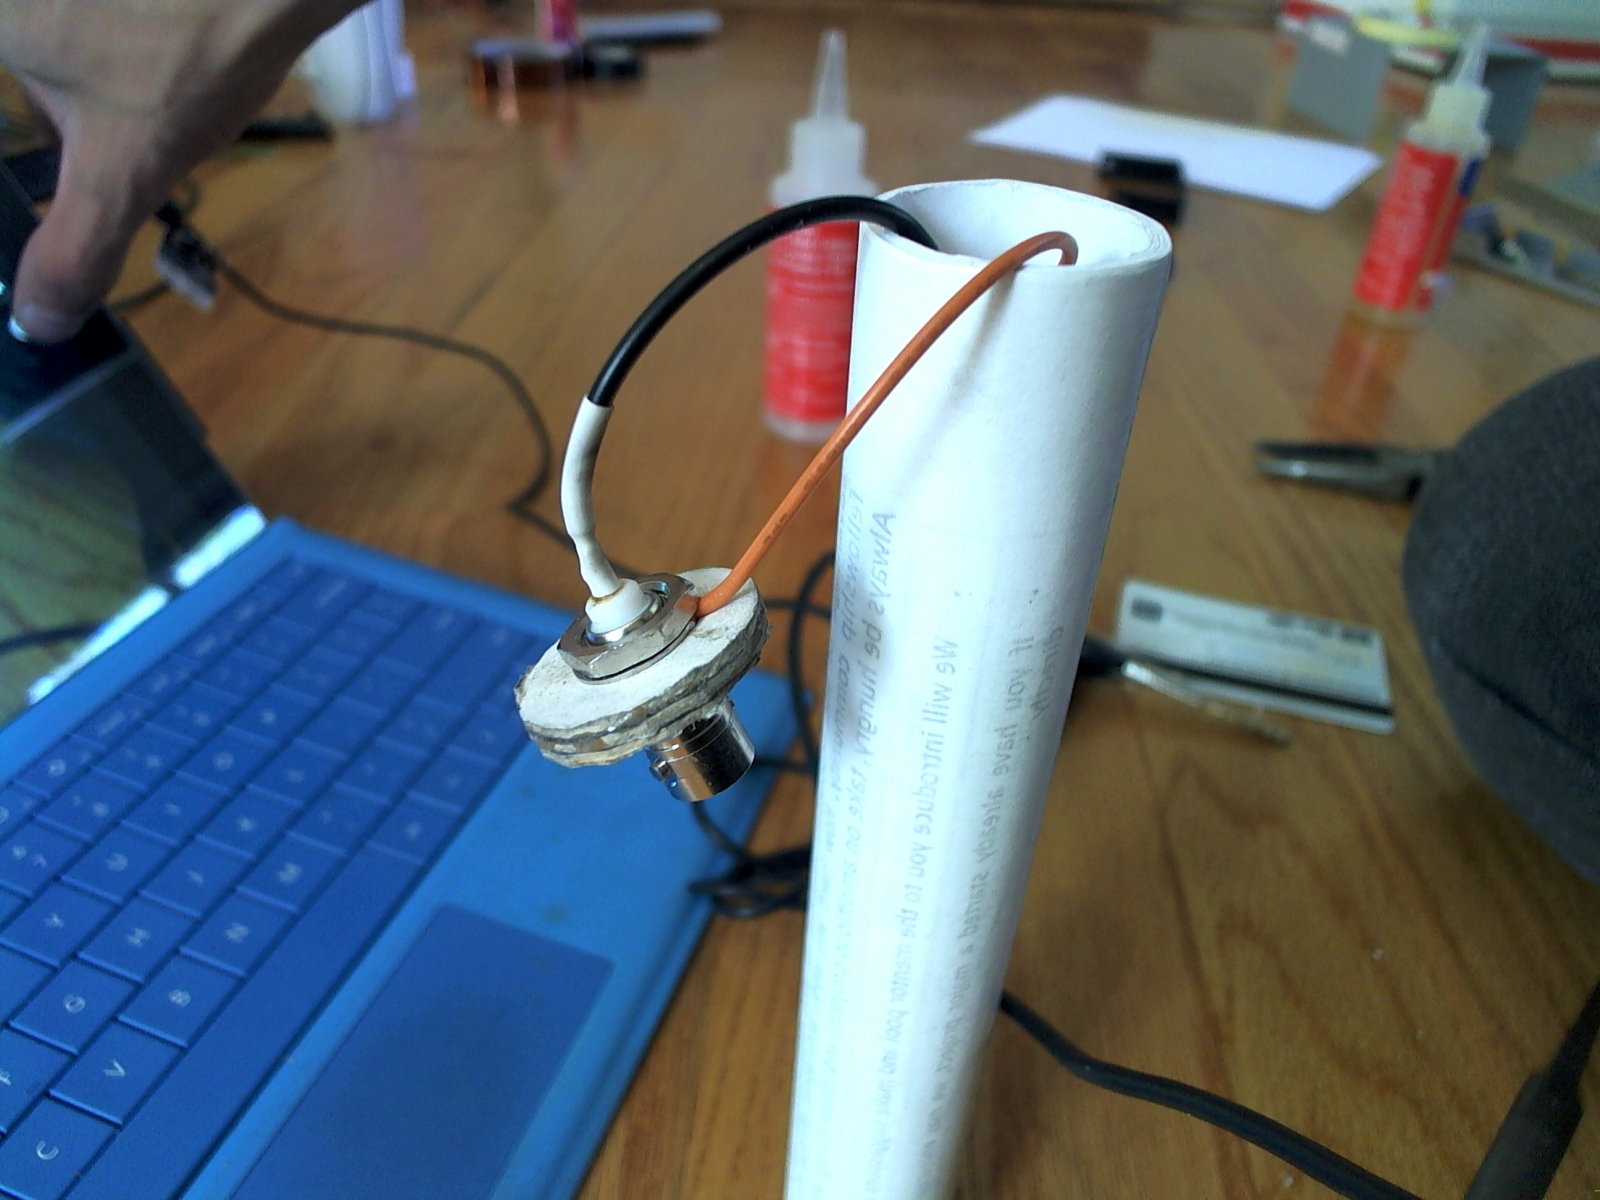
Though I will eventually use this as a scintillation meter, I needed a probe for testing purposes. Not having one on hand, I decided to use a Navy surplus GM-tube that had been collecting dust for some years. Since the Geiger tube runs at a high potential (700VDC, in this case) it’s required that the tube be insulated lest I shock myself while using it. My solution, given a lack of tools was a composite tube built from paper, epoxy, and vinyl tape.