Light Control over the Internet
Ever wonder how people control lights over the internet (such as from The Big Bang Theory)? Here's a little tutorial on how to do it.For this I'm using python, Ubuntu, and an Arduino Mega. Tutorials on how to install these can be found from a simple google search.A breif overview:- Use python's BaseHTTPServer module to run an http server.- Have the server create buttons for your web browser.- Make a program on the arduino to receive serial data and turn an LED on and off.- Use these buttons to send the serial data to an arduinoI've already written a python module that accomplishes the first 2 tasks but I quickly run through it anyways.Now when you run it, it will tell you the address it's at. For me it's 192.168.1.2:8000 (the 8000 is the port) and when I type that into chrome, this happens: and restart to server to get a button.
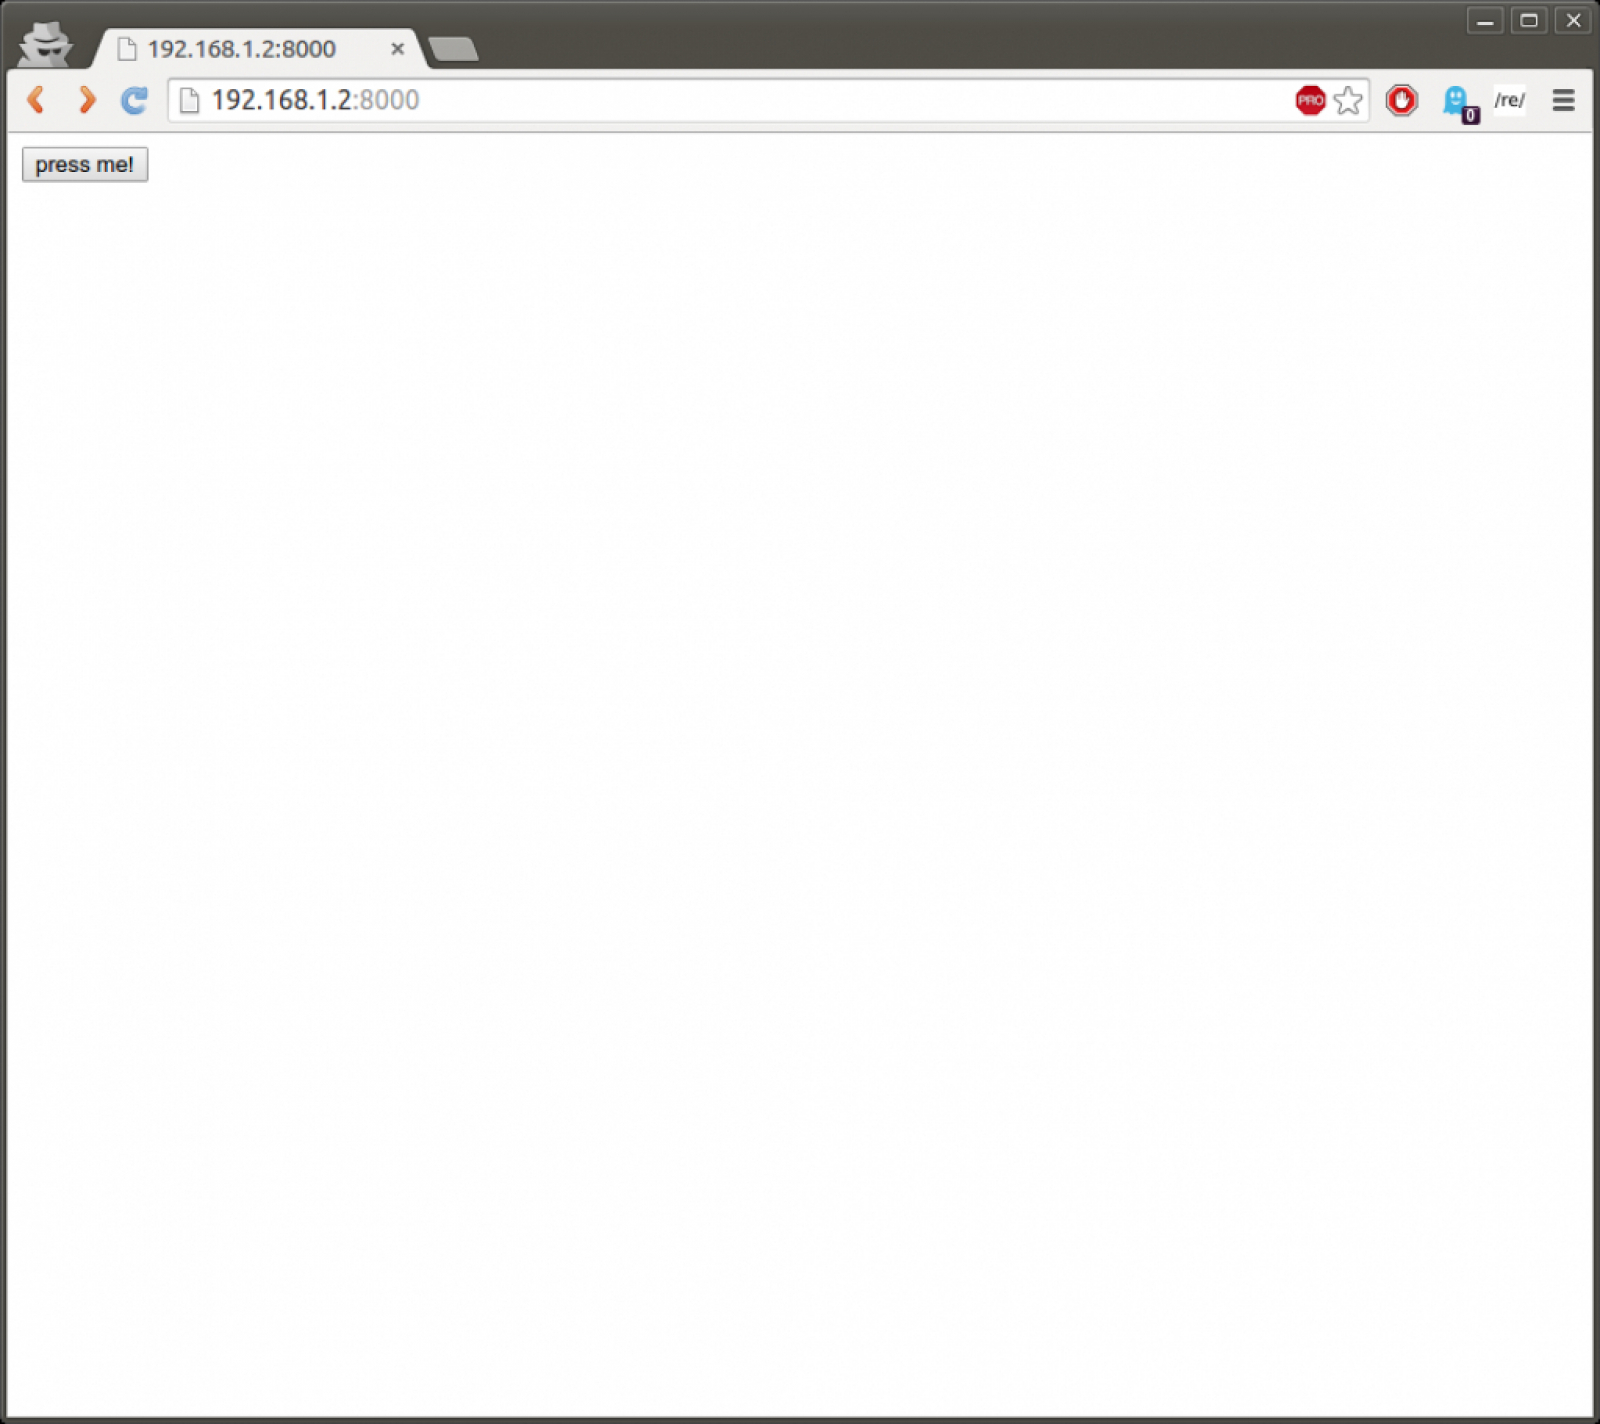 We now have a nice little button on our website!Now once you press it notice how the URL gets a "?my_button=press+me" at the end. This is the query string. This sends the server data that the user inputs.Back to the python program, addafter theline (make sure you have the same number of spaces before it). This path variable contains everything after the ip address you type in the web browser, including the query string. We can use this data to see if the user presses the button.When the print statement is changed towe can now see when the button is pressed! Add whatever other code you want in that second if statement for it to be called too.Now for the much better way using the module off my github.This only needs 6 lines of code to do the same thing as before.If you want to use it from any computer in the world, you first need to go on your router and forward the port (careful; this may cause security risks).Then find your public ip address (get the hint?), type that into the web browser wherever you are in the world (with the port), and it should load the button page.And if you wanted to control an actual light you would connect the pin from the LED of the arduino to either a power mosfet or relay to power the light on and off or a servo motor to physically turn the switch on and off, but I won't be covering that in this post.
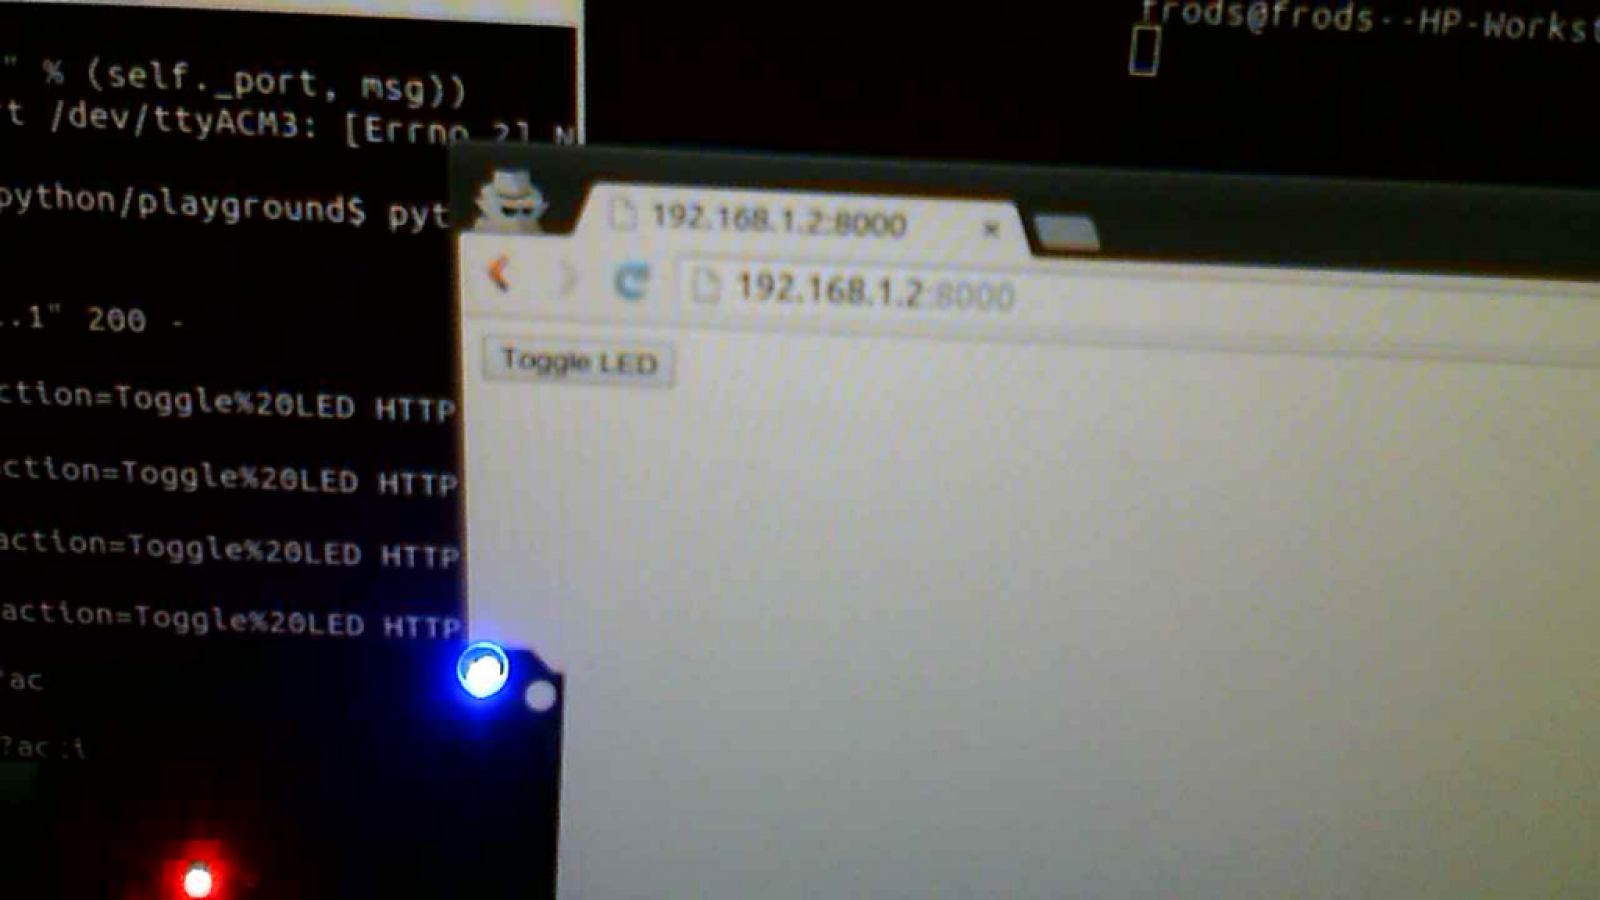
HTTP Server
This is just a simple HTTP server that displays "hello world" in your web browser.import BaseHTTPServer #import the http server and
import socket #the socket modules
import urlparse
port=8000 #set the port number
#this is the class that does the work of the server
class handler(BaseHTTPServer.BaseHTTPRequestHandler):
#when you load a webpage, a GET method is sent;
#this function handles that
def do_GET(self):
#tells the web browser that everything's OK
self.send_response(200)
#tells the web browser what type of data is coming
self.send_header('Content-type','text/html')
self.end_headers()
#send html to the web browser
self.wfile.write("hello world")
try:
#creates an instance of the server
server = BaseHTTPServer.HTTPServer(('0.0.0.0', port), handler)
#####GET LOCAL IP ADDRESS######
s = socket.socket(socket.AF_INET, socket.SOCK_DGRAM)
s.connect(("8.8.8.8",80))
ip = s.getsockname()[0]
s.close()
###############################
#this prints the thing you type into your browser
print 'Started httpserver at ' + str(ip) + ':' + str(port)
server.serve_forever()
except KeyboardInterrupt:
server.socket.close()Button Time
Now it's time to make some buttons.After a quick google search, html button syntax is found.Now change the "hello world" to<form action='./'><input type='submit' name='my_button' value='press me!'></form>print self.pathself.wfile.write("hello world")qs=urlparse.parse_qs(urlparse.urlparse(self.path)[4])
if len(qs)>0:
if qs['my_button'][0]=='press me!':
print "THE BUTTON WAS PRESSED!"import http_button_server
def callback(qs):
print qs
s=http_button_server.ButtonServer(callback)
s.add_button("button")
s.run()The Light
I'm not doing an arduino tutorial since there's hundreds of them already. For this part just upload the following to your arduino. This tells the arduino to toggle the LED plugged into pin 53 when it receives a 1 from the serial connection.void setup() {
Serial.begin(9600);
}
int toggle=0;
void loop() {
int data=Serial.read();
if(data==1 && toggle==0) {
toggle=1;
digitalWrite(53, HIGH);
}
else if(data==1 && toggle==1) {
toggle=0;
digitalWrite(53, LOW);
}
}Sending Serial Data
In python this is very simple. The arduino website has a tutorial for this already, so go look there.Putting it all together
Finally we get to see this in action. Modify the code from before like below, and put the http_button_server.py file in the same directory as the code, run it, and there you go!import http_button_server
import serial
#/dev/ttyACM2 is the serial port in linux that it was using
ser = serial.Serial('/dev/ttyACM2', 9600)
#go to the arduino IDE, Tools->Serial Port to find it.
#I think its COM# on windows
def callback(qs):
if qs['action'][0]=='Toggle LED':
#this writes a 1 to the arduino
ser.write(chr(1))
s=http_button_server.ButtonServer(callback)
s.add_button("Toggle LED")
s.run()